Welcome to one of the most active flamenco sites on the Internet. Guests can read most posts but if you want to participate click here to register.
This site is dedicated to the memory of Paco de Lucía, Ron Mitchell, Guy Williams, Linda Elvira, Philip John Lee, Craig Eros, Ben Woods, David Serva and Tom Blackshear who went ahead of us.
We receive 12,200 visitors a month from 200 countries and 1.7 million page impressions a year. To advertise on this site please contact us.
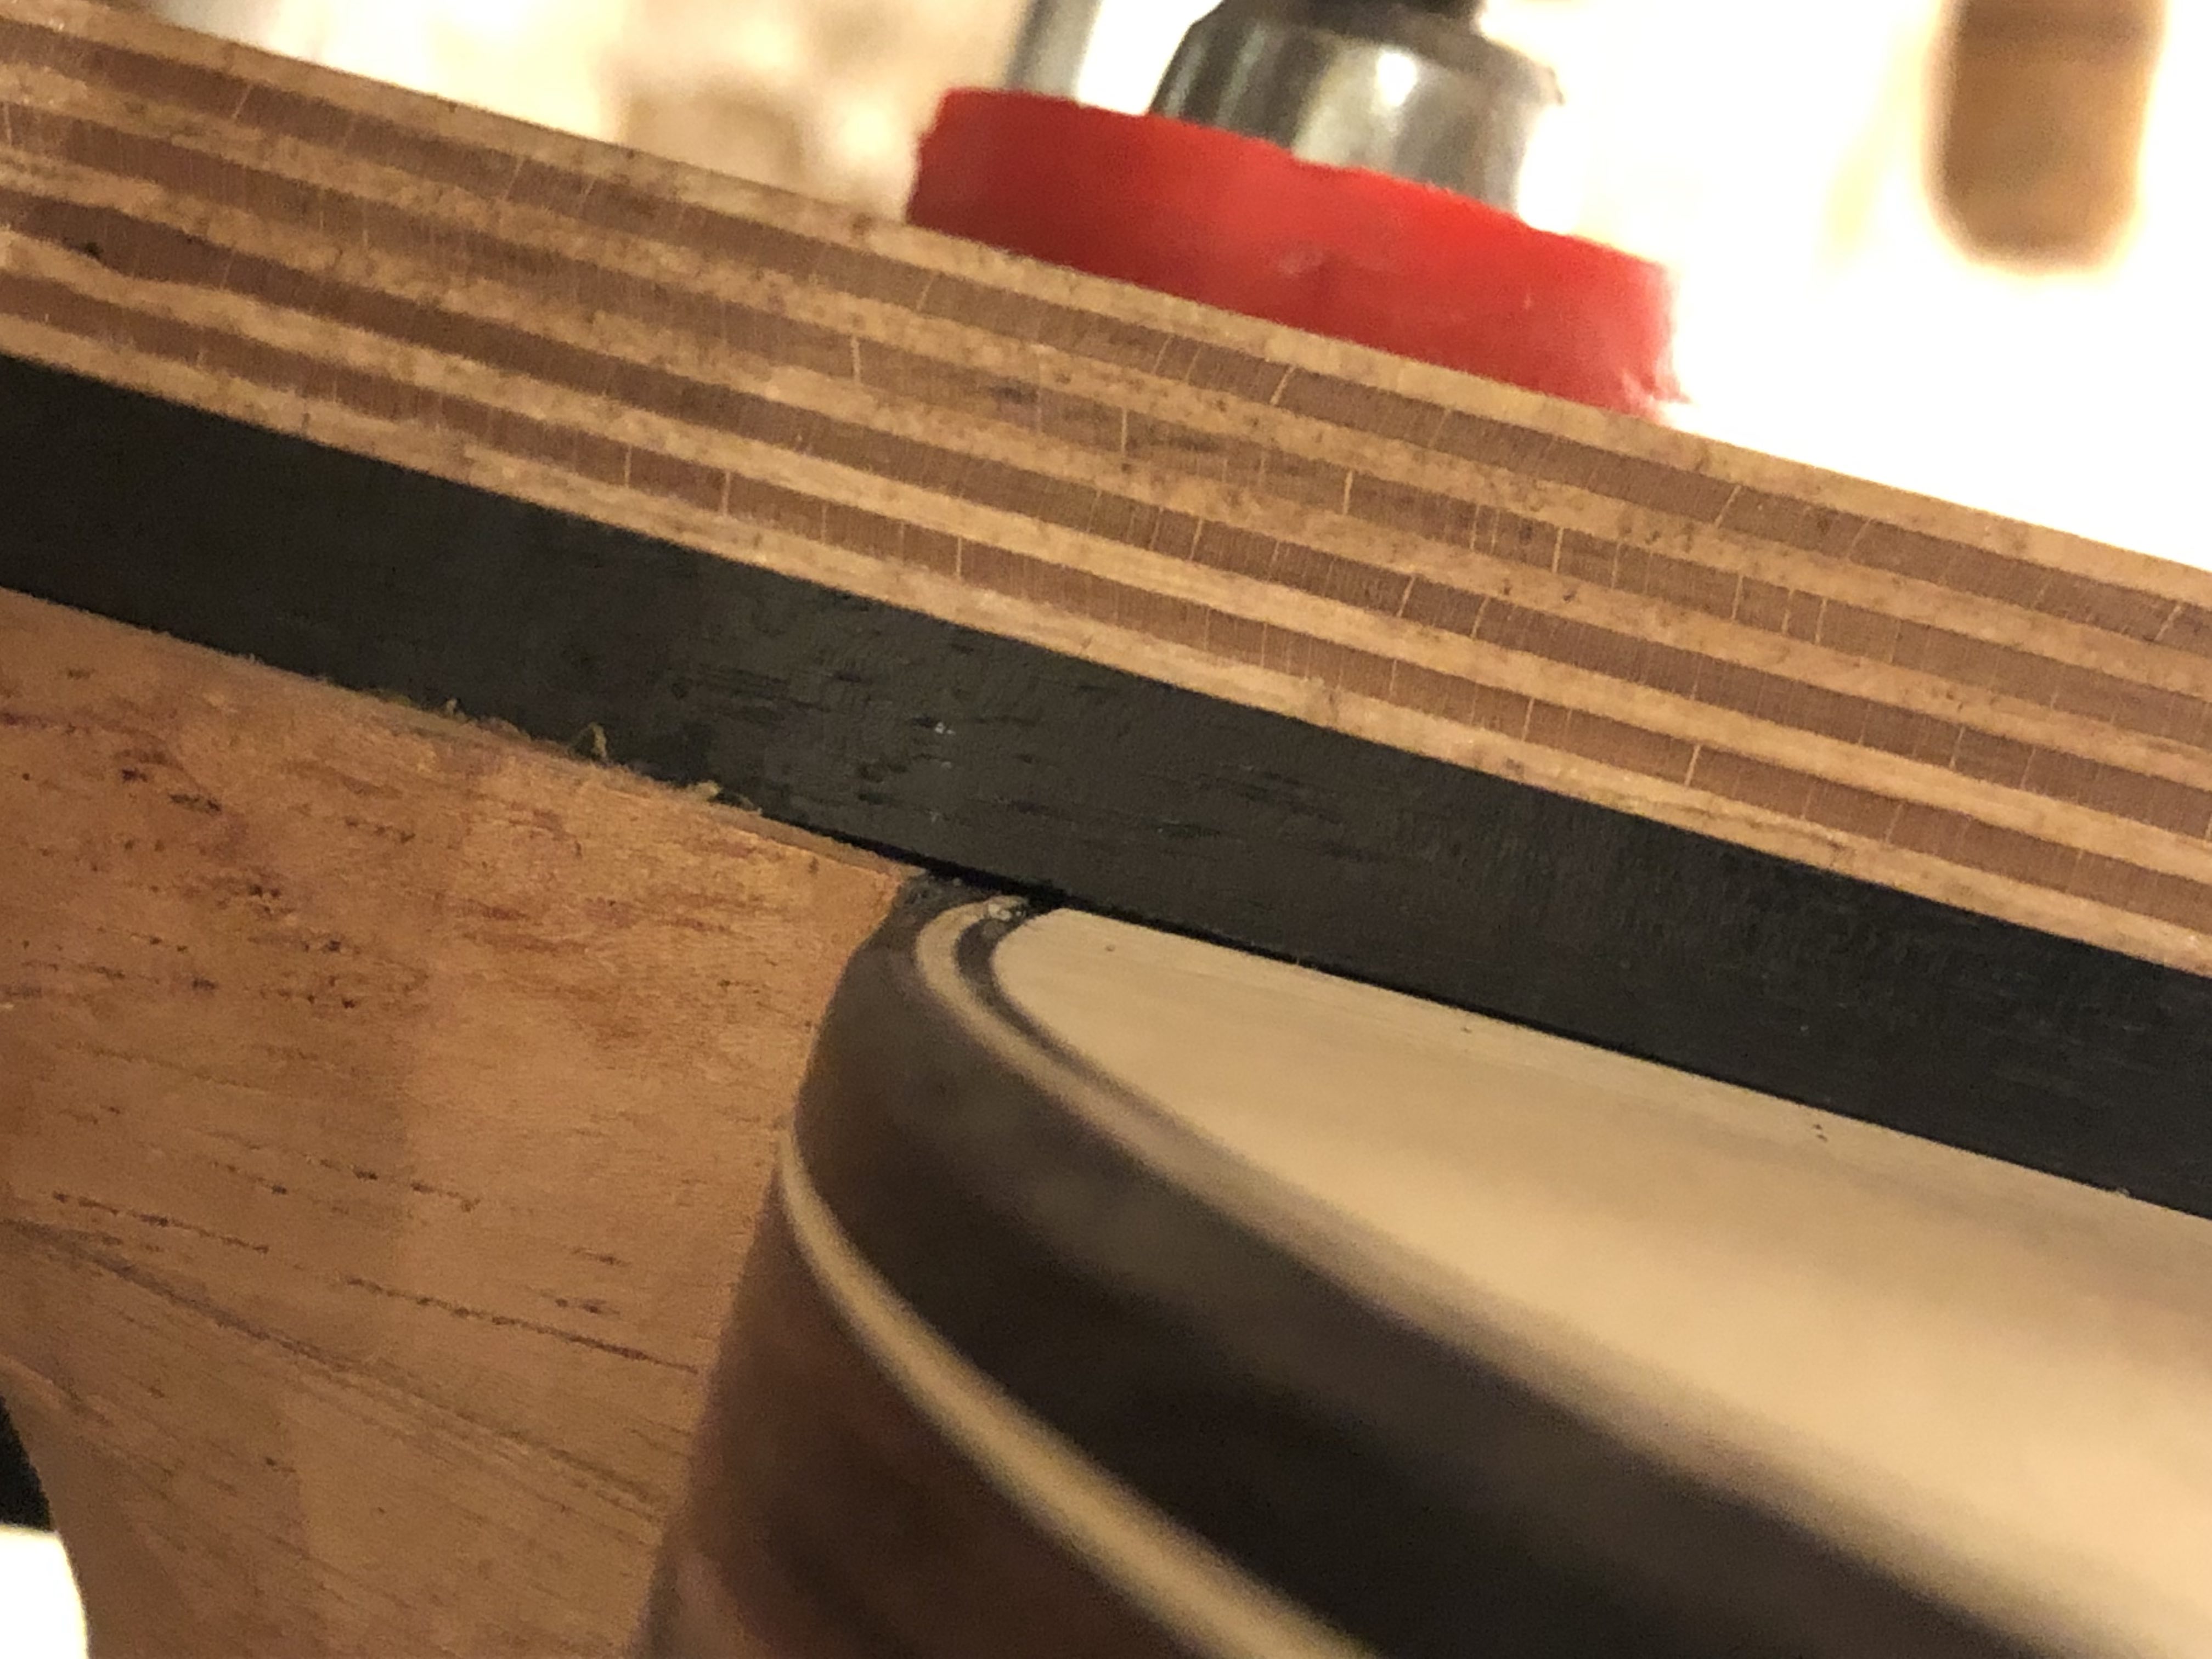
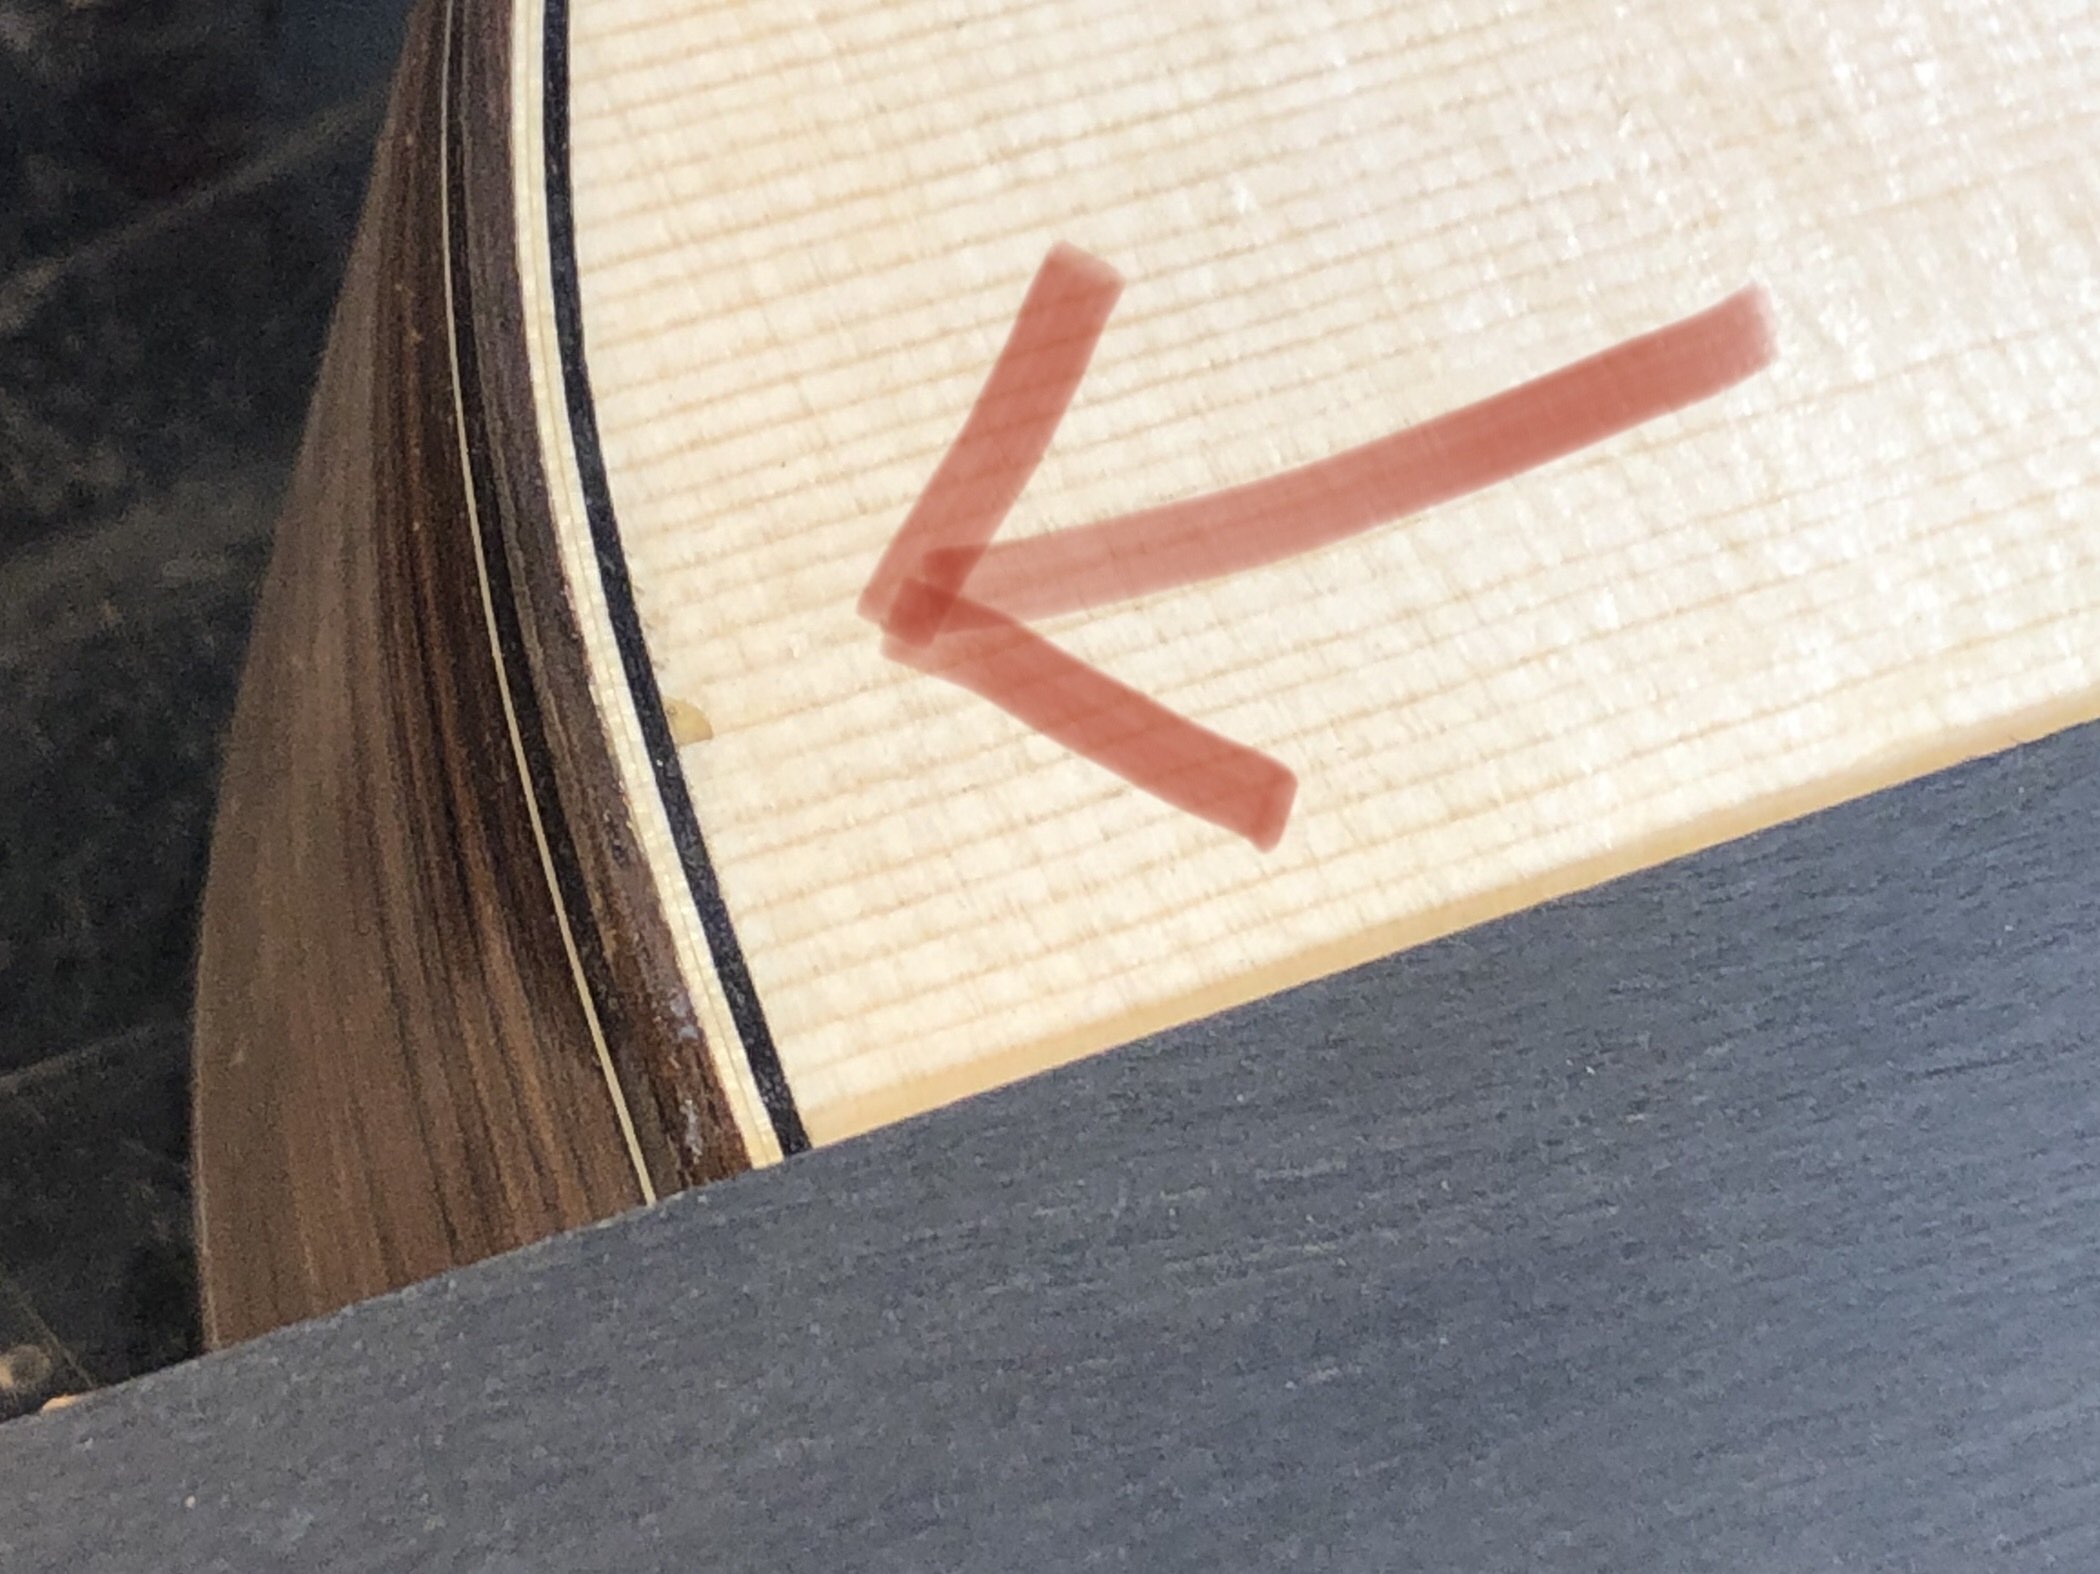
Hey guys! I just glued on the fretboard of my third built. Unfortunately there is a little gap at the 12th fret between the fretboard and the neck. I thought to fill it with CA but I am afraid to get an ugly edge. What would you use to fill it?
Images are resized automatically to a maximum width of 800px
Geez…I composed a big response and didn’t realize the fingerboard was already glued…
Personally, I would remove the fingerboard and either adjust it as outlined below and reglue or, if the fingerboard is ruined by removing it, make a new one and do the described fitting before gluing it. I wouldn’t try to cosmetically cover it up, your workmanship is better than that and replacing the fingerboard is good experience to obtain, so it’s not a disaster, it’s not out of the ordinary to have to redo stuff, it happens….
At any rate, I’ll leave the original reply here because it might be useful information for future use even if you do decide to go the gap filling route (see the P.P.S. at the end for some gap fill suggestions, lol).
Original reply….
Hi Mango,
This is likely due to not fitting the fingerboard to the neck angle, and the bottom of the fingerboard needs to be adjusted to account for the offset. A way to do this is:
- ensure the bottom of the fingerboard is nice and flat. - place the fingerboard on the neck (as was done in your picture) and measure the gap between the bottom of the fingerboard and the junction of the neck and body. - mark the position of the twelfth fret across the underside of the fingerboard and at the 19th fret end of the fingerboard mark the amount of gap you measured. - starting at the 19th fret end, plane the underside of the fingerboard with each swipe starting a little closer to the 12th fret position. The idea is to plane a ramp from the 12th fret to the soundhole whose drop will match the distance of the gap you measured. Constantly check for flatness while doing this to avoid planing a curved drop. Also constantly check the work against the guitar to confirm the gap is closing and that the fit is accurate. - ultimately the goal is a flush fit. It can be checked by putting a slip of paper between the fingerboard and the top of the guitar and pulling it to see if the slip is held tight when light pressure is applied to the top of the fingerboard.
Looking at your picture, it appears the gap is about 0.65mm and also it appears that the neck might not be hitting the body quite flush (with the neck appearing to be slightly proud). This can be rectified using a long sanding block on the neck and pulling it away from the body join to remove enough material to make the join flush. It’s important to check both sides as one side of the neck can be sitting taller than the other at the join and this is the opportunity to correct for that. It’s also difficult to maintain flat when using a sanding block so the neck should be both checked lengthwise and also across its width while making the correction, and a small block plane can be used to flatten any humps.
And, of course, there’s always more than one way to do anything when it comes to guitars so this is just how I’ve done it. Best,
P.S. Number 3!! Make sure you post your progress if you can. It’s a lot of fun following these projects.
….end of original reply
P.P.S. If you do choose to fill it you could make a paste out of white glue and ebony dust and cram it into the gap. I wouldn’t use epoxy darkened with pigment as that’s bound to make a huge mess that’s going to be very difficult to clean up (the ebony paste would be more manageable). I don’t think CA will get you where you want to go. But, regardless, it’s going to look like crap and may or may not resurface as a hairline later on in the guitar’s life. Doing a sprayed lacquer finish instead of French Polish might help hide the gap filling work. But it’s still going to bug you…it’s really better to just remove the fingerboard and do a closer fit.
Thought it was going to be a thread about what you've been up to lately, already rocking #3, fancy binding, gotta be some recording going on too?
Rob covered your basses fairly well.
I've had a few of these gaps and I've used both epoxy and CA but only after I had sealed up the wood with a number of coats of shellac. Wicking CA can get messy fast. I like epoxy using a carful mask, I use electrical tape cause but in the past I've used "fine line tape" and I wipe with Naptha until it's pretty, then pull tape, then wipe again as needed. If you were woried about the gap and a dead spot under those frets you could slot fret 12 then drill a hole through the slot and carfully inject the adhesive of your choice.
Read once someone was replacing the fretboard of a famous Houser or some other and noticed a black mastic under the fretboard, when questioning the origanal builder they said somthing like, hay your not supposed to notice that it's a trade secret... Somthing like that as the memorie is vaig.
As Rob noted you have to account for the neck angle in relation to the top. I use about 1mm of curve in the forward brace so I have to thin the 19th frett of the fretboard that much more.
Good to hear from you, once someone drops off the radar for a bit it's always a little worrisome.
HR
_____________________________
I prefer my flamenco guitar spicy, doesn't have to be fast, should have some meat on the bones, can be raw or well done, as long as it doesn't sound like it's turning green on an elevator floor.
Thank you guys! I actually did plane the ramp to compensate for the neck angle, but on one side there was this little material missing. I guess I should have adjusted this by planing the neck, but I find it difficult to plane / sand at this 179° angle and was afraid to make it even worse. Otherwise the fit is very good and I thought this would perhaps fill itself with glue when pressing the fretboard down. Also on the photo the gap looks a bit bigger than in reality, because I zoomed in with the camera. Well, how could I remove the fingerboard without destroying everything? It is glued with standard tidebond. Please don't say "plane it down"! Or make many saw cuts and then brutally hammer everything away with a big chisel? Or how about to make a little wedge out of ebony and fill it?
There’s no harm in trying a cosmetic fix first and if you’re not happy with how it turns out then go to the full Monty board replacement. In which case, the fill should be done with the possibility of removal in mind and that suggests CA or epoxy be avoided. You can experiment with making the filler, but I’d stick with something water based for the bonding agent.
Even if ebony dust is used, it probably is worth the trip to an art store to pick up some black pigment and make the paste really dark if need be, with the understanding that this can cause stains. Sealing the spruce with shellac will go a long way in making cleanup easier and preventing the top from getting discoloured from the filler.
You might have a lot of success doing a cosmetic repair. It’s quite likely nobody but you would ever even notice it. Other makers may or may not, but no one’s going to call you on it…
I’d probably go with different CA glues, using a black paste of CA glue and ebony dust just to fill the gap on the outside. I did it once (in that case it was a repair) and it came out almost invisible.
In the case of my first recommendation, it’s targeted to a person who shows a lot of promise as a guitar maker and who is also on the path to developing his craft. When that is taken into account, I still think it’s better to take the hard road and repeat the operation until it’s gotten right. There’s lots of valuable knowledge and experience accumulated when taking that approach. But that’s just one opinion, others might feel it’s better to finish the guitar with a cosmetic repair and move on to the next one, and there’s no harm in that either. I redid lots of stuff when I started out because that’s how I was taught, so it became part of my philosophy. I’m not saying that’s the only way.
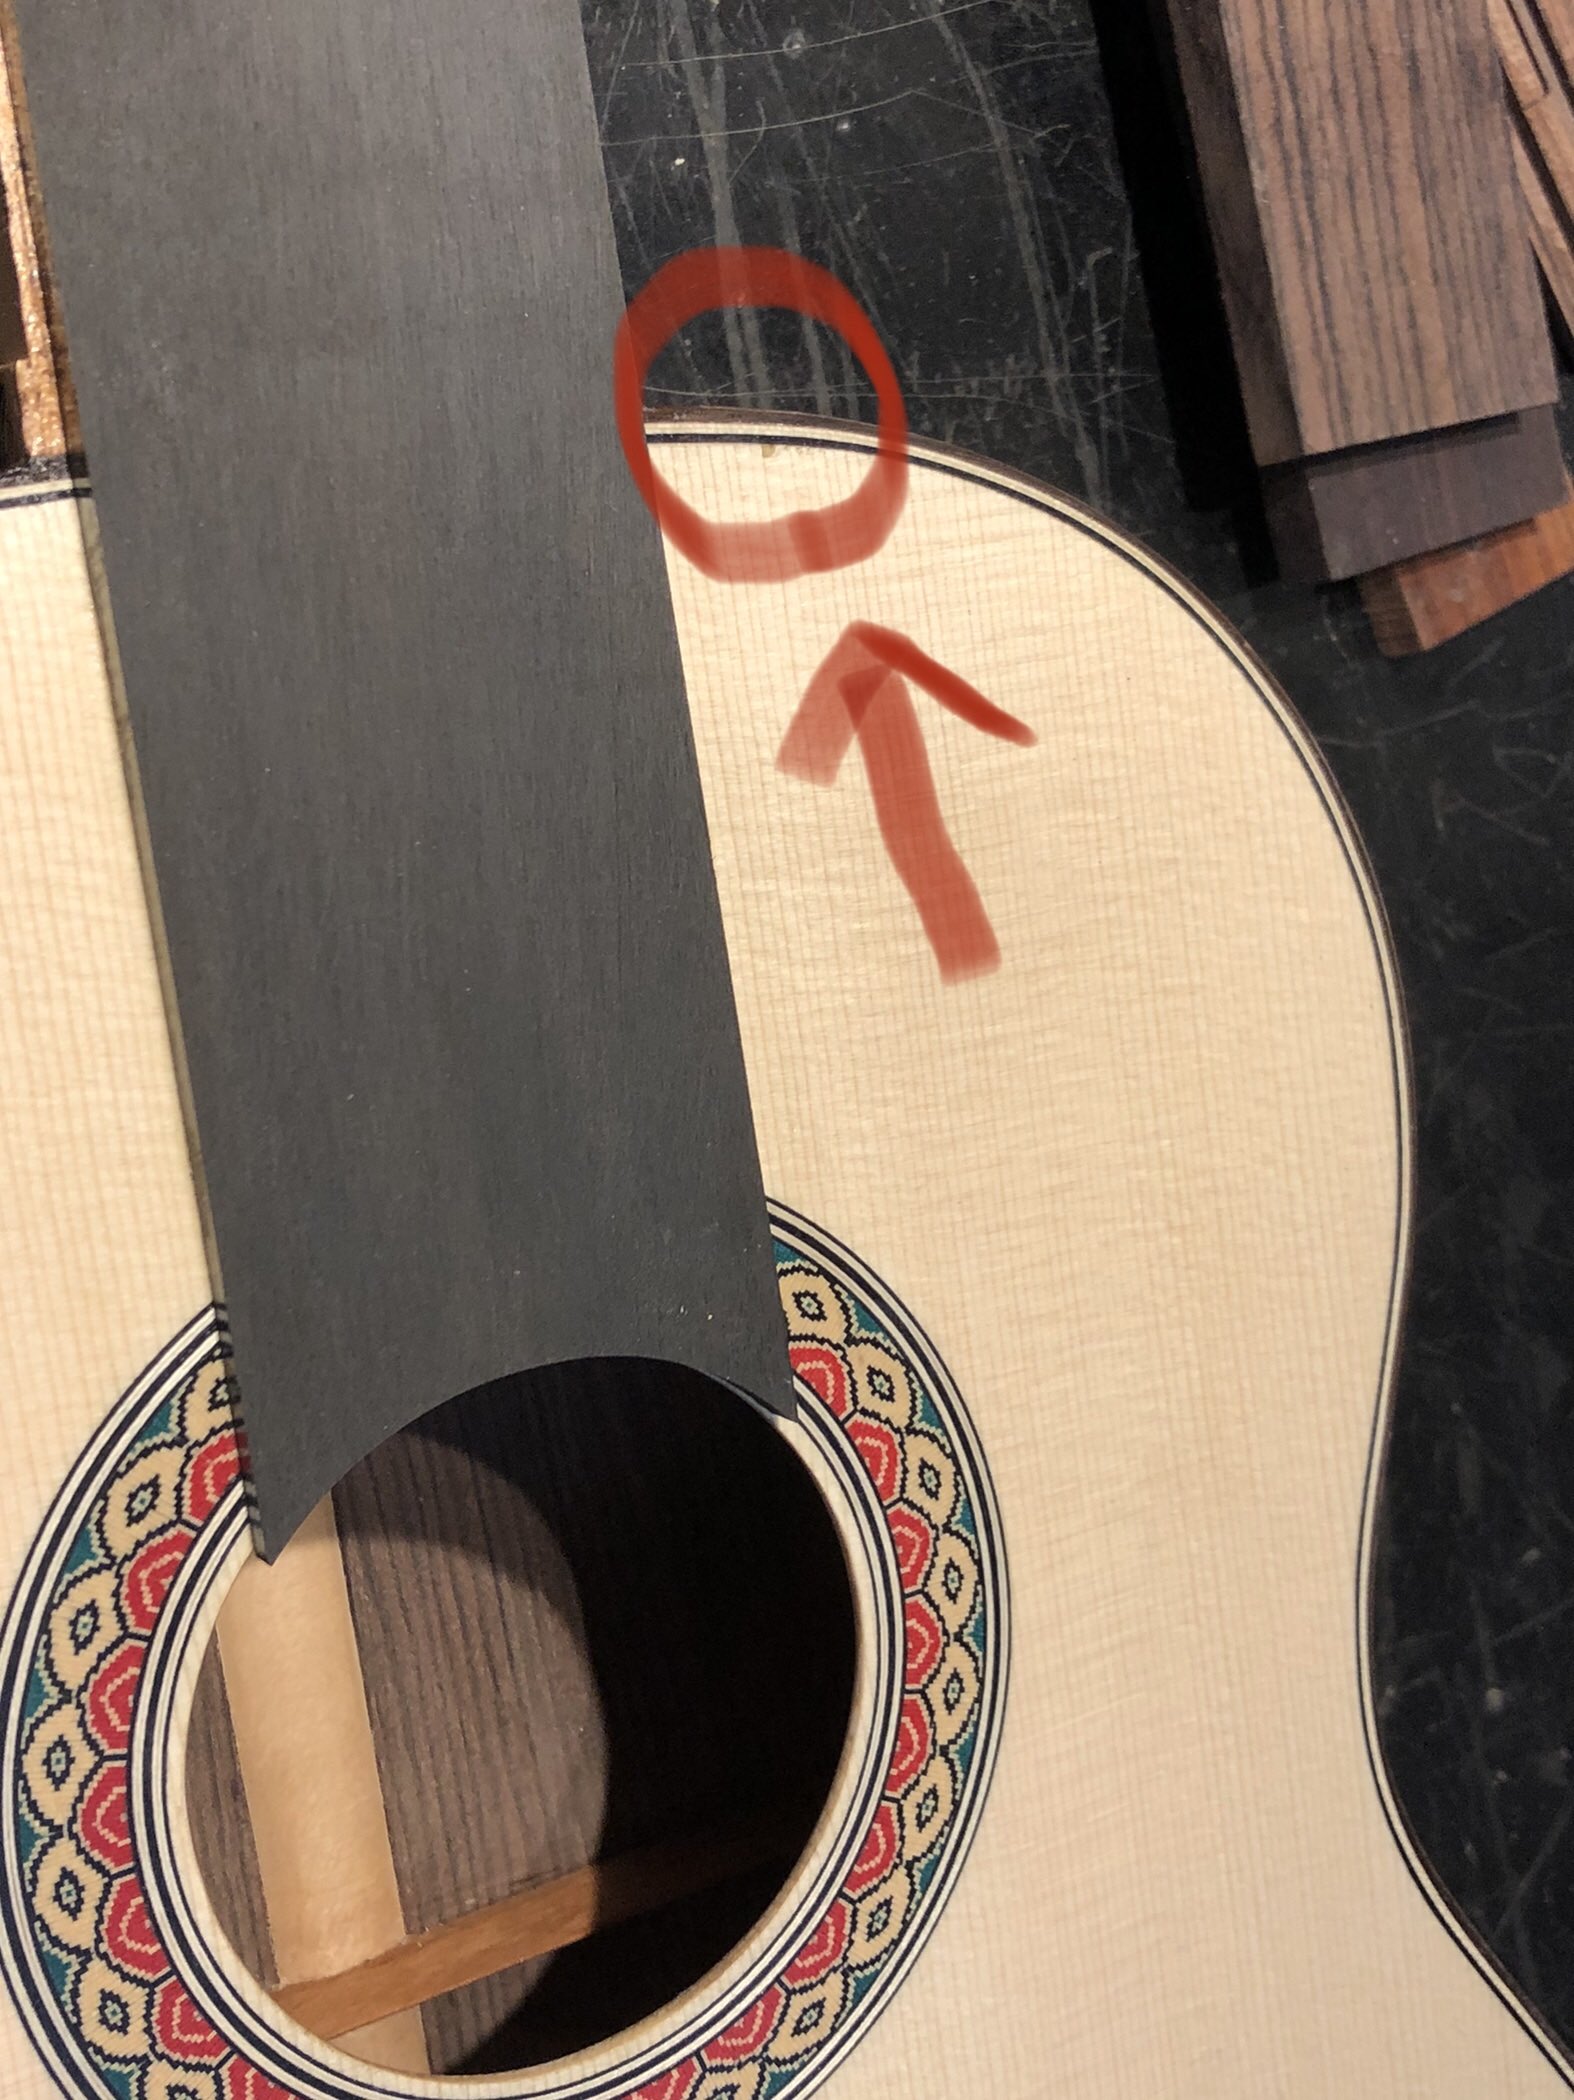
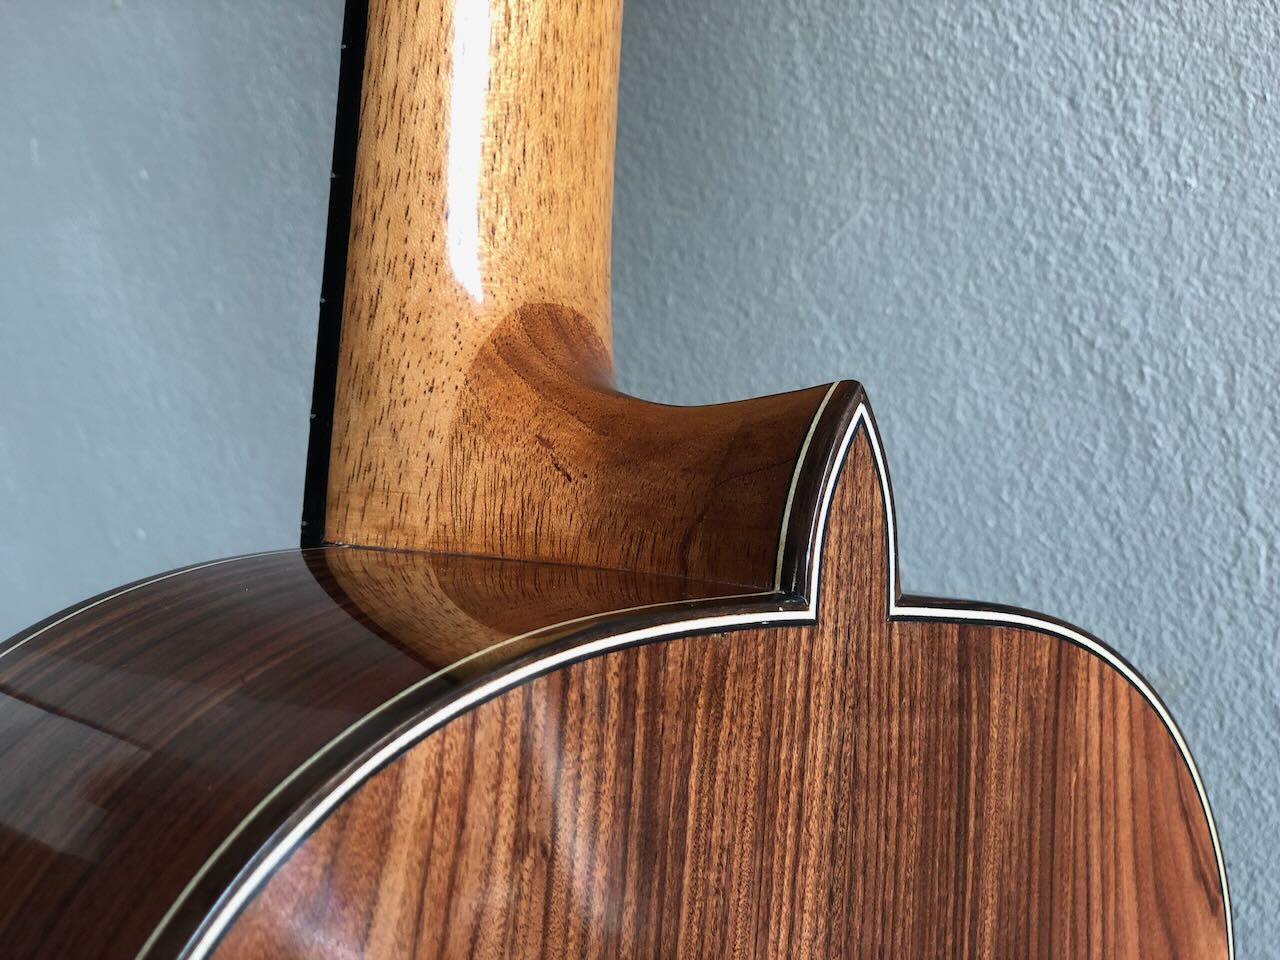
I was able to fill it with little slivers of ebony and super glue. The Spruce is clean and the ebony needs to be sanded if everything is dry. Looks reasonable to me. Until now I tend to stay with this board... there is also another little gap that appeared after the bindings had been dried. Look at the photo. I guess the only chance would be to cut this out with a 2mm chisel and make a square piece of spruce to fill that gap. Do you think it will look better in the end if I try? Well, all these little mistakes happen, but I know as soon as I start playing this guitar, there will appear many other dings and dongs, and nail scratches... At the moment I don't want to sell any of these guitars. But yes, it always hurts a bit to see that it's not perfect ;-)
Images are resized automatically to a maximum width of 800px
Can't you take a thin sliver off the wood from the neck while roughly carving and wedge it in there with a bit of glue behind? It looks like it should not be ebony to me if you follow the straight line.
The little chunk out of the spruce looks like it’s full of glue. It’s a tough call whether to attempt a graft. Sometimes they come out perfect and really are essentially invisible, but other times it can run away on you. I don’t use straight chisels, instead I’ll use a small parting gouge to create a shallow cylindrical channel which makes the seam of the graft kind of circular at its end and I cut the patch with the same chisel so it’s a tight fit and the glue join is solid. Also, it’s important to use white glue or hot hide glue or it will show. But sometimes if left alone a chunk like this can be quite unnoticeable once the finish is on, and if it’s shallow a lot of it might even sand out while prepping the binding.
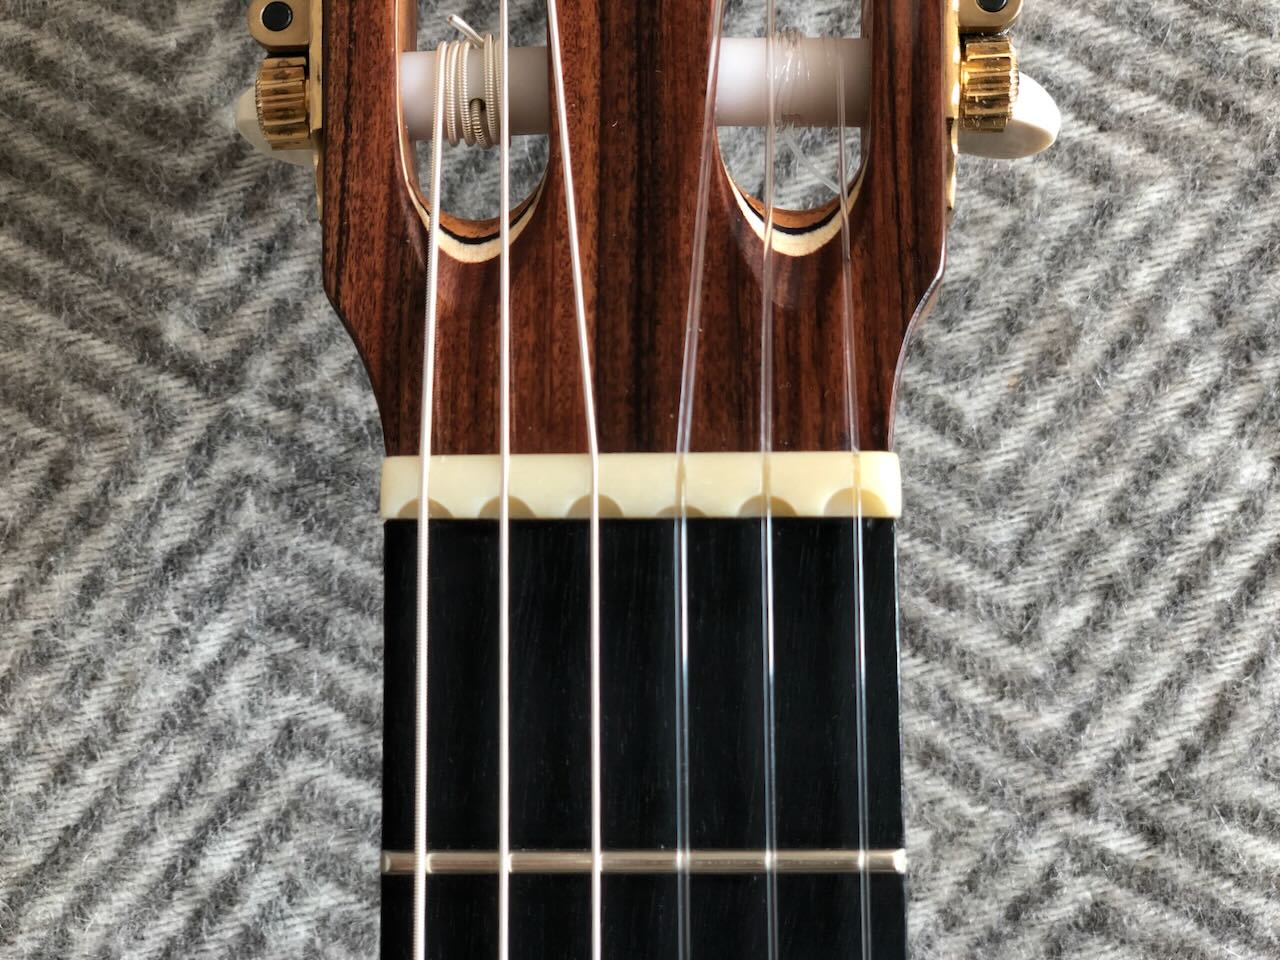
But, bigger question - are you cutting the fret slots with the fingerboard already installed or is this going to be a fretless guitar? Cutting them after the fingerboard is attached seems to be a pretty hard way to go about it. Just found it a little surprising to see…
Can't you take a thin sliver off the wood from the neck while roughly carving and wedge it in there with a bit of glue behind? It looks like it should not be ebony to me if you follow the straight line.
I used ebony because I thought it would look strange if the cedar would go above the bindings and the top. Anyway the line of the fretboard is never straight because there is this ramp from the 12th fret to the sound hole.
But, bigger question - are you cutting the fret slots with the fingerboard already installed or is this going to be a fretless guitar? Cutting them after the fingerboard is attached seems to be a pretty hard way to go about it. Just found it a little surprising to see…
Yes I cut then after I glue the fretboard on. Seemed more logic to me to adjust angle of the fretboard for a good string action before cutting the slots. But yes, it could also work before, but then I would have to guess a bit how deep to cut them. Last time it worked actually straight foreword with that thin mdf cover I made to protect the top.
I really like your rosette. As Rob said, usually it’s easier to cut the fret slots before gluing the fretboard: you may always come back to deepen some of them before hammering the frets if needed.
Progressing on the next one! I agree with Rob. Post some updates if you get a chance. And also great pro tips from Rob. Clever one regarding the gouge.
What I came across many years ago was a product called 'lacquer sticks'. They come in many different colors and work very well. Just heat up a pallet-knife, melt a bit of whatever color you need and fill in the void. Any store that sells materials for furniture refinishing should carry them.
In the case of my first recommendation, it’s targeted to a person who shows a lot of promise as a guitar maker and who is also on the path to developing his craft. When that is taken into account, I still think it’s better to take the hard road and repeat the operation until it’s gotten right. There’s lots of valuable knowledge and experience accumulated when taking that approach. But that’s just one opinion, others might feel it’s better to finish the guitar with a cosmetic repair and move on to the next one, and there’s no harm in that either. I redid lots of stuff when I started out because that’s how I was taught, so it became part of my philosophy. I’m not saying that’s the only way.
Rob, A good mentor says words the novice doesn't want to hear. I have a few ugly neck gaps, way bigger then Mango's, and wished I had been patient enough to stop and do what you have recommended.
HR
_____________________________
I prefer my flamenco guitar spicy, doesn't have to be fast, should have some meat on the bones, can be raw or well done, as long as it doesn't sound like it's turning green on an elevator floor.
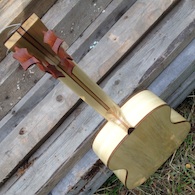
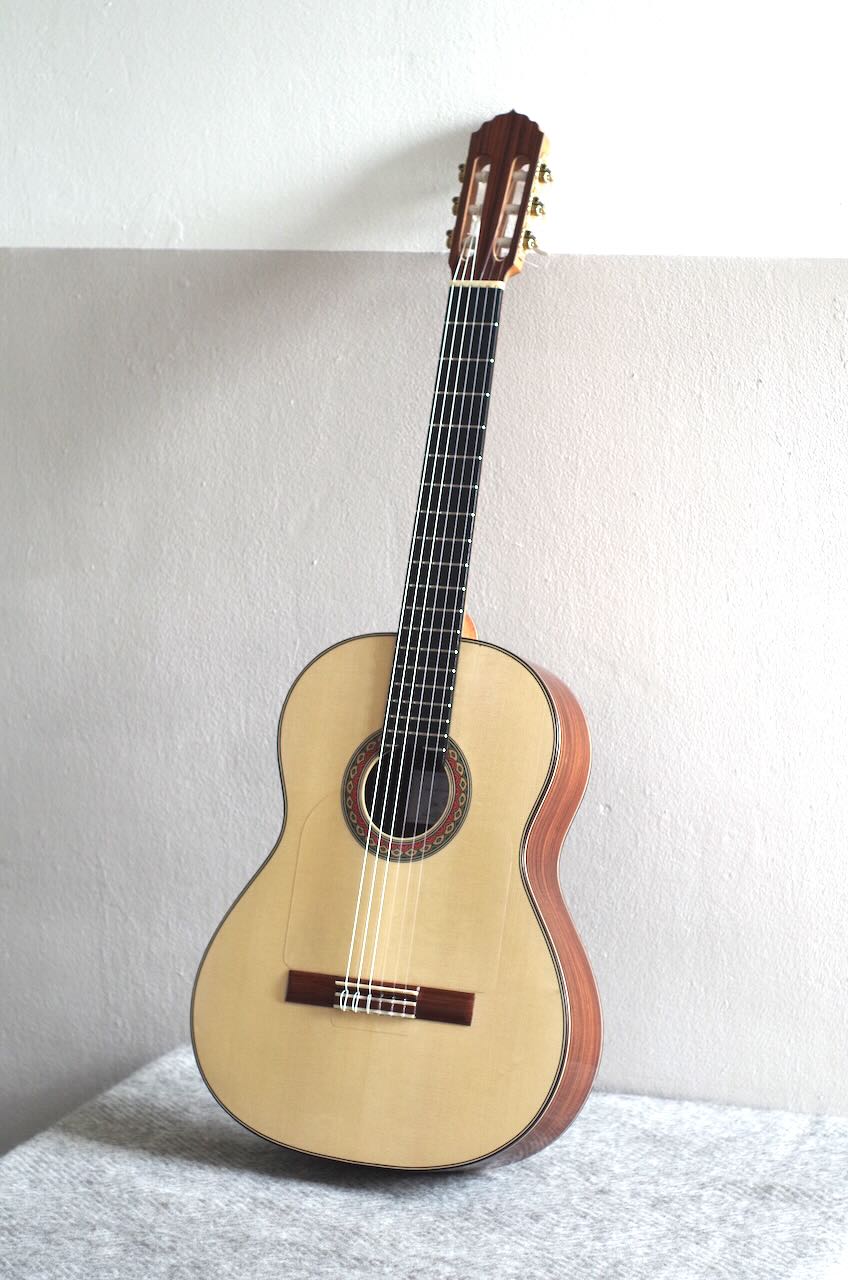
Finished this one today :-) This little gab is not visible anymore... Sound is really nice and different to my previous builds. Body resonance is much lower at F#. It has nice bass without being muddy at all and a nice sweet singing voice.
Images are resized automatically to a maximum width of 800px

 Printable Version


 New Messages
 No New Messages
 Hot Topic w/ New Messages
 Hot Topic w/o New Messages
 Locked w/ New Messages
 Locked w/o New Messages
 Post New Thread