Welcome to one of the most active flamenco sites on the Internet. Guests can read most posts but if you want to participate click here to register.
This site is dedicated to the memory of Paco de Lucía, Ron Mitchell, Guy Williams, Linda Elvira, Philip John Lee, Craig Eros, Ben Woods, David Serva, Tom Blackshear and Sean O'Brien who went ahead of us.
We receive 12,200 visitors a month from 200 countries and 1.7 million page impressions a year. To advertise on this site please contact us.
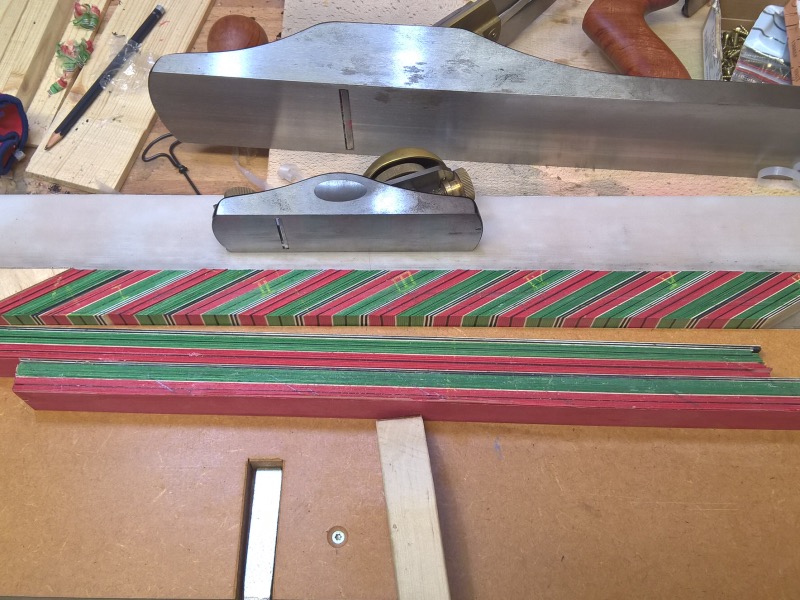
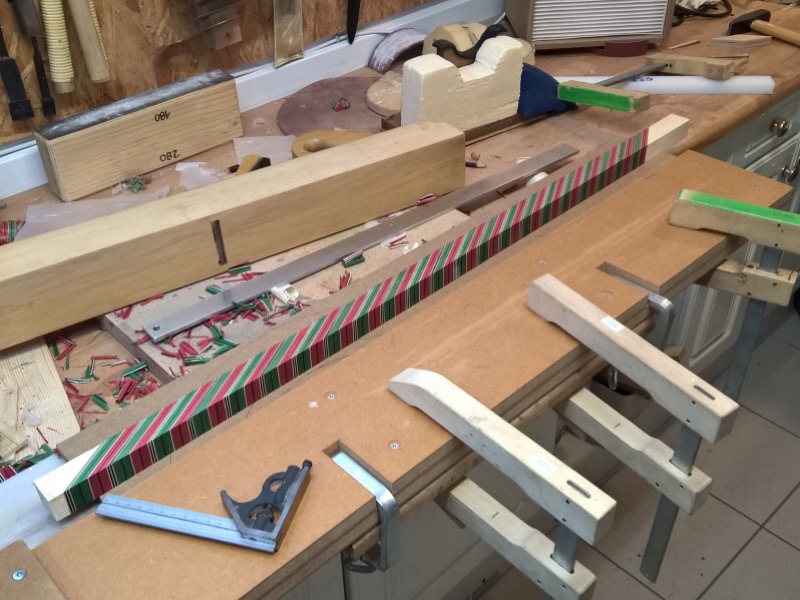
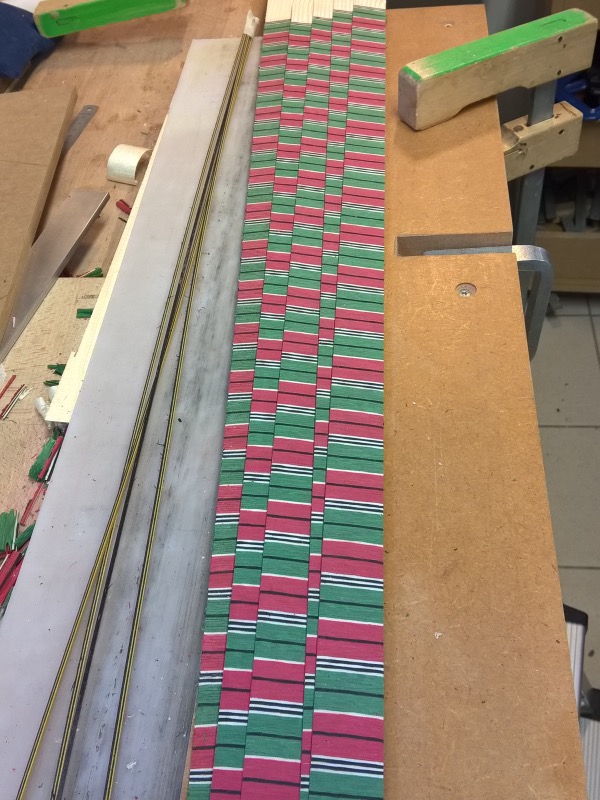
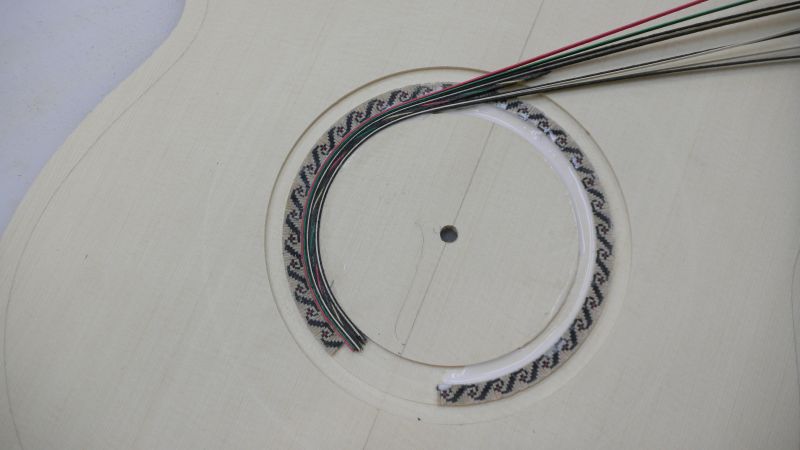
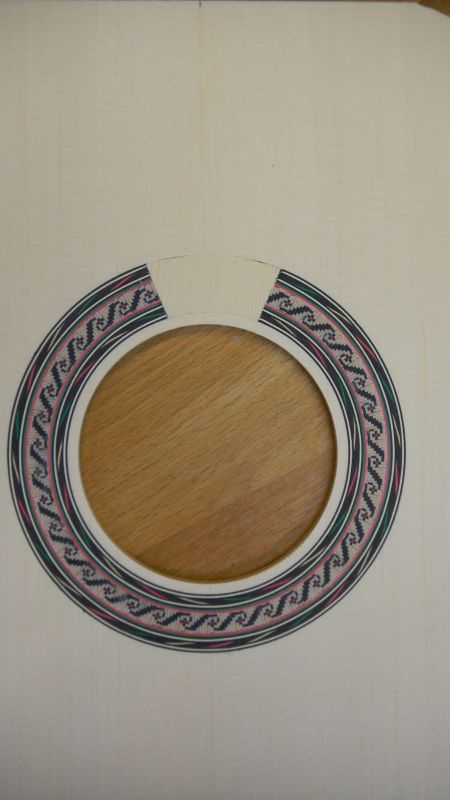
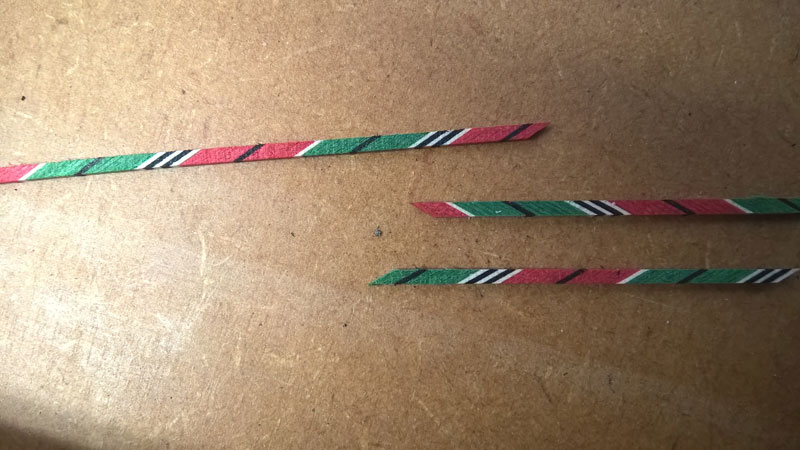
I start a new special build for a new customer. His family is trading with wood called "Speierling" ( sorb or whitty pear). In the last days I have spend some time for layout the design and made some purflings and herringbone. This is the first time I make the ropepurflings by myself. I sliced the block into 2,5 mm wide pieces. Now my plan is to thickness the slices with the drumsander to 1,8 mm and glue some veneers on both sides. After that I will saw the sandwich into purflings stripes 2x3 mm but I'm a little bit scared and hope they do not brake. I have used titbond II! Do you have any suggestions for doing this step well?
Images are resized automatically to a maximum width of 800px
I have never used half-herringbone for purflings--only for rosette components.
I have found that it is best to pre-glue veneer to (at most) only one face, in order to maintain flexibility for bending around curves.
I usually work with the half-herringbone (rope) without pre-gluing veneer to a face. If it breaks, you simply reassemble it as you glue it in place. So, long pieces are not necessary but are nice.
Another thing to consider is that it might be easier to install a delicate and complicated purfling in a channel rather than on an edge.
You could install the binding first, using teflon spacers (http://www.lmii.com/products/mostly-not-wood/inlay-materials/teflon-strips), then remove the spacers and install the purfling in the resulting channel.
Images are resized automatically to a maximum width of 800px
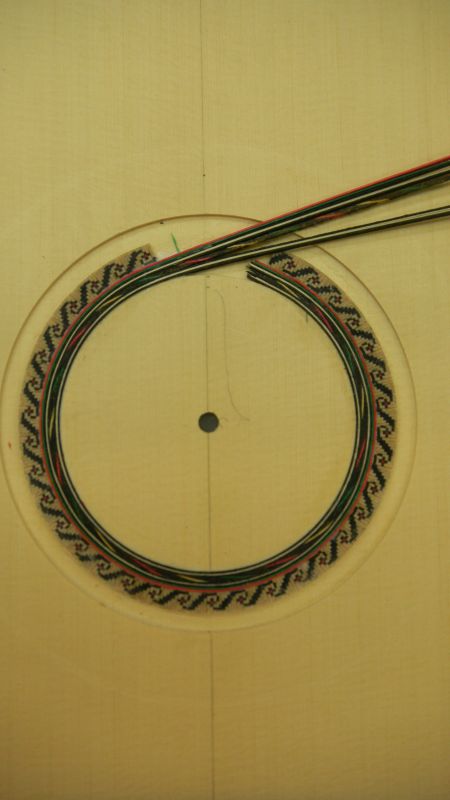
That is a beautiful in-the-works picture. Love it! - For perfect layout the rosette only needed to be a bit more to the left and lower, appearing like a shooting star. (But I know, you weren´t thinking of picture aesthetics in such case. ... Just to me shop pics can be very aesthetical.)
Ruphus
Images are resized automatically to a maximum width of 800px
Looking good. I like to glue very thin black or white fiber veneer (not wood, more like a thick, tough paper) to both faces using gorilla glue. The whole thing shouldn't be more than 2 mm thick. It makes a flexible, strong strip that bends well.
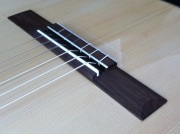
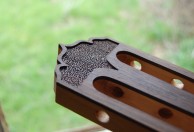
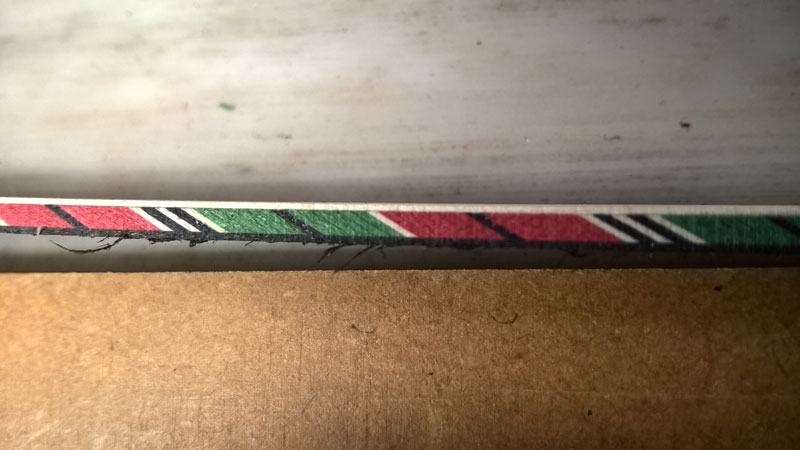
The veneer lines are not broken where they will show. The ends got tucked under the fingerboard.
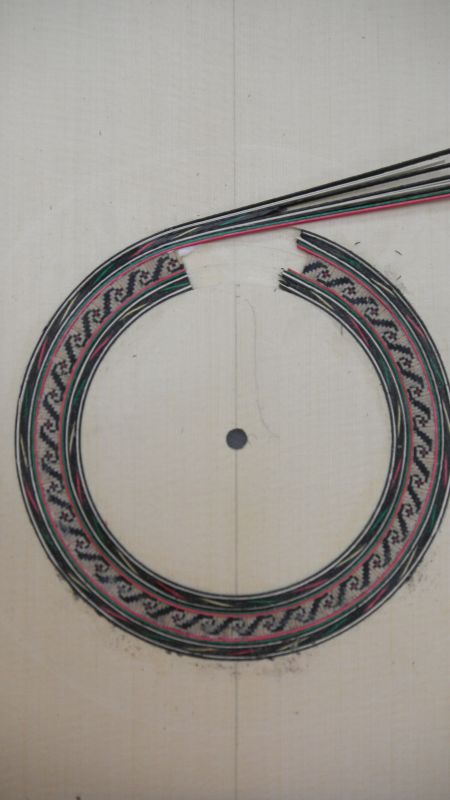
I extended the "rope"--I guess you could say with a scarf joint, but the rope is made up of lots of scarf joints. Maybe the pictures will answer your question.
Images are resized automatically to a maximum width of 800px
My small knowledge about guitar making I learned from a view books and the members here in the forum. I never had a chance to have a look inside a luthier workshop. This forum and the informations from people like you is essential for me. Sharing experiences is obligatory!

 Printable Version


 New Messages
 No New Messages
 Hot Topic w/ New Messages
 Hot Topic w/o New Messages
 Locked w/ New Messages
 Locked w/o New Messages
 Post New Thread