Welcome to one of the most active flamenco sites on the Internet. Guests can read most posts but if you want to participate click here to register.
This site is dedicated to the memory of Paco de Lucía, Ron Mitchell, Guy Williams, Linda Elvira, Philip John Lee, Craig Eros, Ben Woods, David Serva, Tom Blackshear and Sean O'Brien who went ahead of us.
We receive 12,200 visitors a month from 200 countries and 1.7 million page impressions a year. To advertise on this site please contact us.
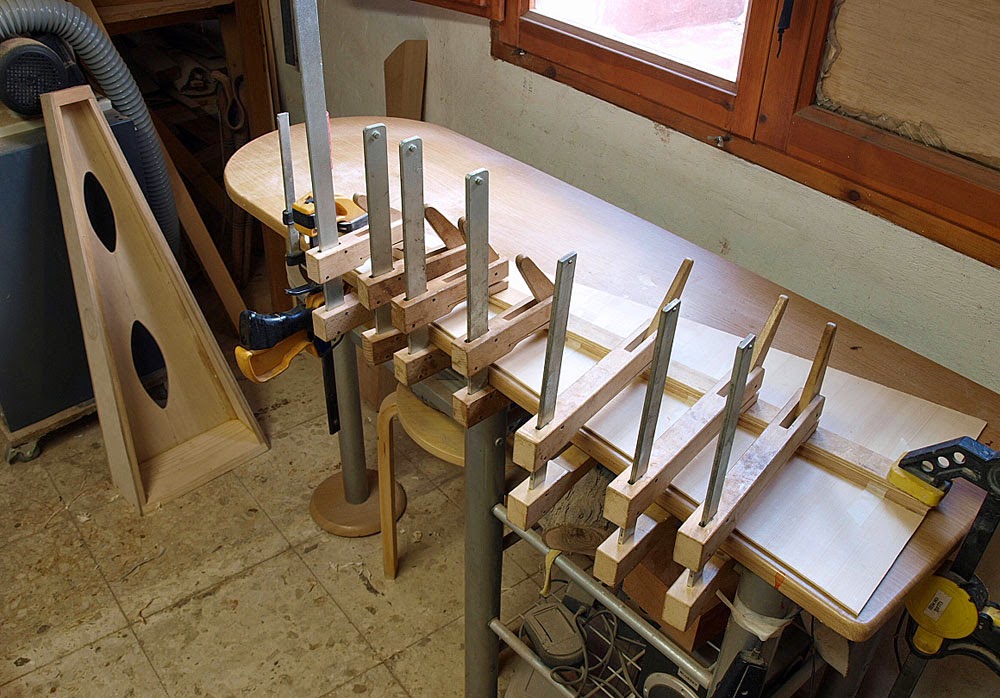
Just a photo I made when installing a set of mechanical pegs from pegheds.com
The installation instructions say that we should drill a 7mm hole and ream the hole to a size so that the pegs are a few milimeters from going all the way through to their final position. We are then supposed to "cut" a thread in the headstocks wood by turning in the peg and using the threaded shaft of the peg to do the cutting. We shall turn the shaft of the peg and never turn the head of the peg. This turning and cutting the thread can be hard for our fingers, so it helps to turn a rubberband around the shaft. As simple as that. My fingers not as good as they were and these little tips help a lot. I didn´t find out this by myself, but because I recently installed a set of "pegheds" on a fiddle and the instructions for the pegs said to do use a rubberband. Violin pegs are smaller, meaning that its more difficult to get a good grip on the peg shaft and besides that, you have to cut the thread in maple which is a lot harder than the Spanish cedar used on flamenco guitars.
Images are resized automatically to a maximum width of 800px
Me will be having pegheds on their way for to replace worn out pegs, and the rubberband trick will certainly be handy. ( Don´t think I would had come to the idea of such. Probably used some cloth or so and have much less friction than with rubber.) Muchas gracias!
Yes, thank you for sharing this, Anders. I nearly always use Pegheds and it can be tricky to install them, and I am sure this tip will help me a lot too.
The instructions also say to use one drop of Super Glue on the threads, and I have had several come loose in use that way. Of course, it is hard to define "one drop," but I find it best to use several small drops so maybe the middle third of the threads are covered all the way around.
I asked Chuck for a spare lefty and righty shaft. Just scrap but as long as the threads were right.
I then gave these pegs two flat sections that I could fit a spanner to and hey presto I can now power through the threading stage. The elastic band is the icing on the cake for me! now I can fit all of the pegs with ease too.

 Printable Version


 New Messages
 No New Messages
 Hot Topic w/ New Messages
 Hot Topic w/o New Messages
 Locked w/ New Messages
 Locked w/o New Messages
 Post New Thread