Welcome to one of the most active flamenco sites on the Internet. Guests can read most posts but if you want to participate click here to register.
This site is dedicated to the memory of Paco de Lucía, Ron Mitchell, Guy Williams, Linda Elvira, Philip John Lee, Craig Eros, Ben Woods, David Serva and Tom Blackshear who went ahead of us.
We receive 12,200 visitors a month from 200 countries and 1.7 million page impressions a year. To advertise on this site please contact us.
|

|
|
Ebony dust
|
You are logged in as Guest
|
|
Users viewing this topic: none
|
|
Login  | |
|

   
RobF
Posts: 1611
Joined: Aug. 24 2017
|
 RE: Ebony dust (in reply to mango) RE: Ebony dust (in reply to mango)
|
|
|
It never hurts to leave a bit of wiggle room for cleanup, but half a mm thicker to allow for sanding is HUGE, lol. Maybe leaving 0.1mm extra is prudent, 0.2mm tops, and there’s many who would say that’s way too much.* It’s also probably better to save the wiggle room for addressing unforeseen catastrophes, rather than for general clean-up tasks.
The only real mis-step you made was to handle the area being protected by the cover, because it was giving you a false sense of security. Everything else was on the right track.
Giving the top a spit coat is good. A reusable slip cover can be made from semi-stiff plastic with a felt backing (better than thin MDF, which is likely too stiff). Lots of makers just tape on poster paper cut to the shape of the upper bout with a cutout for the fingerboard that can slip into the soundhole and then underneath it.
Main thing is don’t touch the covered area of the guitar while working. Brace the tail end of the guitar against something that has a non abrasive covering with the covered head braced into your stomach and work the neck that way, or clamp the guitar in a cradle and then to the bench, whatever works; just don’t hold the guitar at or push down on any area that has a protective covering over it as any detritus that has found its way underneath can then be ground into the (supposedly protected) surface.
I keep a couple of high quality soft bristle paint brushes at the bench and use them to brush off dust (they’re good ones normally used for house painting, I think one is 3 1/2” wide and the other is a pointed blunt end one with bristles bunched into a bundle about an inch in diameter). Brushing off with your hand can push dust/detritus into the top and should be avoided. I also use a vacuum, but only to suck dust off the protective covering over the sound hole and off the fingerboard itself. I grasp the nozzle firmly in my hand and brace it a short distance from the surface with my fingertips to keep the nozzle from being sucked down and hitting anything.
Blowing with compressed air isn’t a good idea as you’ll get ebony dust over absolutely everything. If you use your mouth it’ll just blow back into your face.
Saving some of the ebony dust in a jar for future use is always a good idea, as it can be used to fill tear out.
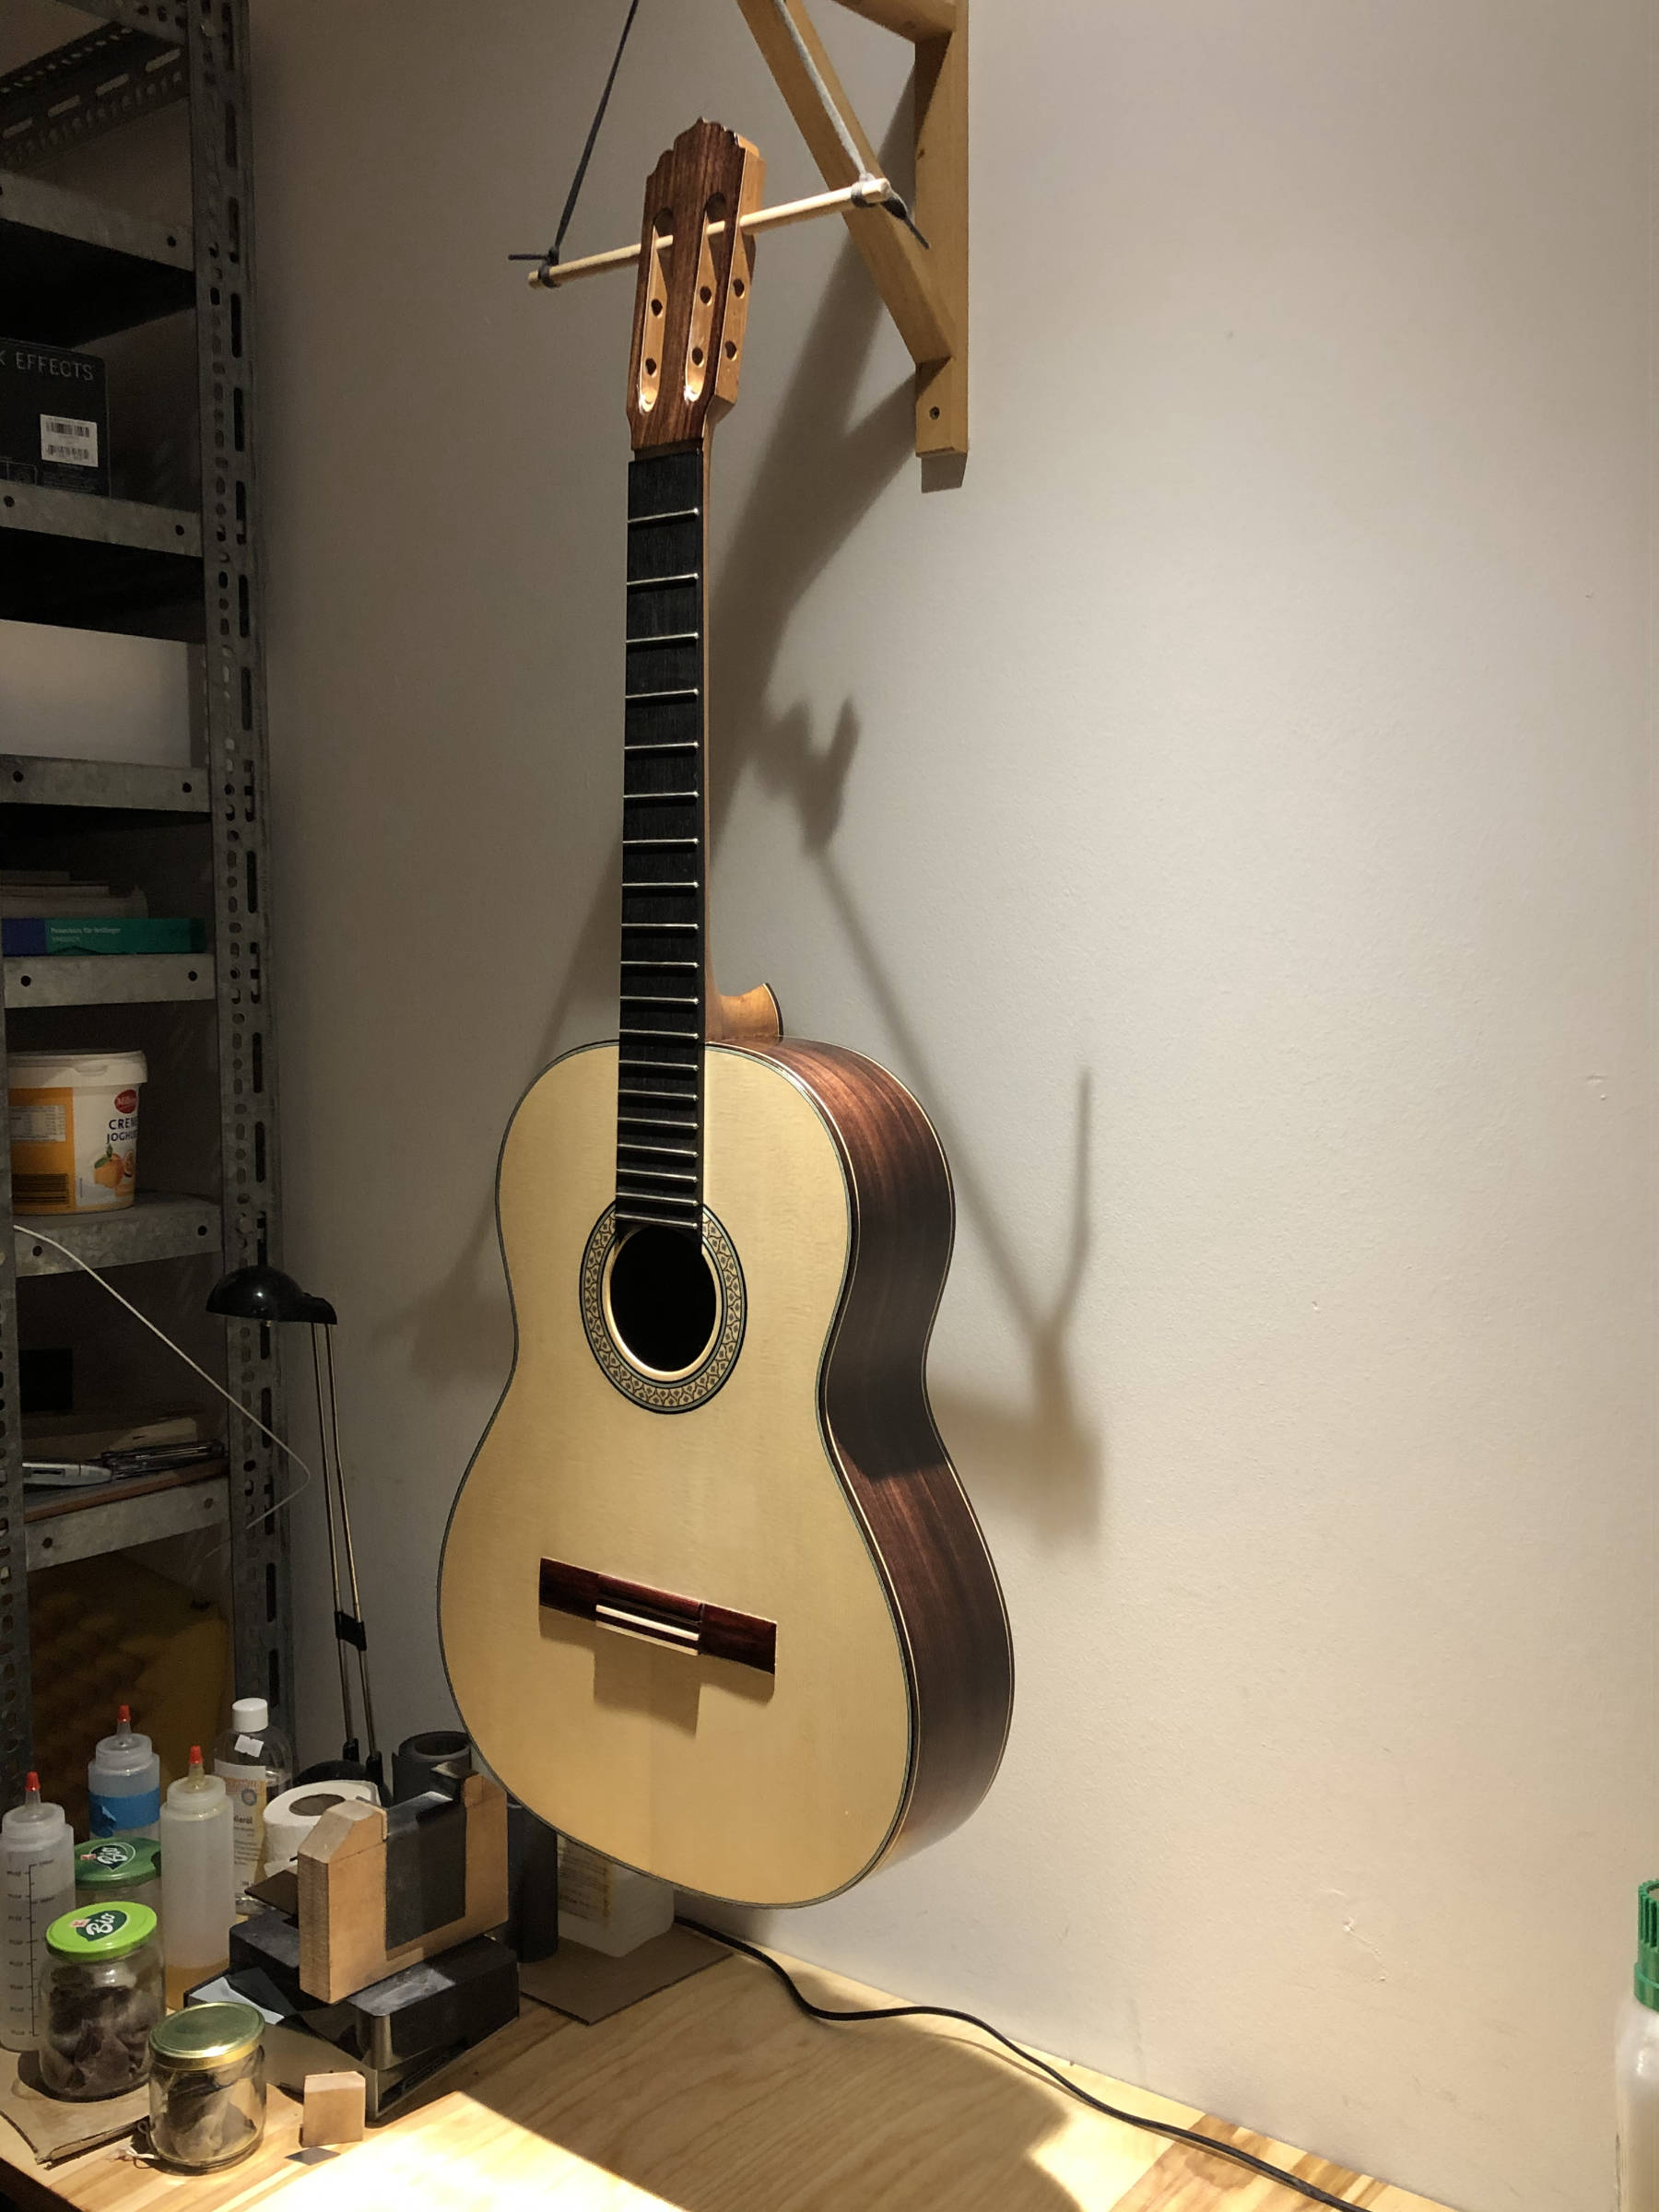
I think I might start a thread asking makers to show off their work spaces, as a huge amount can be learned from those pictures. Whenever someone posts a picture of a new guitar I’m always looking past it to see what’s going on with their bench and in the room behind, lol. There’s always something to learn.
* For a point of reference, measure the thickness of a cutoff before and after removing the scratches made by an 80 grit paper by sanding down to a fine finish. The difference is probably plenty to leave as wiggle room.
|
|
|
|
REPORT THIS POST AS INAPPROPRIATE |
Date Feb. 26 2021 21:32:29
 |
|
ernandez R
Posts: 739
Joined: Mar. 25 2019
From: Alaska USA
|
|
RE: Ebony dust (in reply to mango)
|
|
|
I always look behind the guitAr to the workbench or whatever ;)
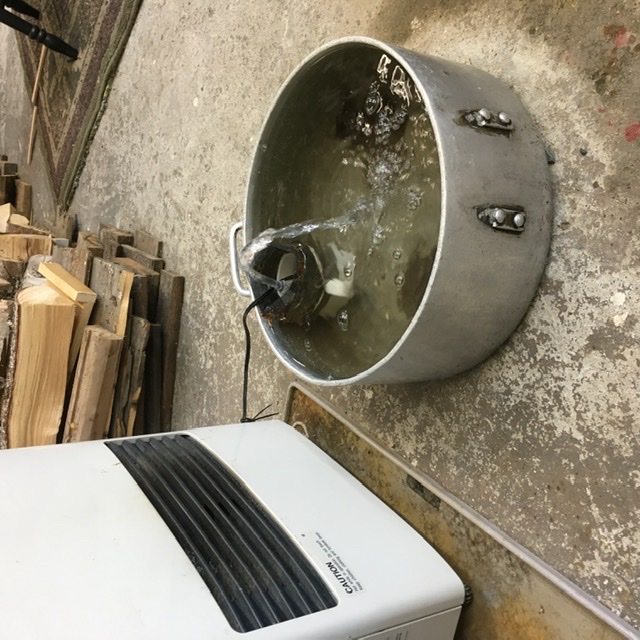
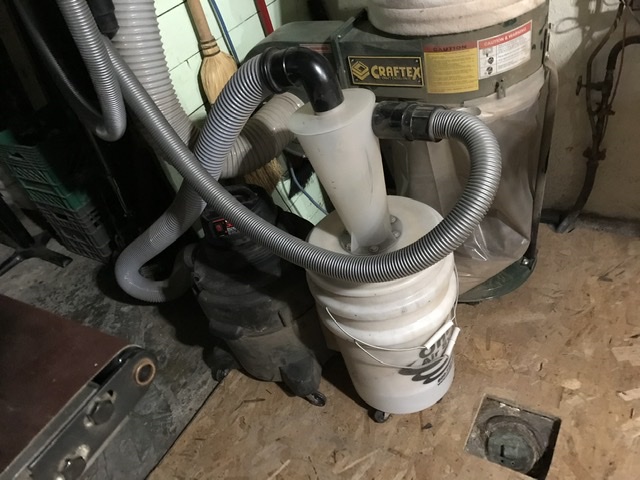
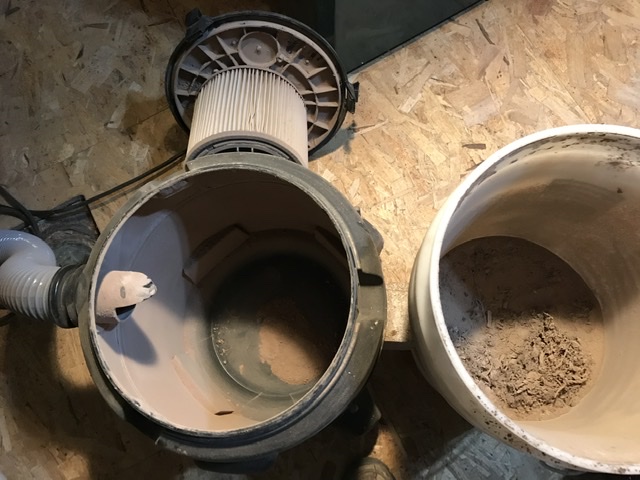
It’s all about dust control. I have two larg shop vacs outside the shop in a shed , was one but I had a productive minion so we added one, the hose and power cord com through the wall and I’ve got a switchable power strip there to turn them off and on. I’ve got enough hose to get to the shop shop.
Couple things: shop vacs throw dust everywhere and the dust they bypass even with the best filter is the kind that does the most damage. Also having them outside makes for a piecful shop.
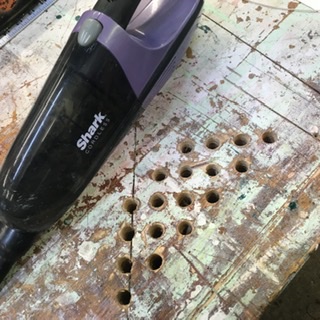
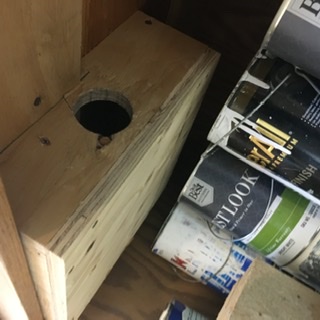
Now my main bench has a little down draft section that I plug the hose in, nice when fitting saddles and bridges, sucks up CA or other fumes, It’s just handy. And nothing more handy then a little battery hand vac although the air bypassed can blow dust around, super handy for chips and what not or clearing sandpaper from bridge and saddle bone; I reach for mine ten or twenty times a day.
Another thing about the shop vac outside, when I need max performance, I resawwd a bunch of Camphor wood last year, I just pull the filters and let her run commando!
Images are resized automatically to a maximum width of 800px
 Attachment (2) Attachment (2)
_____________________________
I prefer my flamenco guitar spicy,
doesn't have to be fast,
should have some meat on the bones,
can be raw or well done,
as long as it doesn't sound like it's turning green on an elevator floor.
www.instagram.com/threeriversguitars
|
|
|
|
REPORT THIS POST AS INAPPROPRIATE |
Date Feb. 27 2021 1:02:25
|
|
RobF
Posts: 1611
Joined: Aug. 24 2017
|
|
RE: Ebony dust (in reply to mango)
|
|
|
Hi Mango,
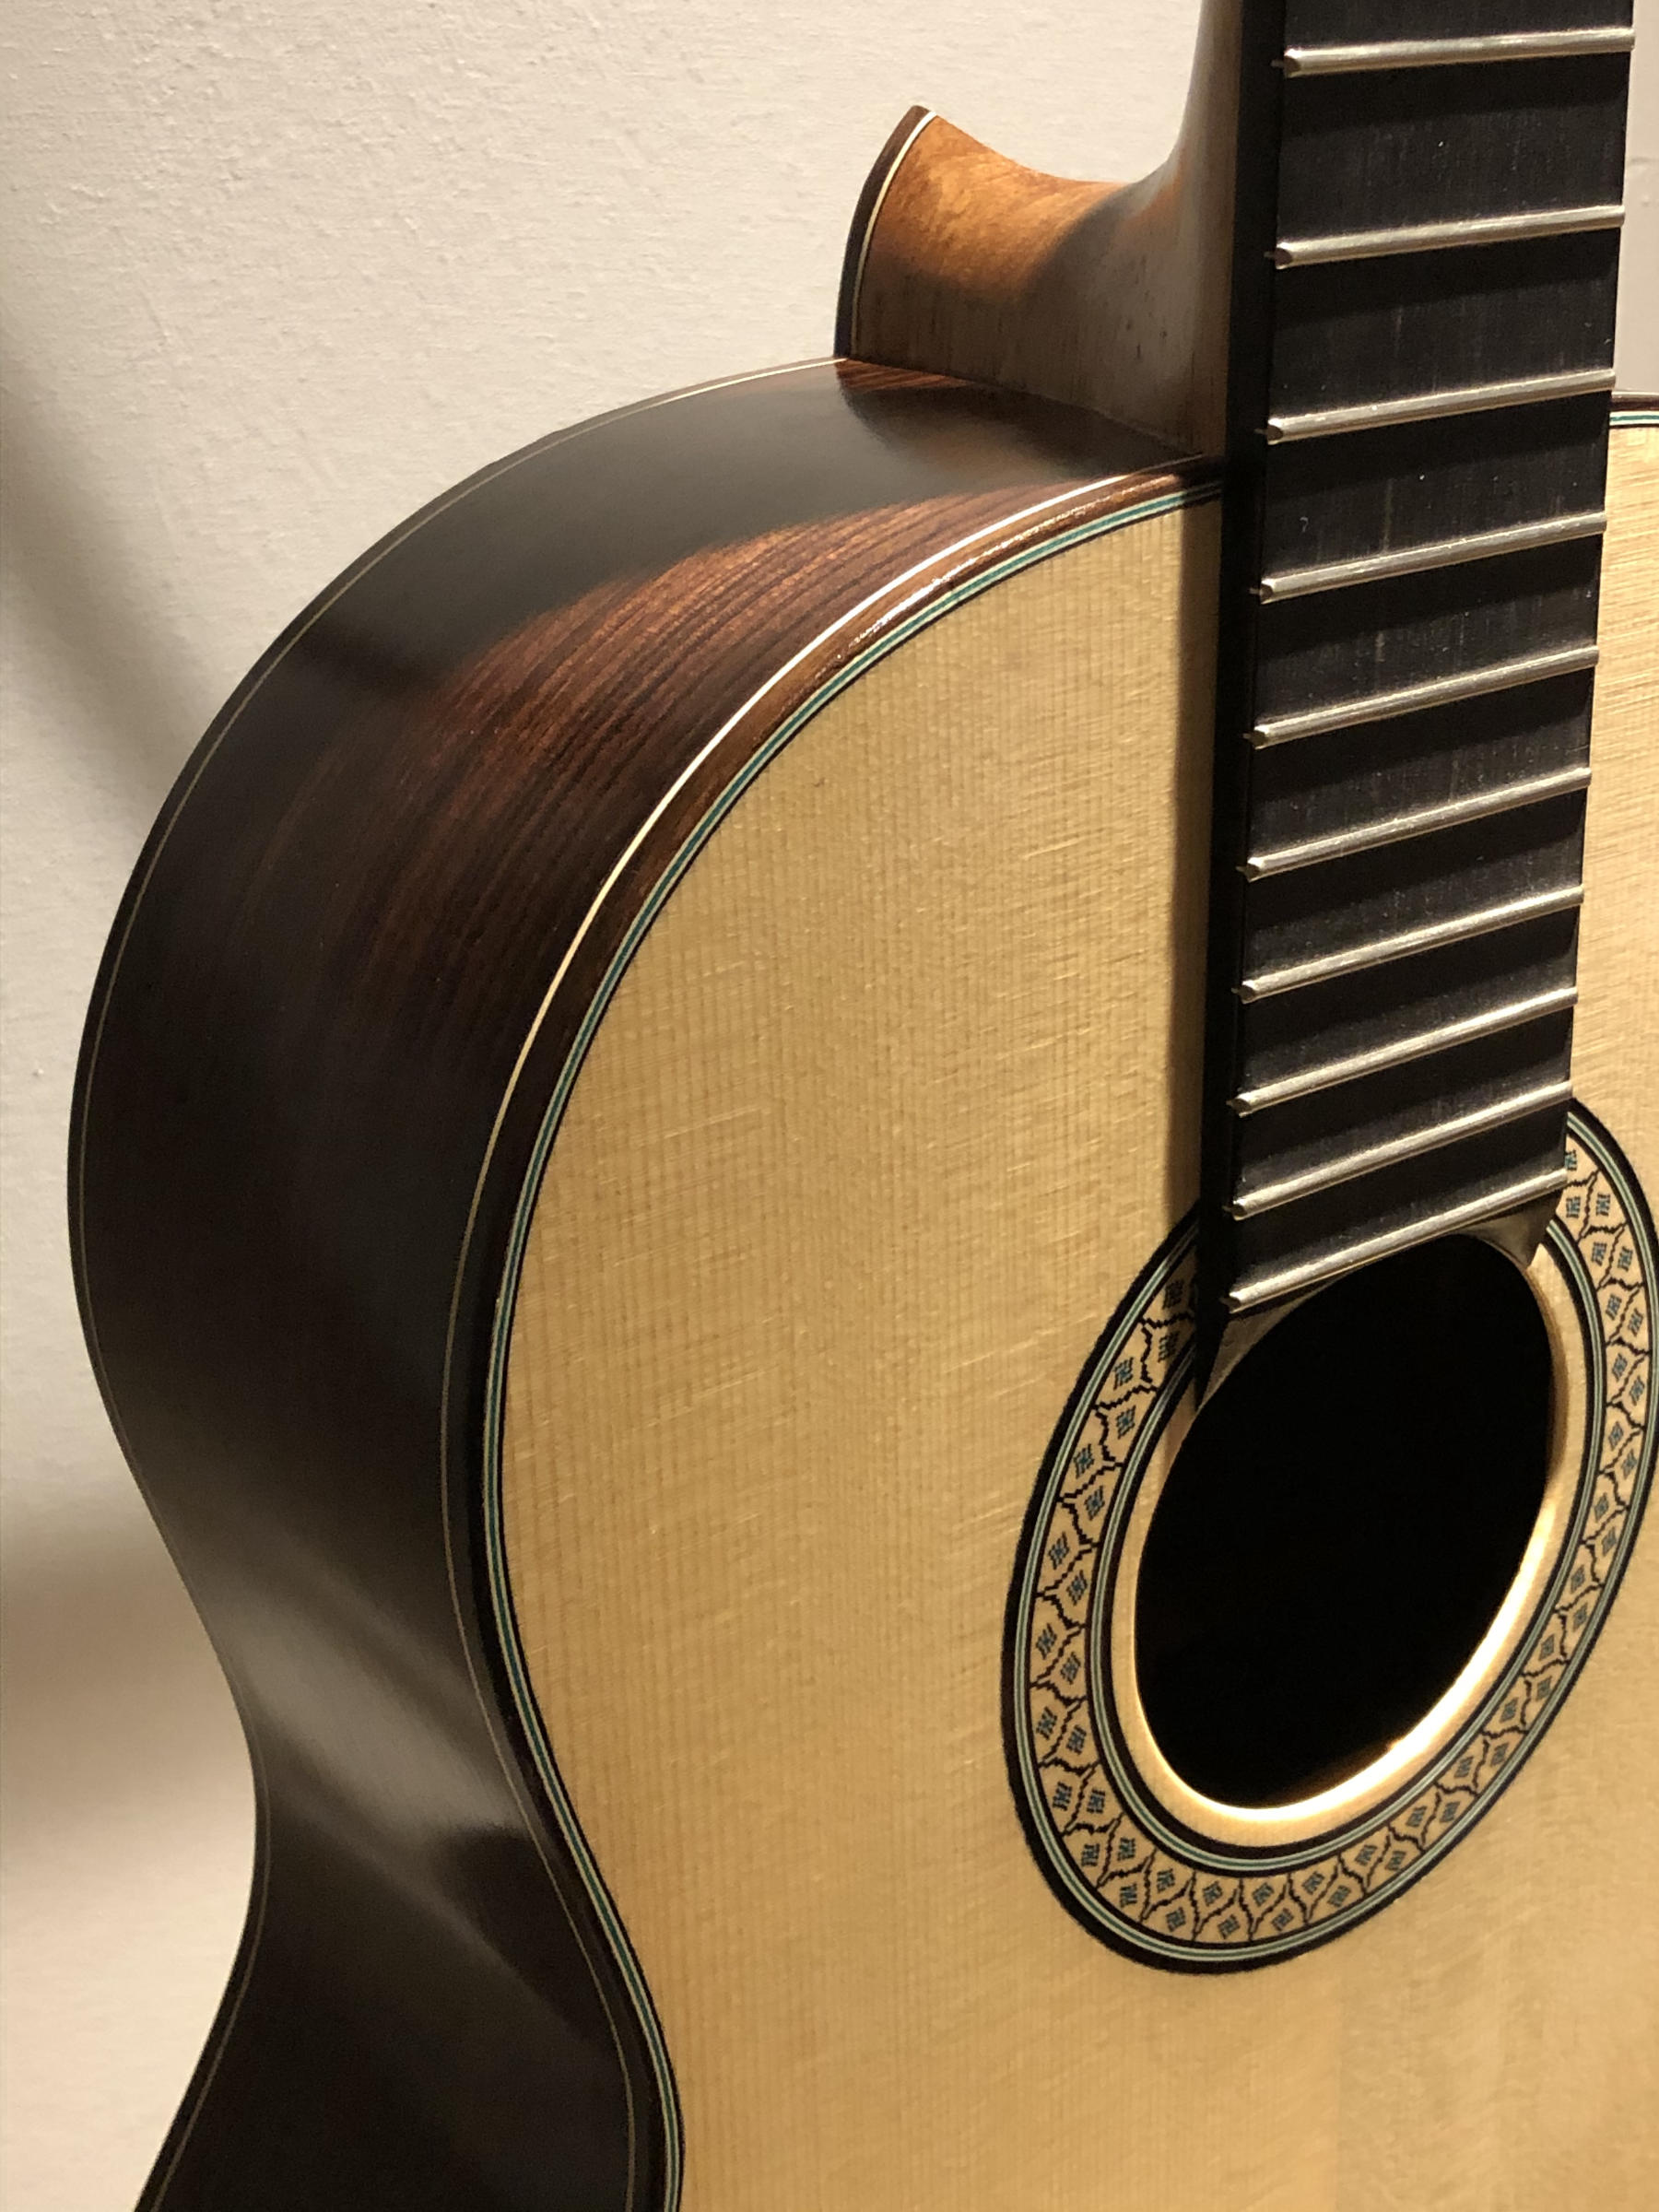
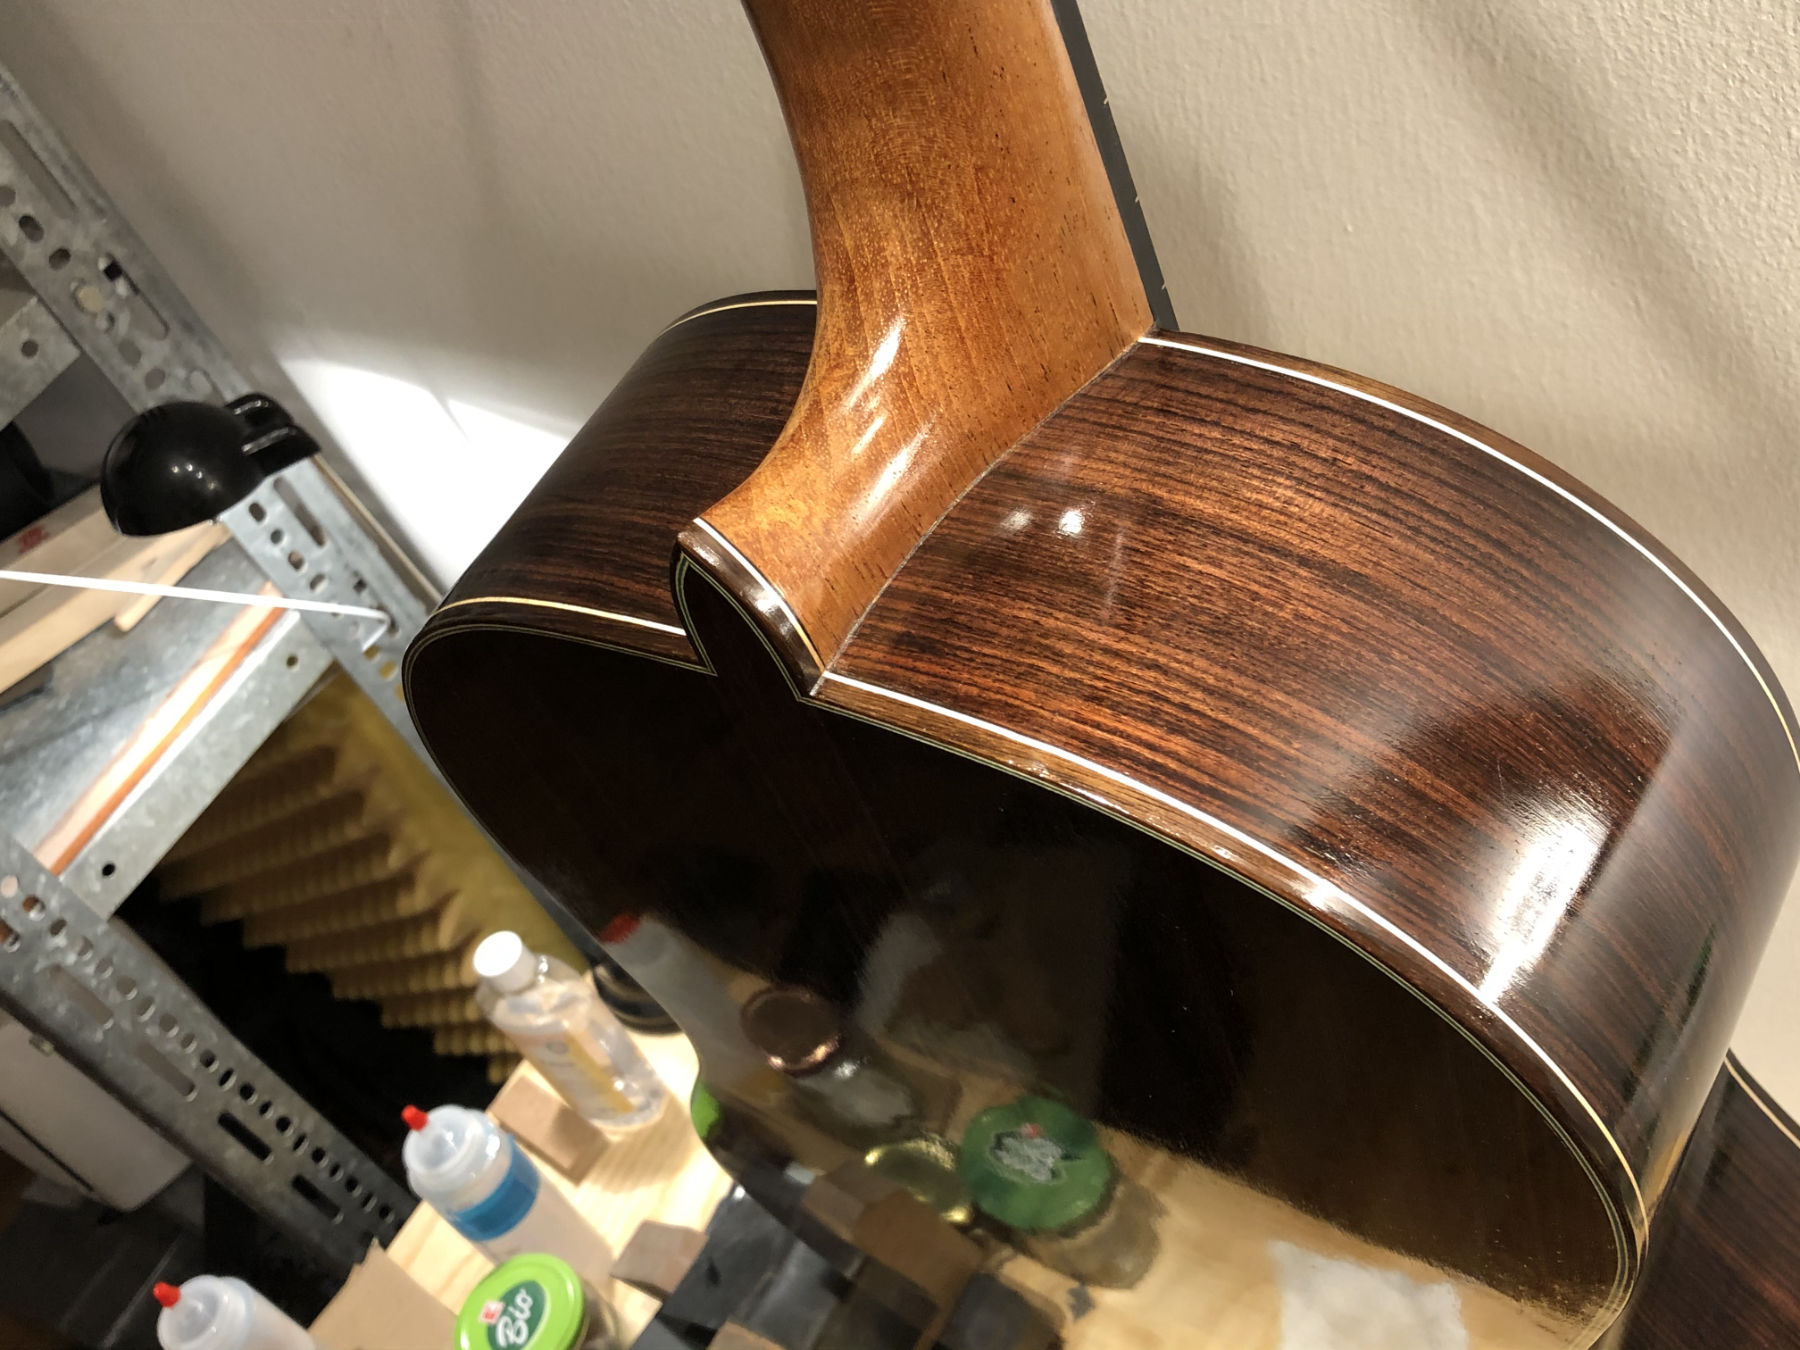
I think you’re doing great work! If that’s your second guitar you should be very proud.
Pore filling is my least favorite job and whenever I hear someone say they get it all done perfectly in four hours or the like, man, do I ever get jealous, because I’ve never been able to pull that one off.
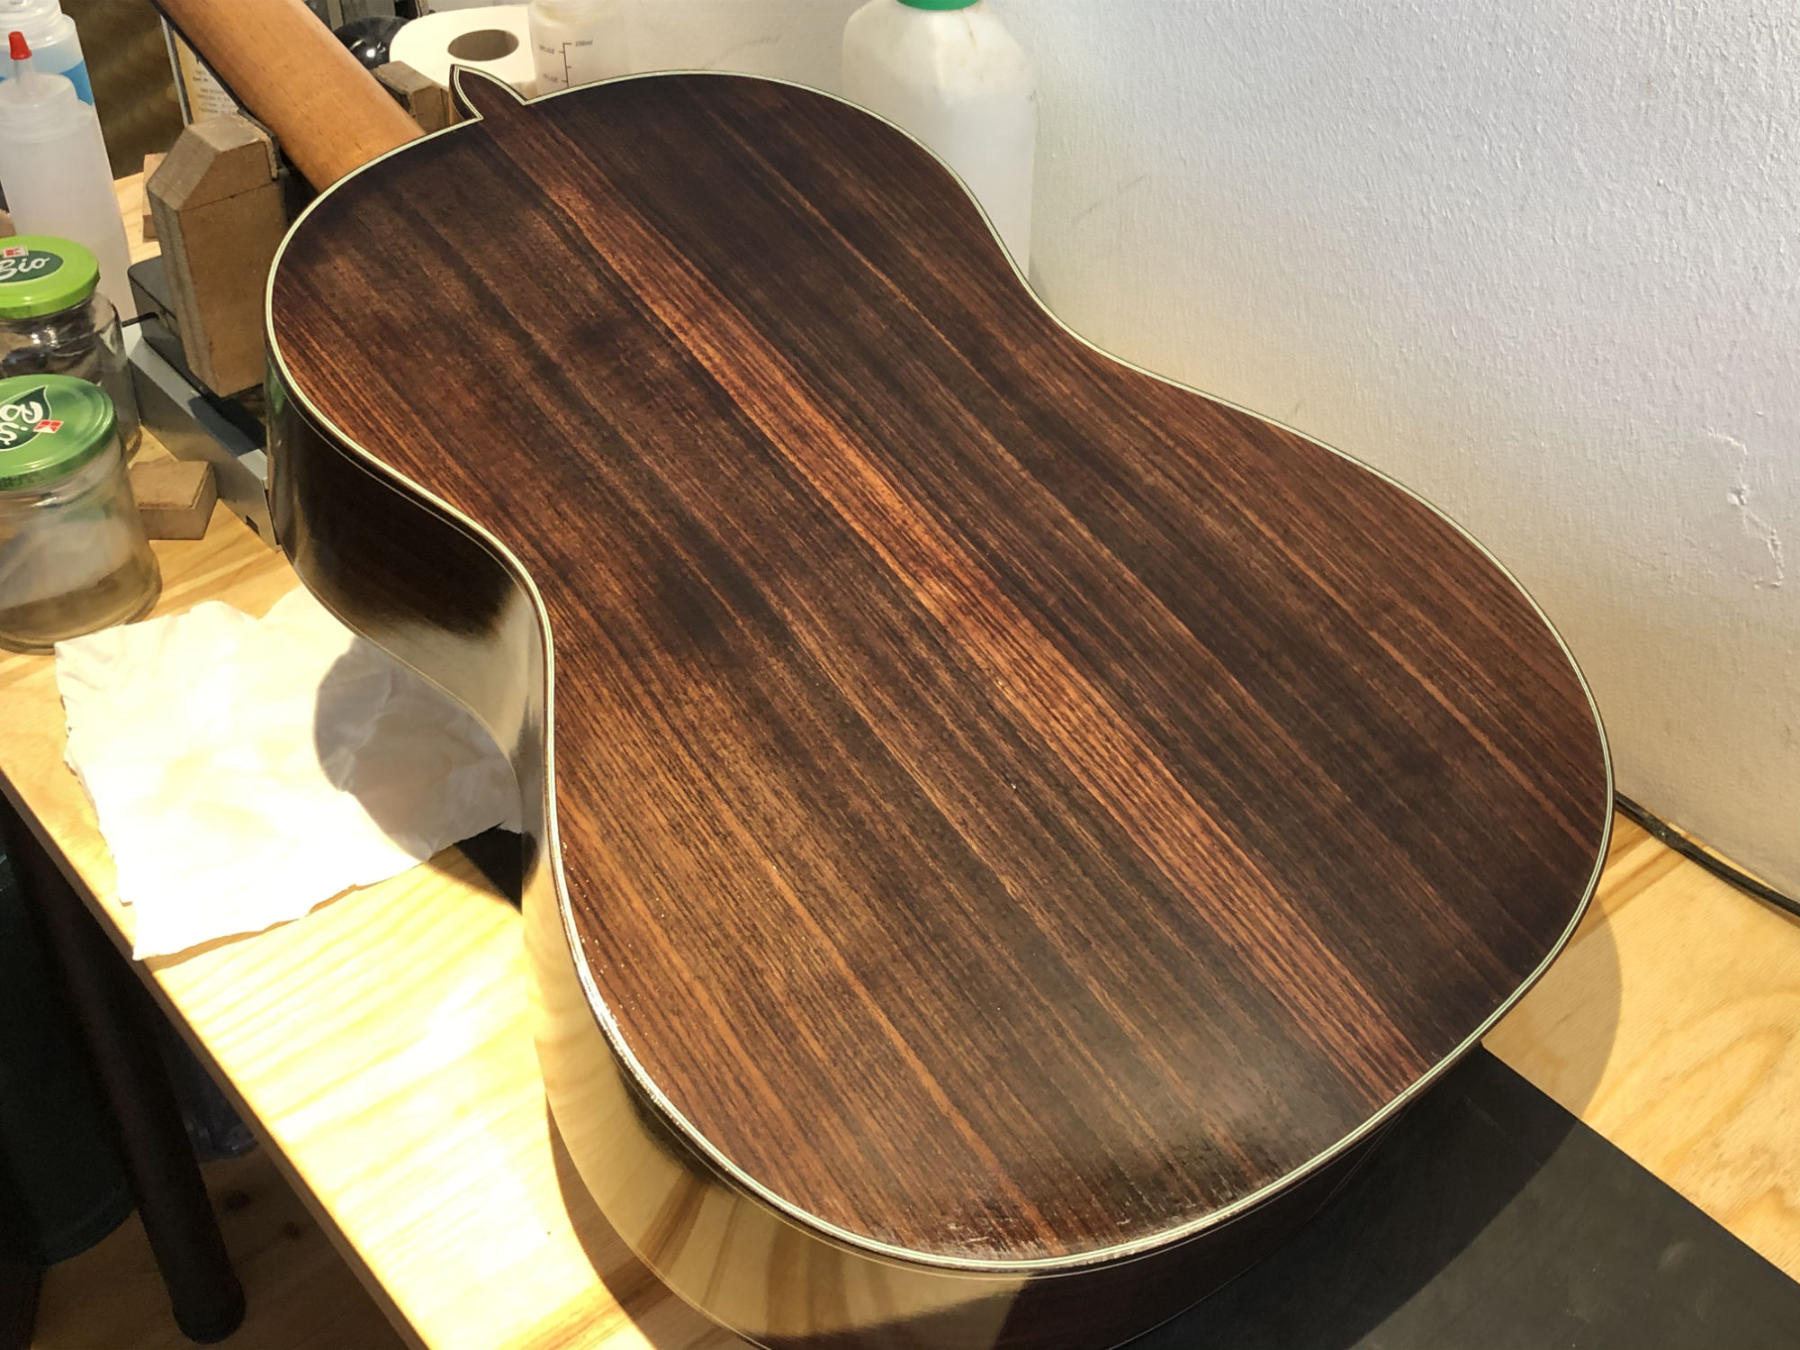
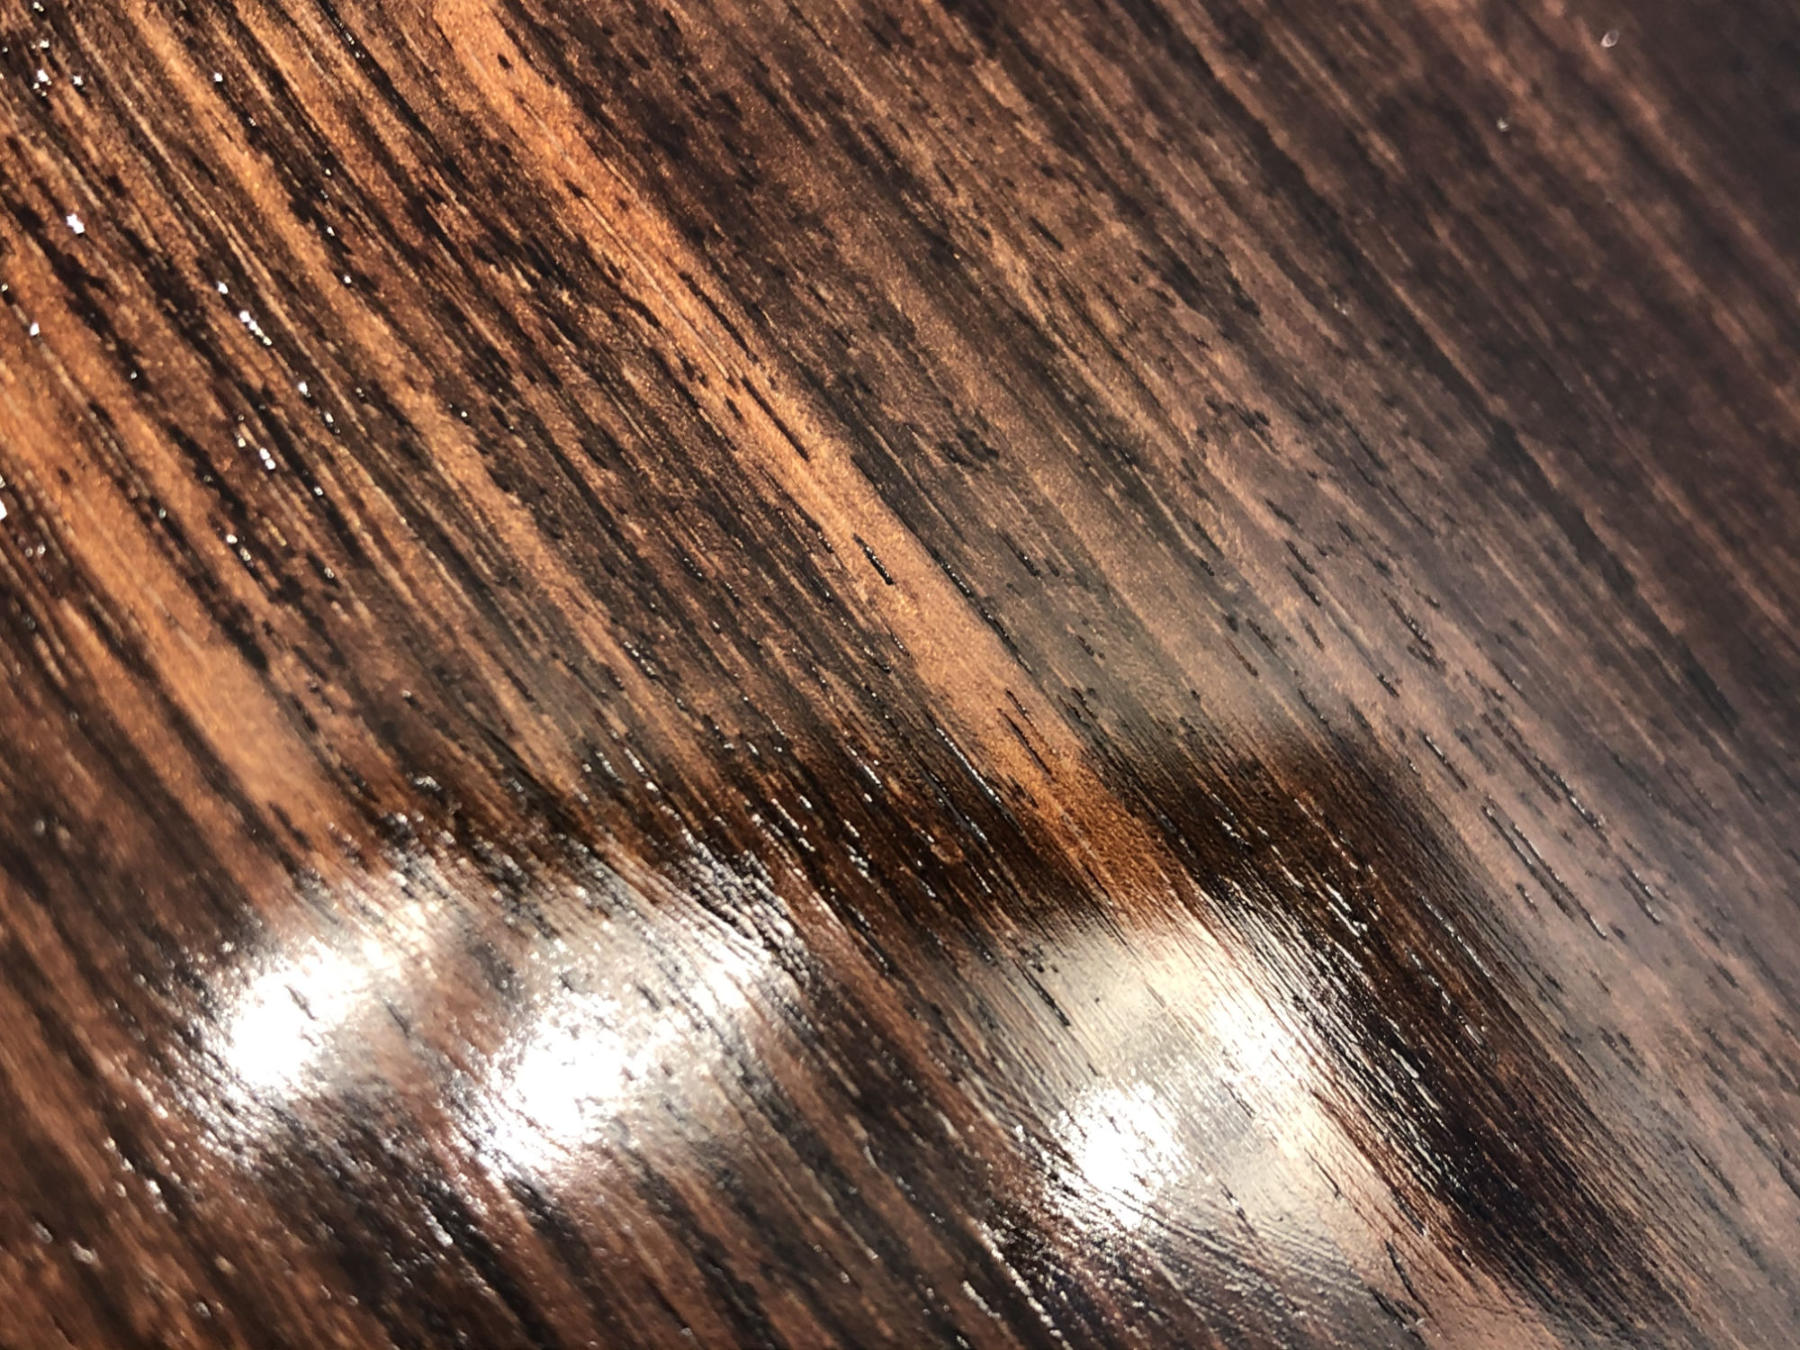
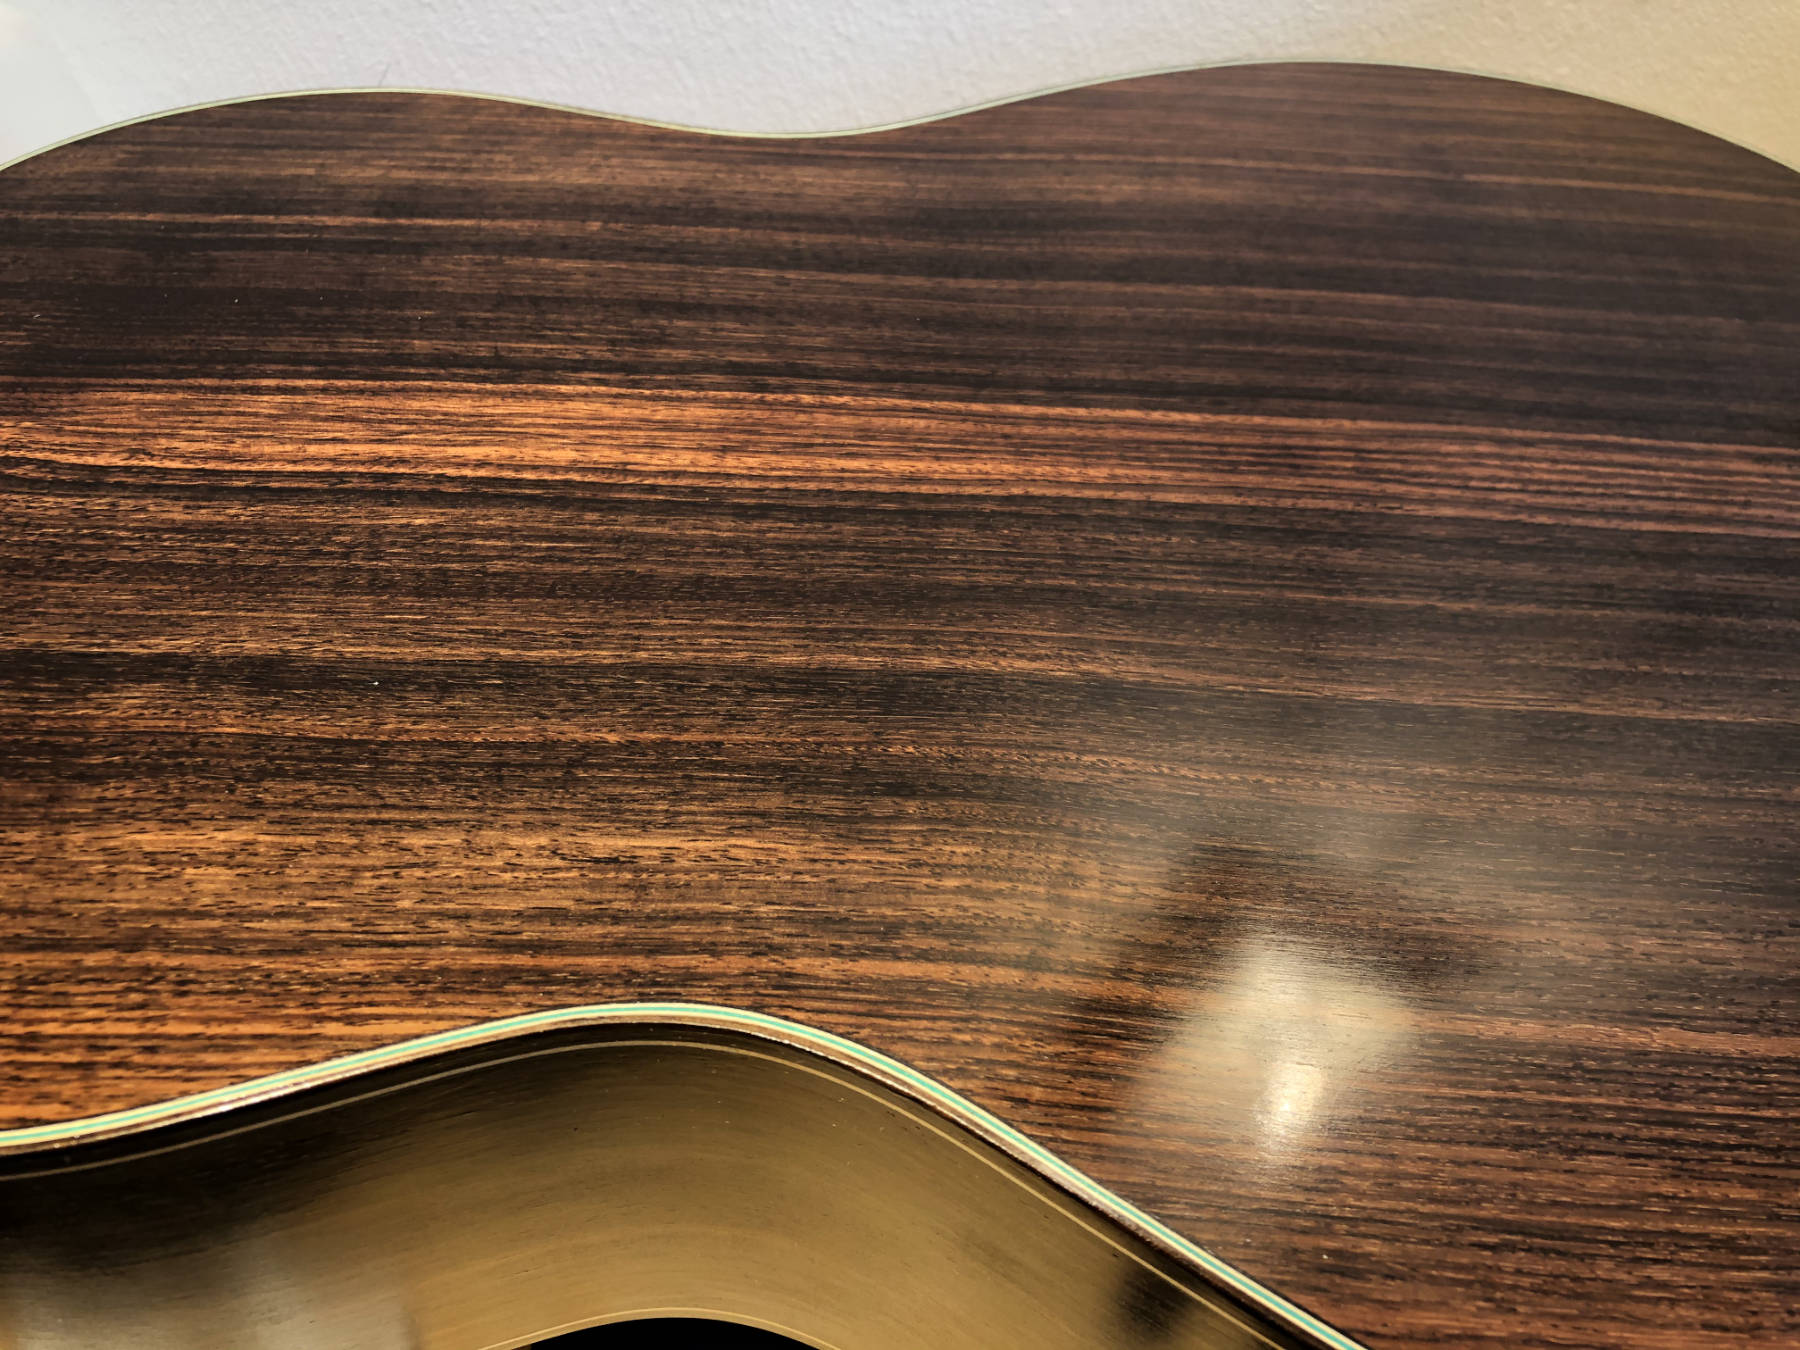
What I can see in the pictures is the pores aren’t filled. I suspect one reason is because there’s way too much shellac laid down. The dark spots are quite likely oil darkened pumice patches. These can be sanded out or removed by attacking the area with an alcohol soaked fad. I have to stress here, and this is important, pumice is an abrasive. Any area you clean up by rubbing aggressively is being sanded and will divot. So probably better to sand it out using a block, but you’ll have to sand the whole back, just sanding the dark spots will end up with an uneven surface. It sounds like starting over, but it isn’t, really.
I’ve started using a hard felt pad for pore filling. I started doing this because a fad can act like sanding by using your fingers over paper, while the pad acts like a sanding block and is less inclined to divot. Using a felt pad is also muy tradicional, if you read old furniture making tomes.
Pumice should be cleared with alcohol only, then applied. At the early stages, even if it’s being applied over an existing shellac finish, the clearing should be done with alcohol. I will use oil to clear, but only if I think pumice is needed during the later stages of polishing, then I don’t use alcohol.
But you’re not there yet. I think you should give a light sanding just until you reached bare wood, give it a couple of wash coats of thinned shellac, then pore fill with alcohol and pumice. Rub with the grain, not against. That last point is counter-intuitive, but my experience has shown it does seem to work better.
As far as letting the shellac pore fill, I’ve done this and it works. Six months later the shellac will shrink and the pores will again be exposed. But this is not necessarily a bad thing as the pores will have a protective layer of shellac on them, it’s not unprotected wood. It can also be very attractive and shouldn’t be thought of as an error or faux pas. But for the glassy smooth finish, the better the pore filling at the beginning of the job, the easier the rest of the job will go.
This is a complicated subject and there are many opinions on the right and wrong ways to do things. What might work well for one person is disasterous for another, so hopefully others will weigh in. I’ve been polishing for quite some time now and I do achieve professional results, but I’m constantly revising my methods, because when it comes to pore filling....aarrrrrrghhhh!
Best,
|
|
|
|
REPORT THIS POST AS INAPPROPRIATE |
Date Mar. 18 2021 16:37:32
|
|
ernandez R
Posts: 739
Joined: Mar. 25 2019
From: Alaska USA
|
|
RE: Ebony dust (in reply to mango)
|
|
|
She is looking so nice!
I’ve not played with the dark wood with big pores to fill but I’ve just tackled five backs at once and was able to take my polish to the next level. On the backs.
First I found I had to take scrupulous care to not introduce any scratches with foreign objects. Once I had a piece of beard trimming from the morning fall and get under my manuca and cause some heartache.
I’ve got a small block, long edges rounded, ends left sharp and square for getting next to bridges and fretboards, about 1.75” x .75” with three layers of paper towel taped to it nicely. I use 400 & 600 wet dry with this to get down and dirty with some early leveling. Naphtha for lube.
Real important thing I figured out, only and I mean ¡ONLY! sand with the grain in perfectly straight lines. You’ll thank me later.
Once I get to the point I don’t need the 400 and 600 usually day 3 or 4, I use 1000 & 2000 but the kind on those sponge pads only I slice them down the middle, then into quarters, then I debure the edges of the pad with a belt sander until the paper has a feathered edge. I feel a little of my ugly scratched came from the raw edges of the paper.
I start each session/day by carefully cleaning any oil and debris with naphtha and again only straight lines with the grain. Once it is clean and dry I level with the paper using naphtha as a lubricant, I’m not looking for perfect, just knocking the high spots and and red also taking most of the tops of any ridges from the manuca sessions the day before.
I put the thin capalary whip tips from my CA kit onto my alcohol and shellac bottles cause I find keeping strict count of how I charge my manuca critical. Mine is small, less then an inch square four layers of thick wool, double covered with Cotten y shirt.
I lay on three layers then it starts to feels soft and sticky, this is that zen thing... one pass too many and the manuca digs in; ouch. Straight Lines Only!
I put her away for about 30-45 min then I do one pass vary dry with oil. I tamp my manuca on a paper towel until it is dry and doesn’t transfer liquid, then three drops shellac, one alcohol, then one fat drop oil on a board to mix it in first then I pull the manuca flattening any ridges doing a 50% over coat. JUST ONE TIME.! It will drag so don’t stop...
Now, I’ve gone over the backs about an hour later with my hand, rubbing until my hand feels warm and been able to flatten/level of some more. Super zen!
I put her away for the next day.
I make a chart with check boxes and all the steps, how many drops of what, which sand paper and when, timing, any step in the process, actuality all steps.
I’m still battling the tops... but compleatef two of them the other night. I still get a little wonky around the bridge but I’m doing two of the parlors without the bridge, one taped off and one without. I found the tape causing issues early on so I pulled one off to see. I used a couple layers of tape and that was a bad idea as the variing thickness caused issues on the edge of the tape.
Had to get medivle with some outside chores and plumbing so now I’m on the couch foot up trying to make it happy and thumb typing in a iDevice. Fun times!
Remember, I am vary new to this so take what I’m writing with a grain or two of salt.
Rob, what’s your take on using Naphtha as a sanding lube?
HR
_____________________________
I prefer my flamenco guitar spicy,
doesn't have to be fast,
should have some meat on the bones,
can be raw or well done,
as long as it doesn't sound like it's turning green on an elevator floor.
www.instagram.com/threeriversguitars
|
|
|
|
REPORT THIS POST AS INAPPROPRIATE |
Date Mar. 19 2021 1:14:31
|
|
RobF
Posts: 1611
Joined: Aug. 24 2017
|
|
RE: Ebony dust (in reply to ernandez R)
|
|
|
quote:
Rob, what’s your take on using Naphtha as a sanding lube?
I’ve never actually tried that. I use Naphtha for wipe downs, but I try to be judicious because it’s pretty toxic.
For the longest time I was using Micromesh, most often dry, but also with slightly soapy water as lube. That stuff is quite spendy, so I switched to this Japanese automotive stuff called Super Assilex ( I might have to come back and change this if I see I got the name wrong, I’ve not been in the shop yet this year, but I think next week I’ll get back at it). It’s also pricey but I think it’s a little cheaper. I bought boxes covering the full range of grits and I suspect it’s going to last me a long time, maybe 25-30 guitars, before I’ll need to buy more. Some guys on here, that’s not necessarily that long a time, lol.
I use it dry. I prefer it because it cuts very fast and evenly. I think it was estebanana that introduced it to the Foro quite a few years ago. It’s good stuff.
|
|
|
|
REPORT THIS POST AS INAPPROPRIATE |
Date Mar. 19 2021 1:31:26
|
|
RobF
Posts: 1611
Joined: Aug. 24 2017
|
|
RE: Ebony dust (in reply to mango)
|
|
|
quote:
Rob, what do you mean by clearing the Pumice with alcohol before applying? I just put some dry powder on the surface as I saw it in Pablo Requenas video...
Applying the pumice directly to the surface with a pounce or salt shaker is done, but I’ve never used that method, in part because of how I was taught.
By clearing I mean the pumice is added to the pore-filling fad and then dampened with either alcohol or oil and gently rubbed into the fad with a fingertip until it becomes “clear” by being saturated with the liquid. I was taught never to add dry powder to the surface, but clearly the technique works for some and is valid.
Couple of words about the pumice. I use a mix of 2F and 4F, except if I’m doing a spot fill on an already bodied surface. Then I’ll use 4F, generally cleared with oil, sometimes alcohol - it’s a judgement call. Also, depending on the wood, I often will use pigment to color the pumice. The theory is that this should be unnecessary, and in many cases I’m pretty sure it can be, as the alcohol also pulls the colour from the Rosewood and thus tints the pumice naturally. The problem with this is it only will happen on the first applications as eventually the tint is either all pulled from the wood or sealed into the wood and subsequent applications of pumice will not take on the color. Also, some woods just don’t have the level of stain/tint/pigment/whatever-it-is as rosewood, so there isn’t a lot there to tint the pumice, to start with.
But, as I said, I’m constantly revising. I take longer to French Polish than I’d like. When I started out I could do a passable job on a guitar in a couple of days to a week. I don’t know what happened, but I’ve devolved over the years and now I can easily complete the woodworking portion of the guitar in way less time than it will take me to French Polish it. It takes me close to a month now for polish, granted it’s only an hour or so’s worth of work a day, but it really should take half that time. I wish I lived in Spain, where guitars can be handed off to pros for the finish work. Some of the guys in Madrid are pretty near untouchable with respect to guitar finishing, they come from generations of specialists.
P.S. Just an aside, and I know I’ve already said this, but you’re doing really nice work. Olé!
|
|
|
|
REPORT THIS POST AS INAPPROPRIATE |
Date Mar. 20 2021 0:15:21
|
|
 New Messages New Messages |
 No New Messages No New Messages |
 Hot Topic w/ New Messages Hot Topic w/ New Messages |
 Hot Topic w/o New Messages Hot Topic w/o New Messages |
 Locked w/ New Messages Locked w/ New Messages |
 Locked w/o New Messages Locked w/o New Messages |
|
 Post New Thread
Reply to Message
Post New Poll
Submit Vote
Delete My Own Post
Delete My Own Thread
Rate Posts
|
|
|
Forum Software powered by ASP Playground Advanced Edition 2.0.5
Copyright © 2000 - 2003 ASPPlayground.NET |
0.109375 secs.
|
 Printable Version