Welcome to one of the most active flamenco sites on the Internet. Guests can read most posts but if you want to participate click here to register.
This site is dedicated to the memory of Paco de Lucía, Ron Mitchell, Guy Williams, Linda Elvira, Philip John Lee, Craig Eros, Ben Woods, David Serva and Tom Blackshear who went ahead of us.
We receive 12,200 visitors a month from 200 countries and 1.7 million page impressions a year. To advertise on this site please contact us.
|

|
|
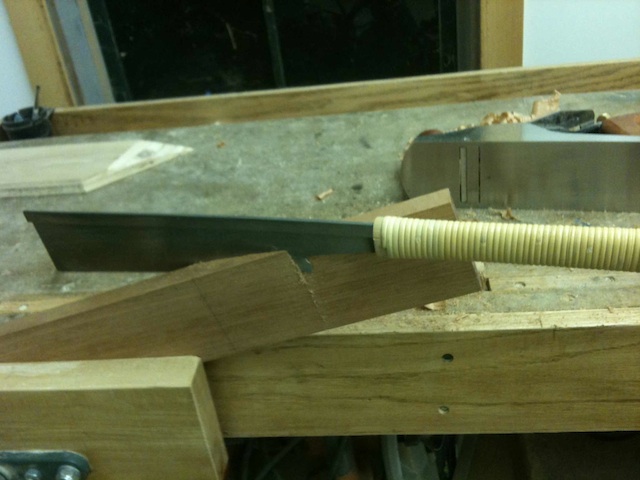
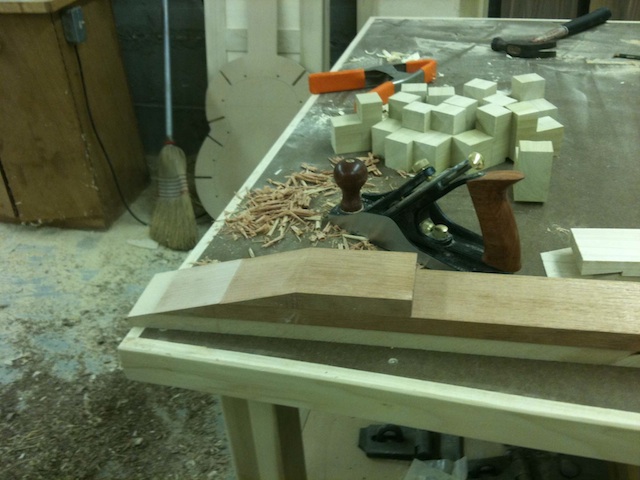
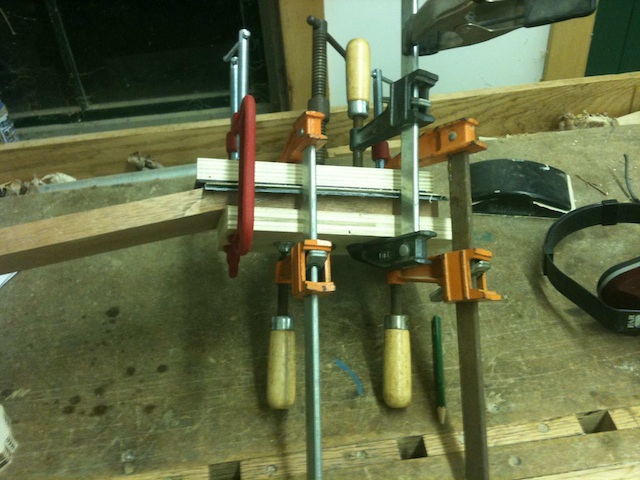
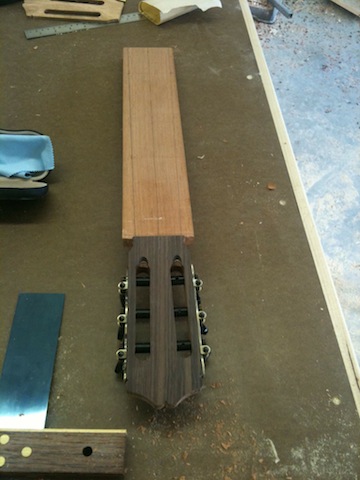
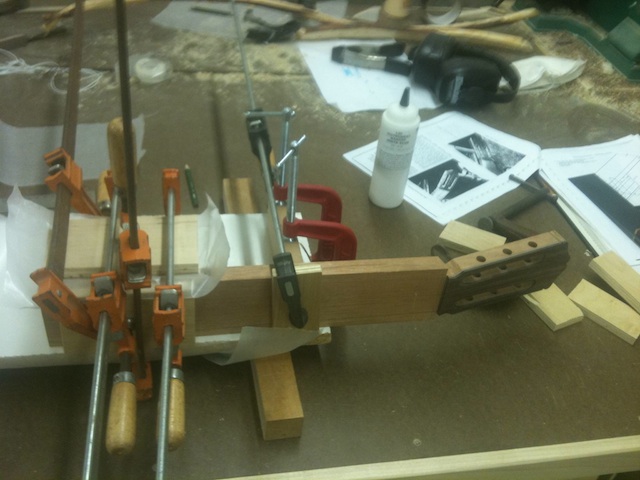
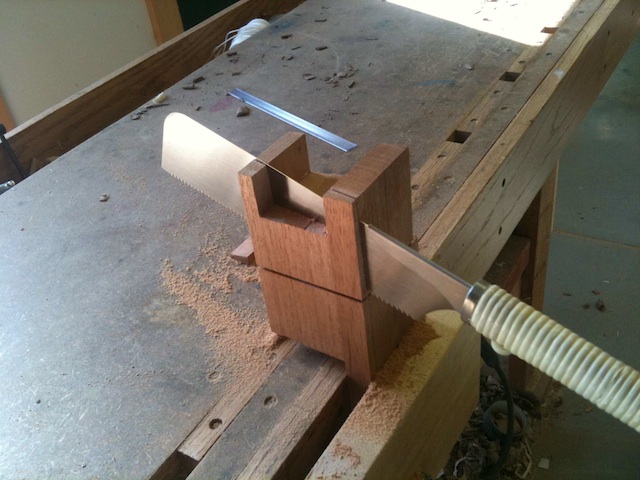
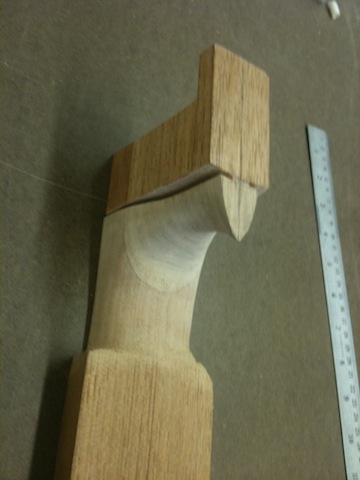
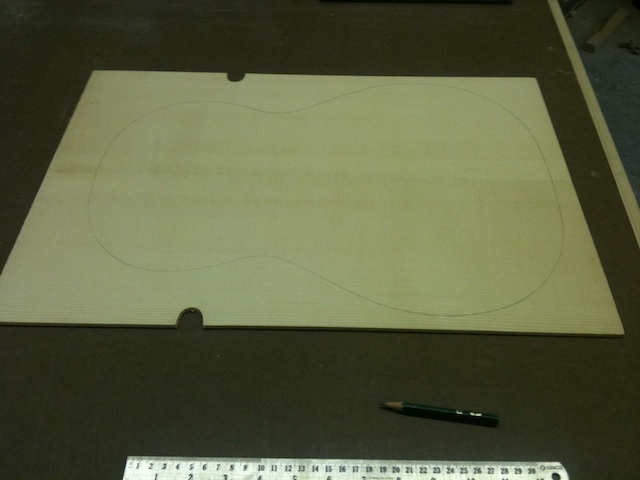
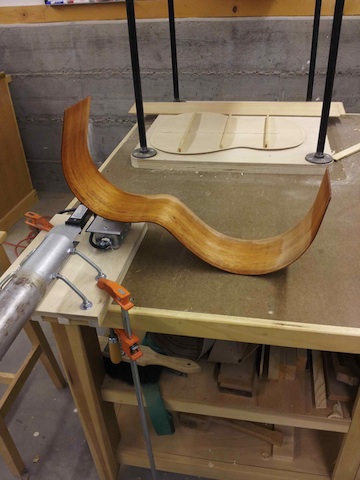
First Build - Troutie's Photo Journal
|
You are logged in as Guest
|
|
Users viewing this topic: none
|
|
Login  | |
|

   
El Kiko
Posts: 2697
Joined: Jun. 7 2010
From: The South Ireland
|
 RE: First Build - Troutie's Photo Jo... (in reply to paul.troutfisher) RE: First Build - Troutie's Photo Jo... (in reply to paul.troutfisher)
|
|
|
quote:
I've finally put my foot down and told my wife............. "
Anything at all ,,,, I can tell you are not married to latina ... if I put my foot down , the food would be bland , the nights cold , and I would be washing my own underpants ............
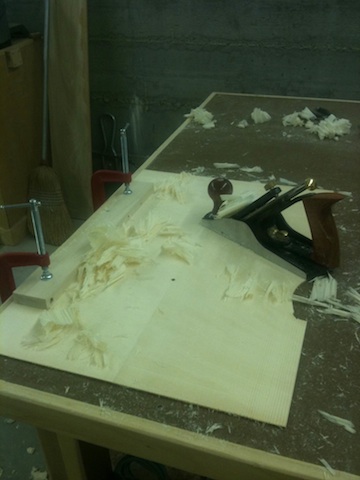
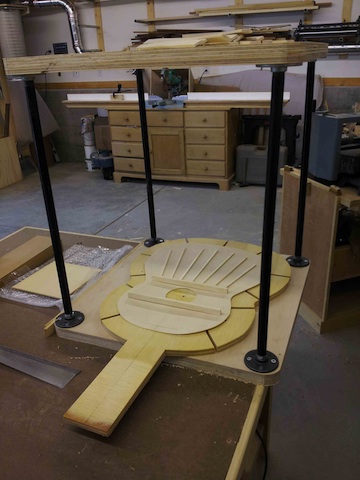
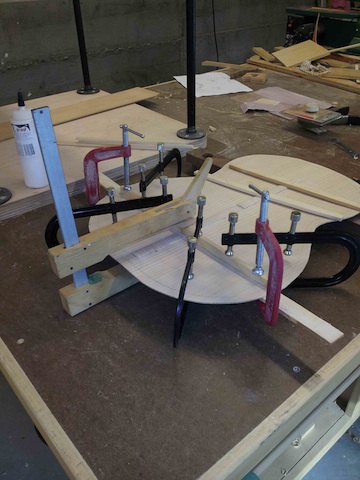
Anyway Is this your first guitar ? if it is then these must be exciting times , all the choices you have to make and the whole thing of choosing wood and trying not to make mistakes and all that......
I am interested in how you get along ,,,but could you please make your photos fit the page a bit better so we dont have to scroll around to see what it is a pic of ....
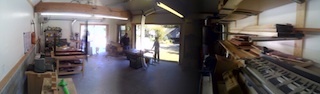
It looks like a nice big workshop to get things done there ,, lots of space for lots of guitars ...........
_____________________________
Don't trust Atoms.....they make up everything.
|
|
|
|
REPORT THIS POST AS INAPPROPRIATE |
Date May 18 2012 16:55:27
 |
|
 New Messages New Messages |
 No New Messages No New Messages |
 Hot Topic w/ New Messages Hot Topic w/ New Messages |
 Hot Topic w/o New Messages Hot Topic w/o New Messages |
 Locked w/ New Messages Locked w/ New Messages |
 Locked w/o New Messages Locked w/o New Messages |
|
 Post New Thread
Reply to Message
Post New Poll
Submit Vote
Delete My Own Post
Delete My Own Thread
Rate Posts
|
|
|
Forum Software powered by ASP Playground Advanced Edition 2.0.5
Copyright © 2000 - 2003 ASPPlayground.NET |
0.0625 secs.
|
 Printable Version