RE: My no. 2 progress (Full Version)

Foro Flamenco: http://www.foroflamenco.com/
- Discussions: http://www.foroflamenco.com/default.asp?catApp=0
- - Lutherie: http://www.foroflamenco.com/in_forum.asp?forumid=22
- - - RE: My no. 2 progress: http://www.foroflamenco.com/fb.asp?m=338180


Message


JasonM -> RE: My no. 2 progress (Oct. 2 2021 13:33:57)

Luthier Richard Heeres did a whole flamenco build series on YouTube specifically focused on using only basic hand tools. Nothing fancy

Here is the first video out of something like 17 total…

https://youtu.be/9-6UXU1nvhg


Stu -> RE: My no. 2 progress (Oct. 15 2021 8:17:12)

Just wanted to talk about stuff. I'm at work so can't get into the workshop. And I'm in a spot that is bugging me knowing its just sitting there waiting to be sorted.

I find that aspect a bit testing. a full timer I guess would get up and go straight into the workshop and pick up where they left off. I however, have to wait a day until I can get back from work and carry on!! Its fine if I'm between jobs. but when I have to walk away of an evening, half way through some error correction or having just realised I have a mistake or a problem that need fixing...its annoying.


My wife doesnt really care of my workshop tales.

So I'll share here.

I've found this latest stage of bindings to be one of the most testing so far.
Routing the rebates was not too bad although I'll def do some things differently. right at the very last part of the cut, my router bit somehow dropped and took an extra 1mm deep by the heel!

So I was now in correction town! I think the decision I made to make it right wasnt the right choice.

I decided to go over the whole rebate cut that extra 1mm to eat up that chunk.
However I realised that my bindings werent tall enough to do that and have any left to scrape/finish.
I then decide to add an extra layer of black veneer to the bottom of my (already bent!) bindings to raise the height. Hmmm. seemed like a decent idea. but no. experienced folk wil already see see whats coming.

I glued the veneer onto my bent bindings and trimmed off excess with my scalpel. but bits kept chipping off. so I was reglueing tiny sections for what seemed like ages.

I finally got them all cleaned up and secure and glued on th eback ones with some purfling (black,white,black)

for some reason I decided to glue bothe back bindings at the same time with string method. JESUS. that was a nightmare. I had RobF and Co.s slow down advice ringing round my head but I just couldn't hold it together! [:D] I did a couple oif dry runs but things still got silly when I added glue.

I realised I hadn't cut my bee stings on the bindings at the top. After I'd meticulously cut the bee sting slots at the heel. I had to cut the bindings in situ with glue going off. one was suprisingly great. The second wasnt!

At the other end I flapped too and started the cut for the butt joint slightly short! urgh.

However when I finally unwrapped the string and began scraping and cleaning up. I felt very happy. everything clened up real nice! and the process was a million times more relaxing that glueing. phew.

I also realised that the black/white/black purfling wasn't a match for my back strip!!! which was just black, white.
So i decided to just butt joint it. It looks ok.

Ive now discovered the extra layer of black veneer I added to my bnindings won't match the single layer of white and black in my tail stripe!!! urgghh.

I also screwed up the mitre so have had to cut out a chunk and I'll patch with a fresh piece.

So all in all a bit of a mess. But can all be saved. But i copuld do ithout this next time.
Lesson here is plan my binding/purfling design PROPERLY beforehand!!

however to be fair to myself. If that router mishap hadn't occured I wouldnt have got into such a pickle!


Images are resized automatically to a maximum width of 800px


Stu -> RE: My no. 2 progress (Oct. 15 2021 8:20:06)

more


Images are resized automatically to a maximum width of 800px


Stu -> RE: My no. 2 progress (Oct. 15 2021 8:24:48)

one more

sorry these are all in the wrong order.


The purple pen outline is a section I had to remove. maybe craziness. but hope I can patch the hole cleanly.

Oh yeah I forgot to route my tails strip channel before I glued the back bindings too!! oops

Images are resized automatically to a maximum width of 800px


JasonM -> RE: My no. 2 progress (Oct. 15 2021 17:37:20)

Great save Stu! I can relate to the frustration! making a mistake and then having to walk away and have it bug you until you return, feels so unsettling. But when you get it right it makes your day!

I also had a mishap when I routed my binding channels AND didn’t even get the butt strip centered with the back inlay. (The router bearing dropped into the channel here)


Images are resized automatically to a maximum width of 800px


JasonM -> RE: My no. 2 progress (Oct. 15 2021 17:40:49)

Btw, did you use a router with adjustable base? Or a binding machine with the guitar in a cradle?


constructordeguitarras -> RE: My no. 2 progress (Oct. 15 2021 19:25:10)

I had a router motor drop a little when I was rabbetting for bindings on the last guitar I made. This was the first time this ever happened to me. I turned it on and I felt a lurch but I didn't check it. I routed near the end graft. What I do is first install the end graft, then route for bindings, which necessitates routing in that area, front and back, separate from the rest and more shallowly to account for mitering the side purfling to the end graft. Well, it routed too deep so I went ahead and routed through the end graft and then patched the sides at the tail with a cutoff from the actual sides. Then I routed out the endgraft, installed a new one, and did the rest of the routing for the bindings properly. No one, not even I, can find the patches, which are only a few mm wide. So now I'm probably tightening my router motor in too much.


constructordeguitarras -> RE: My no. 2 progress (Oct. 15 2021 19:28:28)

quote:

I also had a mishap when I routed my binding channels AND didn’t even get the butt strip centered with the back inlay. (The router bearing dropped into the channel here)


That's when wider purfling around the back starts to look attractive, isn't it? I haven't done that, but I often imagine such scenarios and plan for them, just in case.


Escribano -> RE: My no. 2 progress (Oct. 15 2021 21:47:30)

Routers are scary beasts


johnnefastis -> RE: My no. 2 progress (Oct. 16 2021 11:31:18)

Loving these updates Stu... Amazing work. I think these little glitches will add to the guitar as long as it plays and sounds good. Good luck!!

How did people do this rebating before routers btw??


Escribano -> RE: My no. 2 progress (Oct. 16 2021 11:54:05)

quote:

How did people do this rebating before routers btw??


With mallet and a sharp chisel, I assume.


Morante -> RE: My no. 2 progress (Oct. 16 2021 17:05:29)

quote:

I also had a mishap when I routed my binding channels AND didn’t even get the butt strip centered with the back inlay


Just make it a little bit wider, with a ornate filler[;)]


JasonM -> RE: My no. 2 progress (Oct. 16 2021 23:12:47)

…Just make it a little bit wider, with a ornate filler…

Yep, looks a little wonky but I rarely notice. I made the back strip wider to get it centered.


Images are resized automatically to a maximum width of 800px


ernandez R -> RE: My no. 2 progress (Oct. 18 2021 9:46:38)

Stu,

It's always somthing isn't it. But look at how you've overcome. This is why I feel artificial intelagace will ever replace us, our solutions to problems are part of the creative process, it's our problem solving that feeds us and inspires us to move forward and when it bad we dare to find imposable solutions. I have a oft used saying, "it's a fine line between a hero and a ****"

Right now it's seems your family is a challenge yet here you are routing, and rerouting, conquering what some monthes ago seemed imposable. This is success.

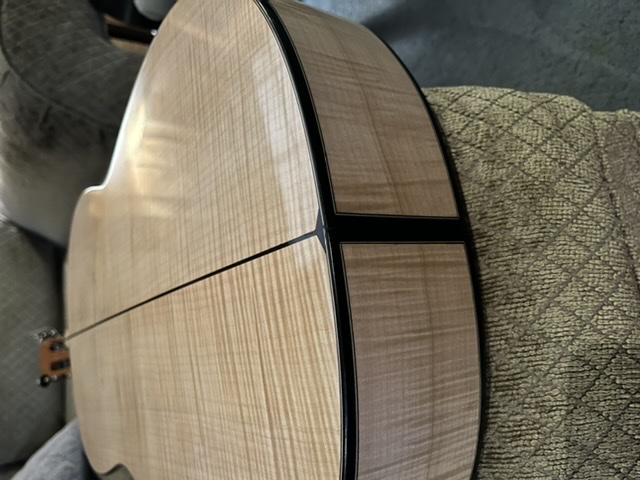
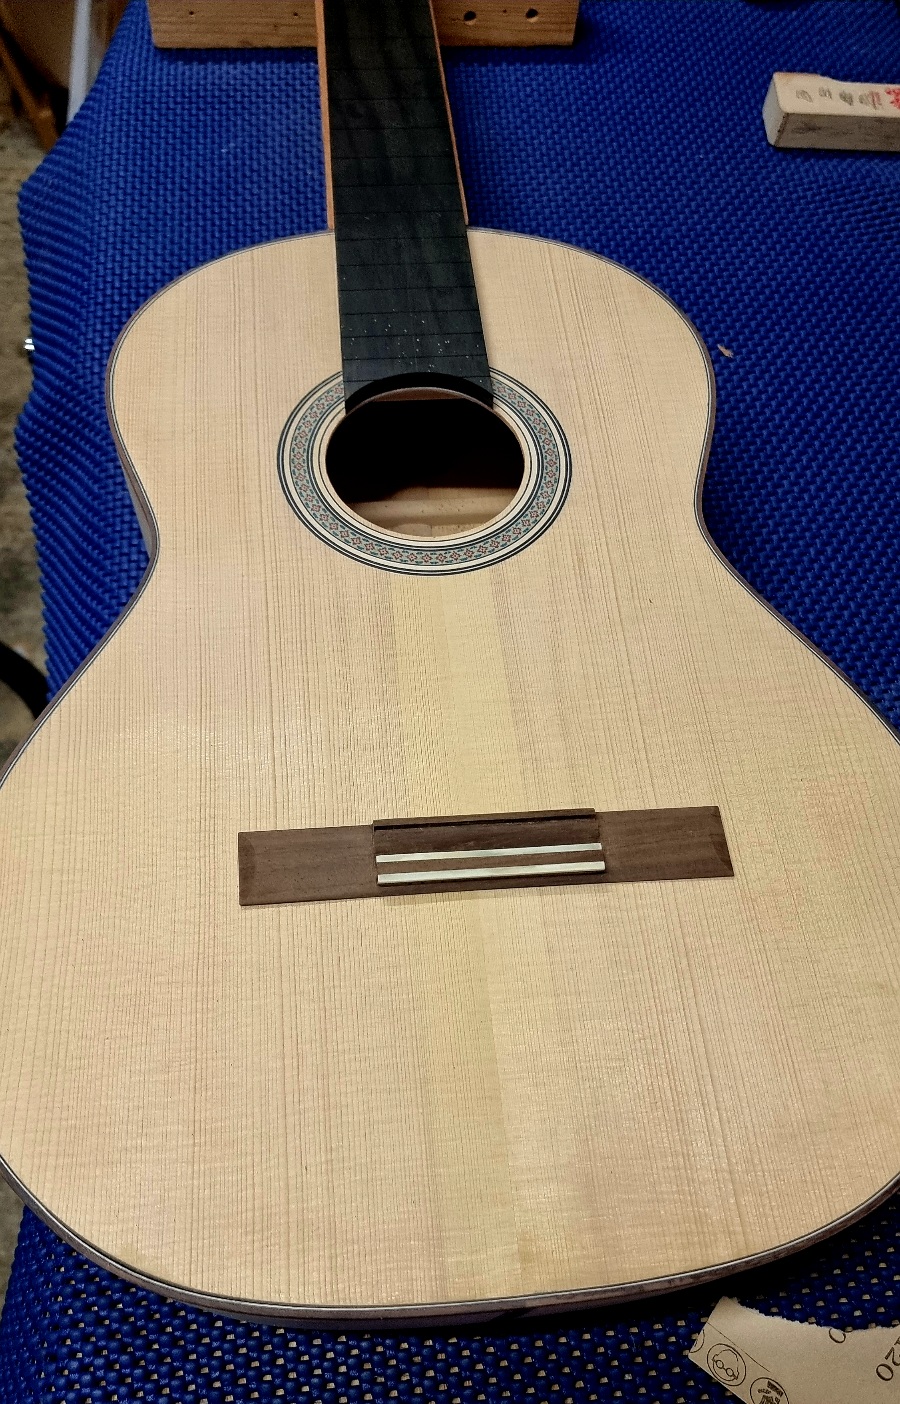
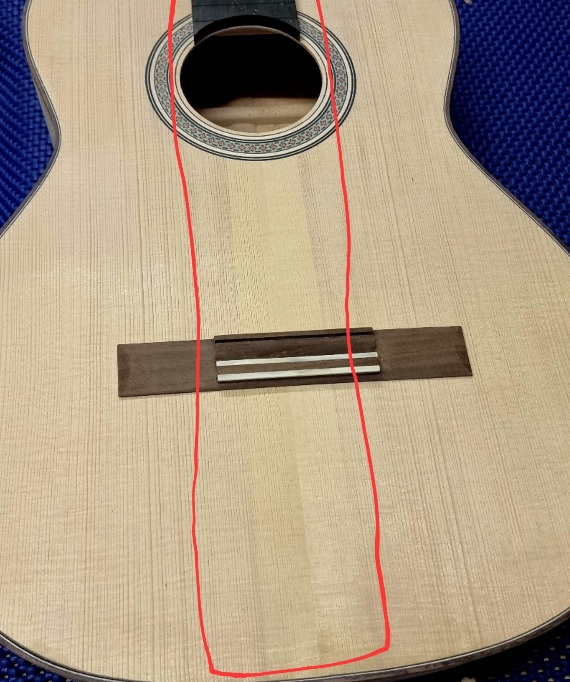
I did a lot of stupid things with my second guitar cause I thought I was better then I was, I have to laugh about it now. I made up for it afterwords and my work got better.

Before you know it you will be stringing her up, then building another, soon a Parlar for your first born, then another for your second, the wife will ask for a third , you'll make a forth... Before you know it you'll have that caravan outfitted with the whole family and doing all the craft shows building guitars on pull down benches outside under tents living the getano dream...

HR


Stu -> RE: My no. 2 progress (Oct. 20 2021 11:42:00)

@Jason.

That looks decent from here. Well covered up!
I've got into a bit of a state myself! 😄 couldn't see a reasonable way out but I think I have cracked it now.

@Ernandez R thanks for you lovely post. That really helped. I read that as I was despairing the other evening! Just after a maker friend of mine had given me a similar pep talk! 😄 I think I need a kick up a the arse to get me going again. Was focusing too much on this little tail strip area that I couldn't see the words for the trees.
Think I'm over the hump now! Thanks


Cervantes -> RE: My no. 2 progress (Dec. 24 2021 21:57:12)

This is great info and inspiration.
I hope to build a guitar someday.
Bought some wood years ago but never had the time to start on it.
I will be retiring next year so maybe it will happen then.
But I also want to play more so maybe not.


Stu -> RE: My no. 2 progress (Aug. 2 2022 0:37:13)

Sent my family off to cornwall for two weeks finally back on the shop.

Some good progress on final elements.
Bridge
Fingerboard

Not glued.

Also found a gap in the bindings so glueing up tonight


Images are resized automatically to a maximum width of 800px


JasonM -> RE: My no. 2 progress (Aug. 2 2022 1:59:20)

Alright Stu! Thanks for the update , glad to see your still plugging away. It’s looking flawless man! Really clean work.

What method/tool did you use for the fret slots?

And how about the bridge, you use the table saw to rough out the main shape?


Stu -> RE: My no. 2 progress (Aug. 2 2022 11:04:40)

Thanks Jason. Yeah I'm feeling good about it. Bridge and Finger board have been going kinda well after such a long time bit building.

I bought the ebony pre slotted. So little cheat.

Will cut frets in one of the next ones.

No no table saw. Cut the channels first on router. Then bandsaw in from each end.Then jap hand saw.

Like the pic.

Is that what your referring to?


Images are resized automatically to a maximum width of 800px


Stu -> RE: My no. 2 progress (Aug. 2 2022 11:08:42)

I've also noticed some thing.

The middle of the sons board seems to have a yellowish hue all the way up the joint.

Seems to have appeared whilst the guitar was in the case over the winter.

Is that a natural thing?

I haven't saved it any since, so maybe it's just on the surface


Not sure if it's visible on the pic

Images are resized automatically to a maximum width of 800px


JasonM -> RE: My no. 2 progress (Aug. 2 2022 15:17:12)

Yeah that’s what I was thinking about with the bridge! And no shame in the pre slot fingerboard I was thinking of doing the same! I was asking because I used a cnc router to do those parts before the pandemic, and I don’t have the patience or desire now to learn how to repeat it lol! But at the time it saved me some money from having to buy the specialized tools.

Hard to see the yellowing from my screen. I would guess uneven oxidation but let the pros comment!


Stu -> [Deleted] (Aug. 2 2022 20:33:09)

Post has been moved to the Recycle Bin at Aug. 2 2022 20:34:24


TANúñez -> RE: My no. 2 progress (Aug. 3 2022 23:57:10)

This is a very nice build. Enjoying the progress pics!


Stu -> RE: My no. 2 progress (Aug. 4 2022 11:56:40)

Thanks Tom!

Nice pics on your instagram page. ill give you a follow!

I always wonder the best methods for photgraphing a guitar.

My pics are pretty crude, but I hope for the next build I might try to start taking some better/artier shots.


TANúñez -> RE: My no. 2 progress (Aug. 4 2022 12:37:25)

I gave you a follow back. Photographing guitars is hard and tricky. Gotta get the right light and maybe a good filter. For phone cameras that is. I’m no professional that’s for sure.


Stu -> RE: My no. 2 progress (Aug. 4 2022 14:45:44)

well they all look pretty good to me! especially those sepia/blak and white ones! nice one


TANúñez -> RE: My no. 2 progress (Aug. 4 2022 23:59:01)

Thank you. Appreciate that.


Stu -> RE: My no. 2 progress (Aug. 18 2023 20:50:20)

Hola friends!

Wanted to come here and say... after starting this thing during the pandemic I've finally (almost) finished

Due to Hollywood writers and actors going on strike the film industry in the UK.has pretty much shut down. So I've been able to finish my no2!

I still have to deal with the neck issue, but I'm tired of fretting about that. Im gonna just deal with it.

But before I do...I decided to string her up!!!
For some motivation.

Aw jeez. That was a big moment listening to the first notes coming out of my first solo build!
Think I spent the next hr just grinning.

However then the doubt set in! 😄 forgot about.the 'luthiers doubt'

One sec it sounds great. The next a little dull.
Basses seem clear but the trebles feel a little dull or muffled.

I guess im thinking, if I'm correct and the trebles are a bit dull/dead, is there anything to be done?

I remember reading on the foro, how a single pass along a strut with sand paper could change something... (paraphrasing)


estebanana -> RE: My no. 2 progress (Aug. 19 2023 6:22:48)

You got it strung up and have doubts? The remedy go to the pub and celebrate. Treble strings take a couple days to sort themselves out and sound true.
Adjusting the nut to bring the strings down also has an effect on the treble side. Before you make plans to jump off the bridge, wait, adjust, listen and wait again.


Stu -> RE: My no. 2 progress (Aug. 19 2023 15:05:52)

😂😂👌 good advice. I played it again this morning and it sounds good! Better.

Then I went to the beach. 🔆


Page: <<   <   1 [2] 3    >   >>

Valid CSS!


Forum Software powered by ASP Playground Advanced Edition 2.0.5
Copyright © 2000 - 2003 ASPPlayground.NET