|
estebanana -> RE: Neck dent repair ~ from gouged to glamour (May 25 2021 1:19:07)
|
This stuff-
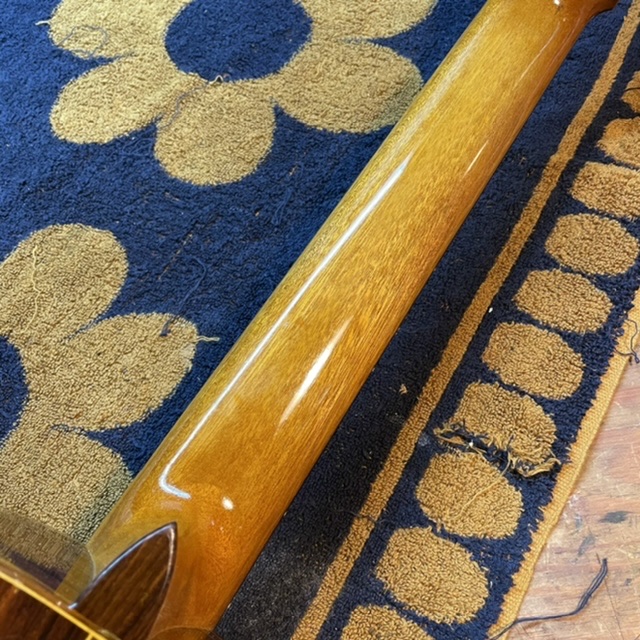
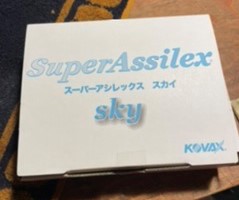
It's designed to track over dips and hollows on the surface you are trying to fair out, sand paper does the same thing, but this one is engineered to do it better and to level without leaving scratches. I think the micromesh from 3M is similar, but this one works better in my opinion.
You wash a slick of thin cut shellac over the feathered out finish after you get the dents at surface level. Then the shellac stiffens the raised grain and holds it so you can take another pass with the Sky Blue which cuts it down without scratching. This step is important because holding the raised grain without it smushing over makes the leveling of the surface go faster and be more true. The cutting power is equivalent to 600 sand paper, but its not a macerating action, it's a micro scraping action.
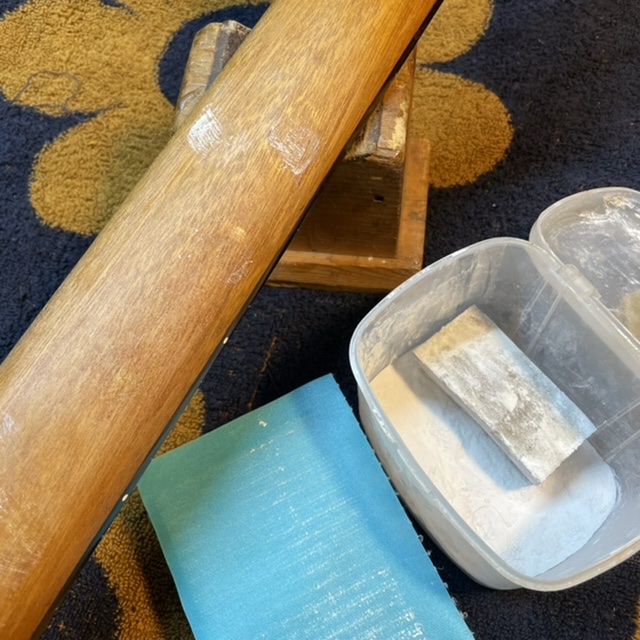
Once you get the work to this stage you can examine it and do a spot or two of pore filling with pumice to level up any low areas that resemble raw open grain. Then cut the pore filling down with the sky blue. When all the raw wood is sealed and the surface is very close to being faired out flat, you can begin a regular French polish with clear shellac. Then wipe the oil off and pass again with the Assilex. Repeat until you have the surface you want, then pad on a little touch up color, follow up with clear if you like.
I use the Stew Mac tinting colors that come in bottles which are about 20 bucks each, but they last for several years. Amber is the most useful color. Put a half drop on a plate and thin it with copious amounts of alcohol, then charge your pad with shellac and pick up a bit of color. Practice swipe it on on something with some scrap wood with a clear shellac body up already on it.
It sounds like a lot of steps, but it flows together. You have to pause and put the work away while shellac dries, but on a hot day that's about 15 minutes. I think the best way is to not try to do it all in one day however, because shellac shrinks back as it loses solvent, it can take a day or two to totally off gas. So I might get this started by steaming out a dent then some sanding or what ever it takes and get the work to the stage where the first layers of shellac with no oil are going on, then leave the piece over night or a for a few days. When you come back to it the shellac is reasonably 'cured'. It's important because sometimes working over tender, fresh dried shellac can be frustratingly counter productive. Avoid that. You just have to get a feeling for the materials as you work.
Good luck anyone who tries it. I'll be happy to coach you if you get stuck. I hope this info helps any of you seriously trying to learn finish repair.
One other thing, this works best over an existing shellac finish, or otherwise on any finish that accepts a shellac over polishing. Mileage varies on non shellac finishes so keep that in mind and do tests on the shellac compatibility of your existing finish. This method also works very well with varnish finishes.

Images are resized automatically to a maximum width of 800px
|
|
|
|