|
RobF -> RE: Shape the sides to fit a domed back in five minutes. (Oct. 18 2019 15:38:26)
|
That huge tripod get-up is a pretty wild way to make a dish, doesn’t seem very practical.
So, before anyone goes and cuts a hole in their livingroom floor to accommodate the 15’ tripod in their basement - there’s an easier way. The explanation might look complicated but if a drawing is made while reading you’ll see that it’s actually quite simple. Just envision a router sled that would have two arcs as runners, but because arc templates may not be available, straight lines are used instead.
P.S. I’ve never actually made one of these, so the design might need some refining, lol. But the basic concept should work, I’m pretty confident about that part.
Here goes...
Take a piece of wood, say 3/4” X 4” X 60”, the dimensions are arbitrary but it has to be longer than twice the diameter of the dish being made. Mark one edge at the centre (30”, in this case). To make a 2’ diameter dish of 6mm depth, for example, make a mark one foot away from the centre and 6mm up from the edge of the board. Then plane a straight line that runs from the centre mark to the 6mm mark and then right to the end of the board. Repeat this on the other side of the centre mark. The board should now have a 15mm high triangular peak along the length of one edge.*
Make a duplicate piece and then make a platform for the router that can be fastened between the two pieces, with the router bit positioned to drop right at the peak in the centre. Make a couple more pieces the same width as the router platform and attach them at the ends to stabilize the structure. The result should be a sled with the router sitting at the centre between two runners.
To make the dish, take a piece of MDF or Plywood (the blank), and put it on a flat surface. The blank can be circular, but it doesn’t have to be. Take two supporting blocks, say 1/2” taller than the dish blank, and put them opposite each other close to, but not against (maybe 2 or 3 inches away), the side of the blank. Probably a good idea to screw them down. Also, probably good to make them the same width as the sled and put some side guides on them to stop the sled from moving about sideways. Sit the router sled on the supports, move the sled so the router bit is at the edge of the blank, and set the depth of router bit to touch the top of the edge of the dish.
Turn the router on and run it to the other side of the dish. If the dish is MDF there will be a large amount of fine dust created so it’s best to do this outside. The router bit will drop as the sled is moved towards the centre of the dish and rise as it moves away from the centre towards the supporting block on the other side. This will create a channel in the blank that defines an arc 2’ wide with a sagitta of 6mm. Rotate the blank between the supports and repeat the routs until the dish is formed. To aid in rotation and all round accuracy a dowel can be placed in the work surface dead centre between the guide platforms. Have it stick out about 1/2”. A corresponding 1/2” deep hole is drilled into the centre of the flat side of the dish and the dish can then pivot/spin on the dowel.
This can be used to dome the bridge area of the workboard/solera, too. Just drill the pivot hole in the desired location and rotate the workboard.
* For proof of concept, hold a pencil at the centre line peak of one of the boards. Drive two nails into a flat surface 2’ apart and rest the peaked side of the board against the nails. Run the jig along the nails so the pencil can make a line running from one nail over to the other. Have a look at the line and satisfy yourself that it describes an arc two feet wide with a sagitta of 6mm. You can also use this idea to make a router platform (with the router bit positioned perpendicular to the point of the peak) to make a radius stick to match the dish, which is a useful thing to have around the shop.
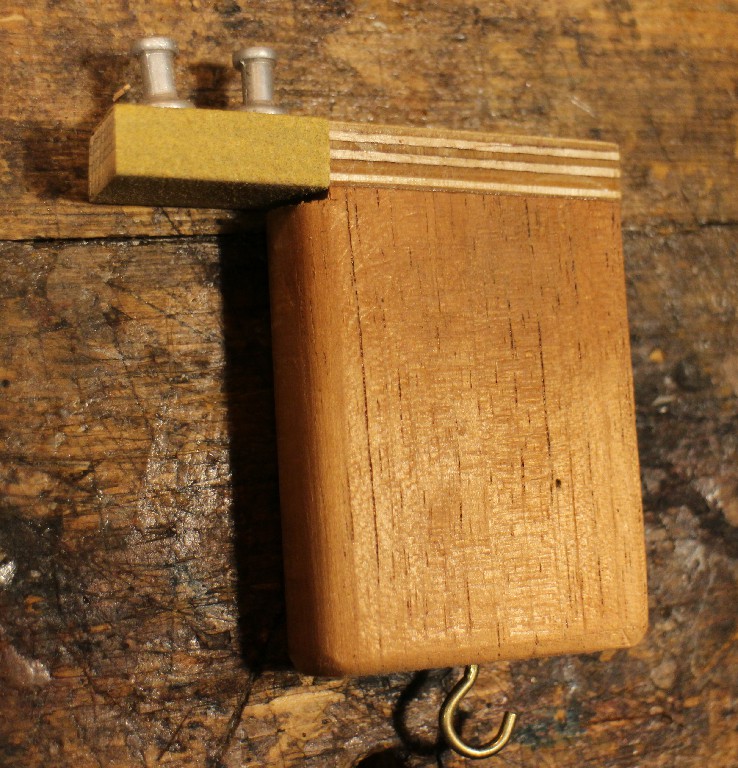
Highly detailed drawing done with my finger at 4AM:

Images are resized automatically to a maximum width of 800px
|
|
|
|