Welcome to one of the most active flamenco sites on the Internet. Guests can read most posts but if you want to participate click here to register.
This site is dedicated to the memory of Paco de Lucía, Ron Mitchell, Guy Williams, Linda Elvira, Philip John Lee, Craig Eros, Ben Woods, David Serva and Tom Blackshear who went ahead of us.
We receive 12,200 visitors a month from 200 countries and 1.7 million page impressions a year. To advertise on this site please contact us.
|

|
|
RE: My no. 2 progress
|
You are logged in as Guest
|
|
Users viewing this topic: none
|
|
Login  | |
|

   
constructordeguitarras
Posts: 1672
Joined: Jan. 29 2012
From: Seattle, Washington, USA
|
 RE: My no. 2 progress (in reply to Stu) RE: My no. 2 progress (in reply to Stu)
|
|
|
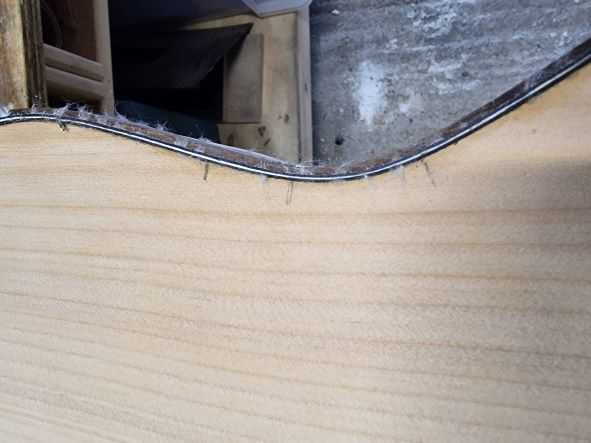
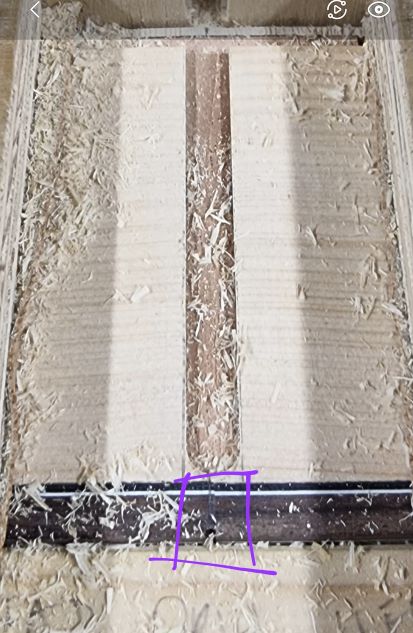
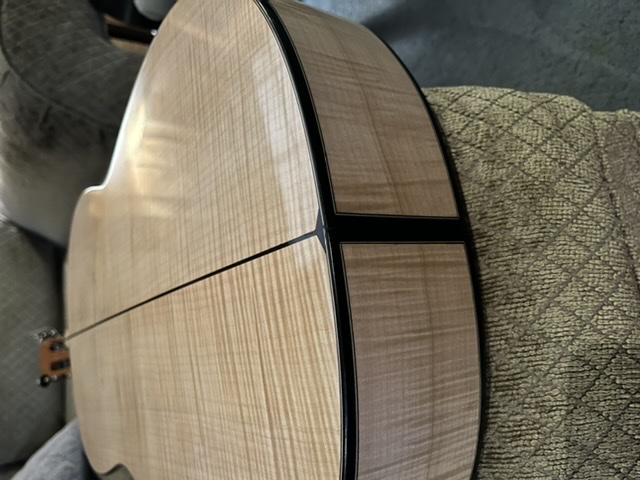
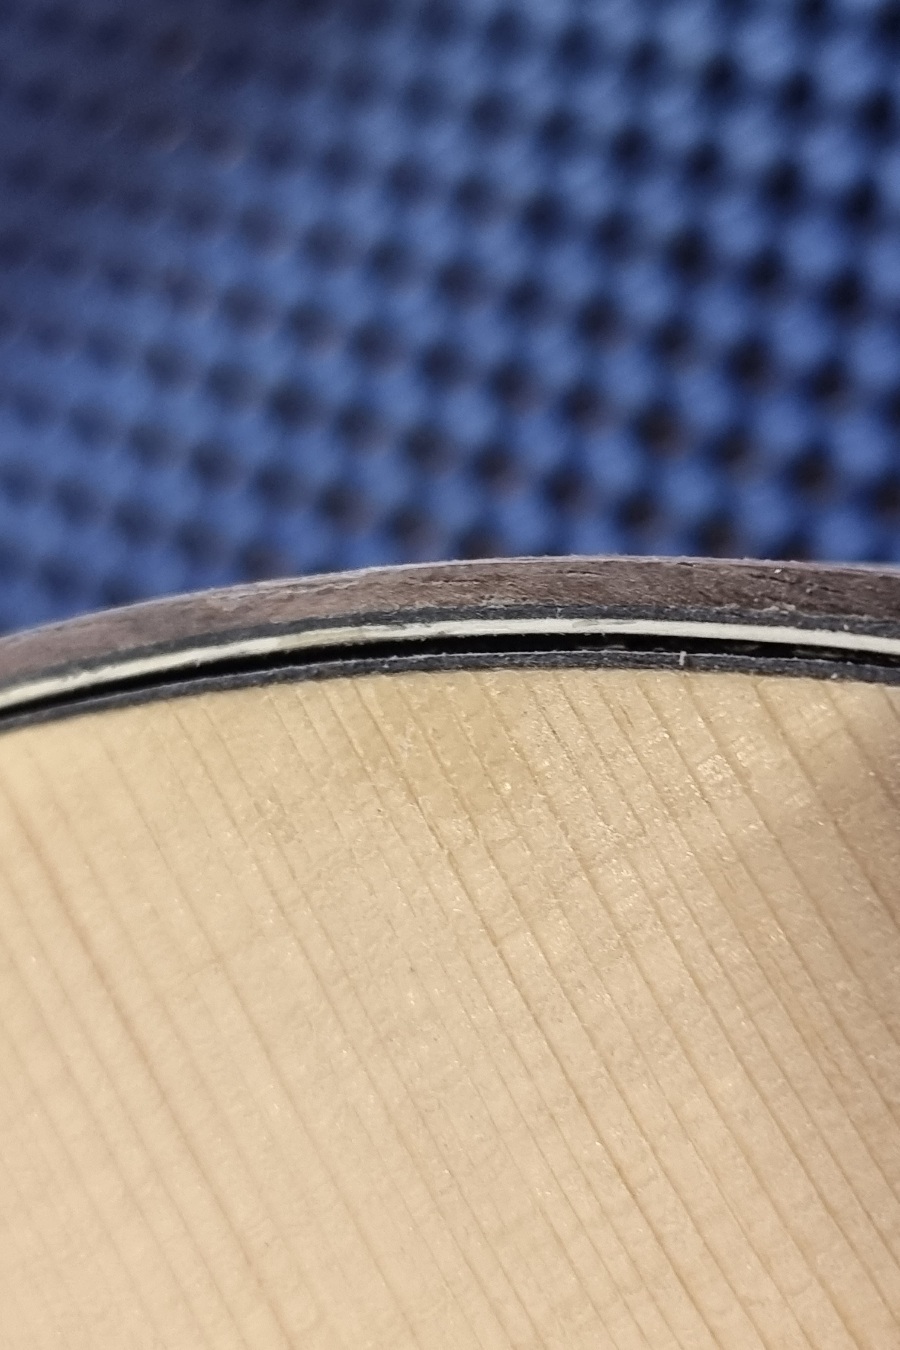
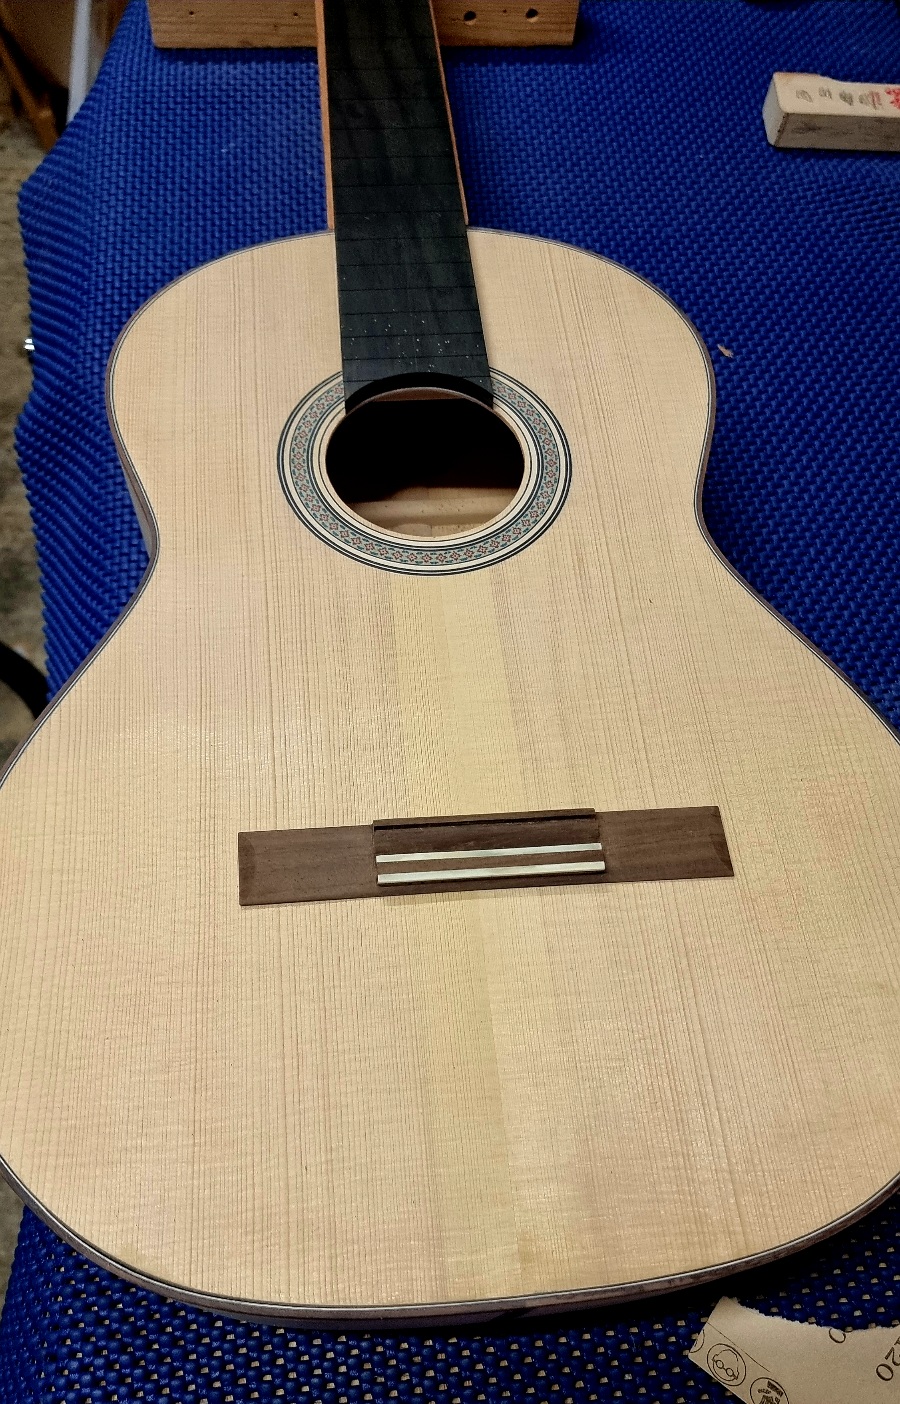
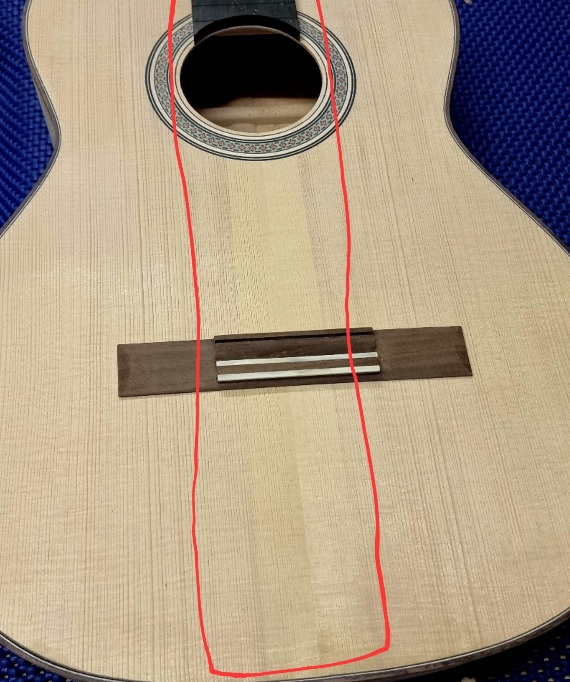
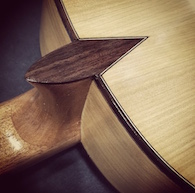
I had a router motor drop a little when I was rabbetting for bindings on the last guitar I made. This was the first time this ever happened to me. I turned it on and I felt a lurch but I didn't check it. I routed near the end graft. What I do is first install the end graft, then route for bindings, which necessitates routing in that area, front and back, separate from the rest and more shallowly to account for mitering the side purfling to the end graft. Well, it routed too deep so I went ahead and routed through the end graft and then patched the sides at the tail with a cutoff from the actual sides. Then I routed out the endgraft, installed a new one, and did the rest of the routing for the bindings properly. No one, not even I, can find the patches, which are only a few mm wide. So now I'm probably tightening my router motor in too much.
_____________________________
Ethan Deutsch
www.edluthier.com
www.facebook.com/ethandeutschguitars
www.youtube.com/marioamayaflamenco
I always have flamenco guitars available for sale.
|
|
|
|
REPORT THIS POST AS INAPPROPRIATE |
Date Oct. 15 2021 19:25:10
 |
|
ernandez R
Posts: 737
Joined: Mar. 25 2019
From: Alaska USA
|
|
RE: My no. 2 progress (in reply to Stu)
|
|
|
Stu,
It's always somthing isn't it. But look at how you've overcome. This is why I feel artificial intelagace will ever replace us, our solutions to problems are part of the creative process, it's our problem solving that feeds us and inspires us to move forward and when it bad we dare to find imposable solutions. I have a oft used saying, "it's a fine line between a hero and a ****"
Right now it's seems your family is a challenge yet here you are routing, and rerouting, conquering what some monthes ago seemed imposable. This is success.
I did a lot of stupid things with my second guitar cause I thought I was better then I was, I have to laugh about it now. I made up for it afterwords and my work got better.
Before you know it you will be stringing her up, then building another, soon a Parlar for your first born, then another for your second, the wife will ask for a third , you'll make a forth... Before you know it you'll have that caravan outfitted with the whole family and doing all the craft shows building guitars on pull down benches outside under tents living the getano dream...
HR
_____________________________
I prefer my flamenco guitar spicy,
doesn't have to be fast,
should have some meat on the bones,
can be raw or well done,
as long as it doesn't sound like it's turning green on an elevator floor.
www.instagram.com/threeriversguitars
|
|
|
|
REPORT THIS POST AS INAPPROPRIATE |
Date Oct. 18 2021 9:46:38
|
|
 New Messages New Messages |
 No New Messages No New Messages |
 Hot Topic w/ New Messages Hot Topic w/ New Messages |
 Hot Topic w/o New Messages Hot Topic w/o New Messages |
 Locked w/ New Messages Locked w/ New Messages |
 Locked w/o New Messages Locked w/o New Messages |
|
 Post New Thread
Reply to Message
Post New Poll
Submit Vote
Delete My Own Post
Delete My Own Thread
Rate Posts
|
|
|
Forum Software powered by ASP Playground Advanced Edition 2.0.5
Copyright © 2000 - 2003 ASPPlayground.NET |
0.078125 secs.
|
 Printable Version

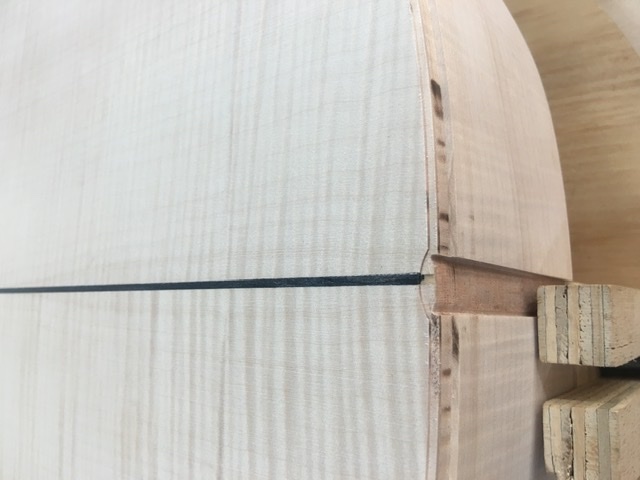
 I did a couple oif dry runs but things still got silly when I added glue.