Welcome to one of the most active flamenco sites on the Internet. Guests can read most posts but if you want to participate click here to register.
This site is dedicated to the memory of Paco de Lucía, Ron Mitchell, Guy Williams, Linda Elvira, Philip John Lee, Craig Eros, Ben Woods, David Serva and Tom Blackshear who went ahead of us.
We receive 12,200 visitors a month from 200 countries and 1.7 million page impressions a year. To advertise on this site please contact us.
|

|
|
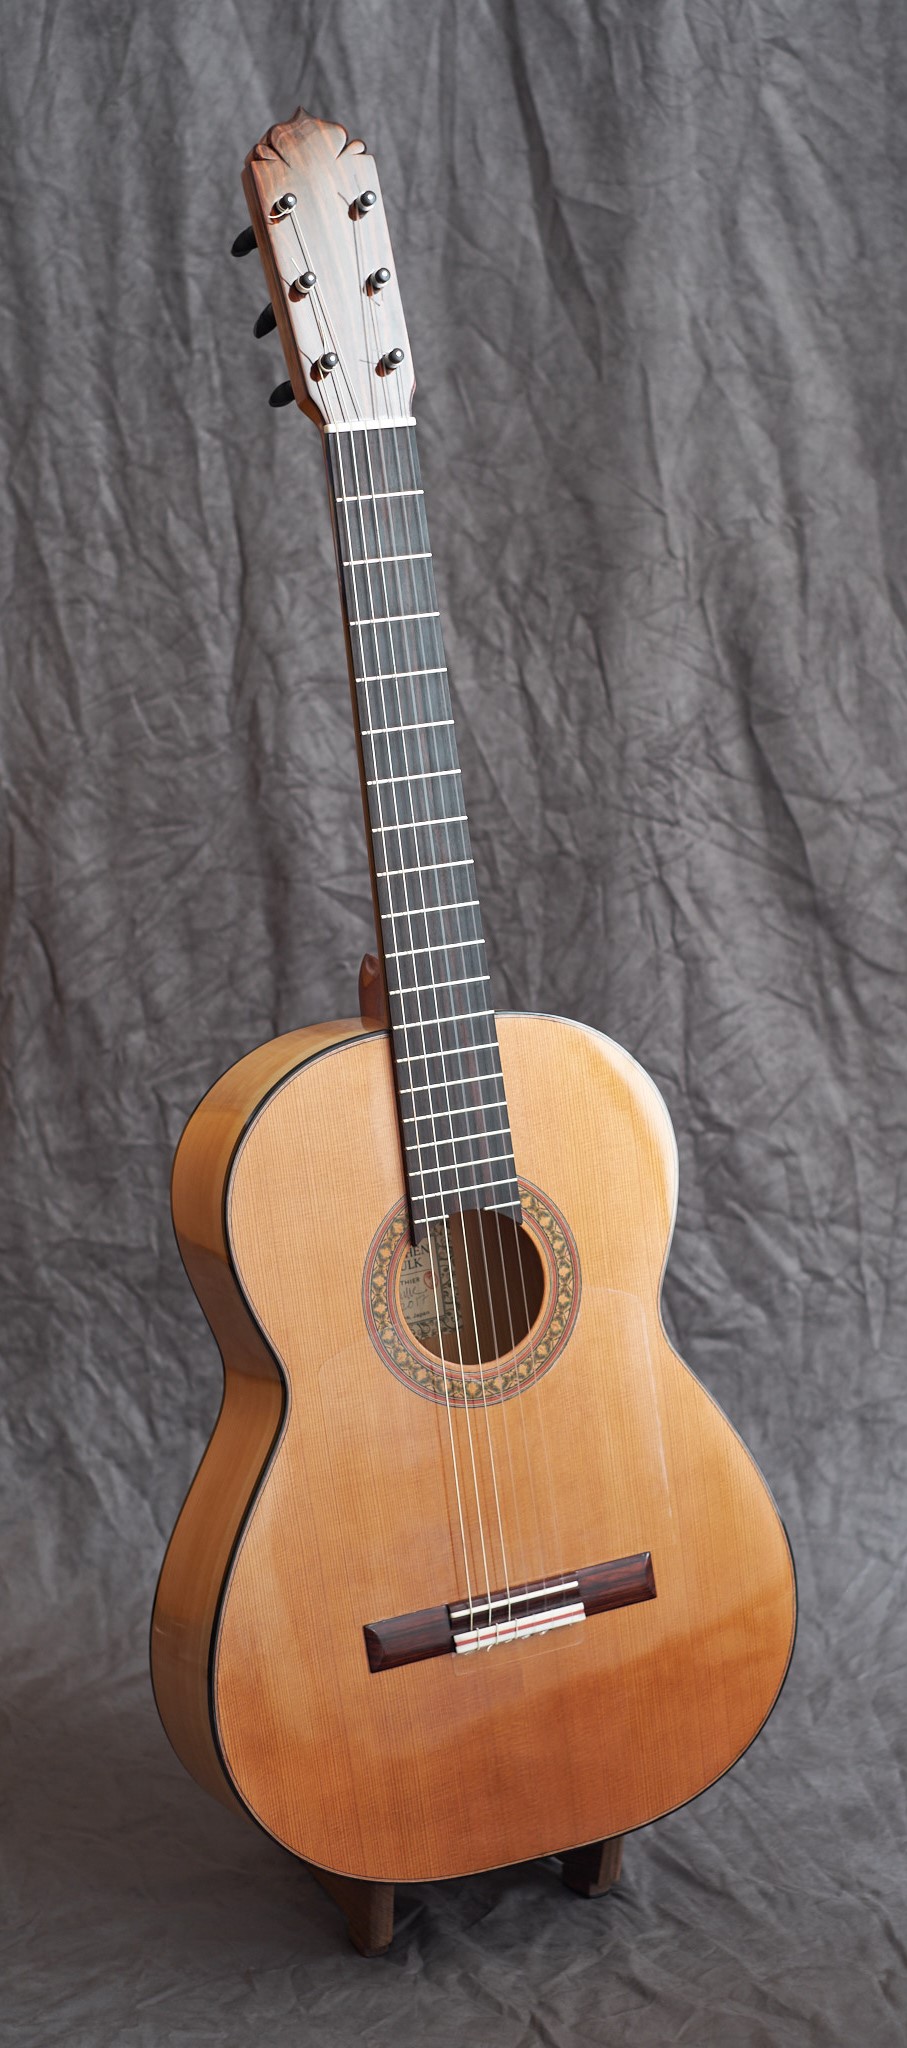
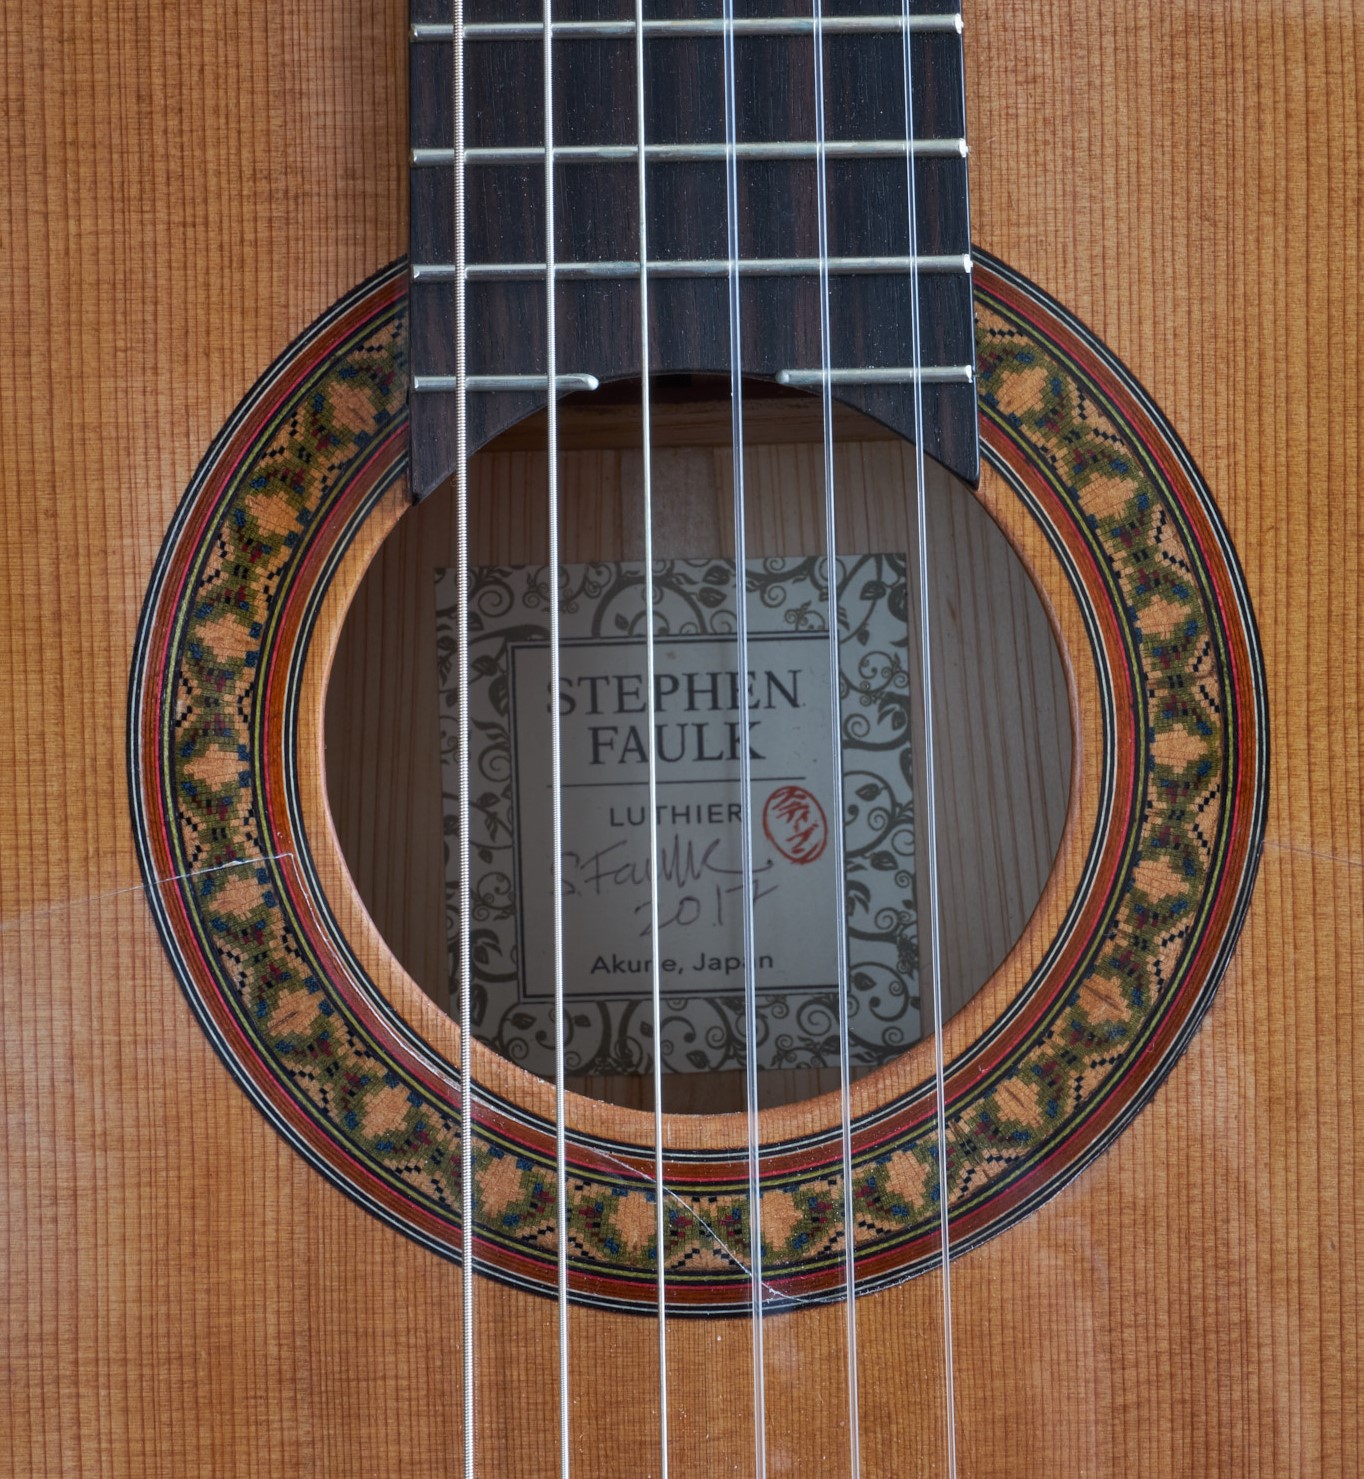
Cedar Hinoki Stephen Faulk - 2017 Blanca
|
You are logged in as Guest
|
|
Users viewing this topic: none
|
|
Login  | |
|

   
estebanana
Posts: 9352
Joined: Oct. 16 2009
|
 RE: Hinoki Eye Candy - 2017 Blanca (in reply to estebanana) RE: Hinoki Eye Candy - 2017 Blanca (in reply to estebanana)
|
|
|
I picked up the technique from Chris Berkov, CA guys were doing this quite some time before the GAL article. Mark Silber also told me about it a long time ago.
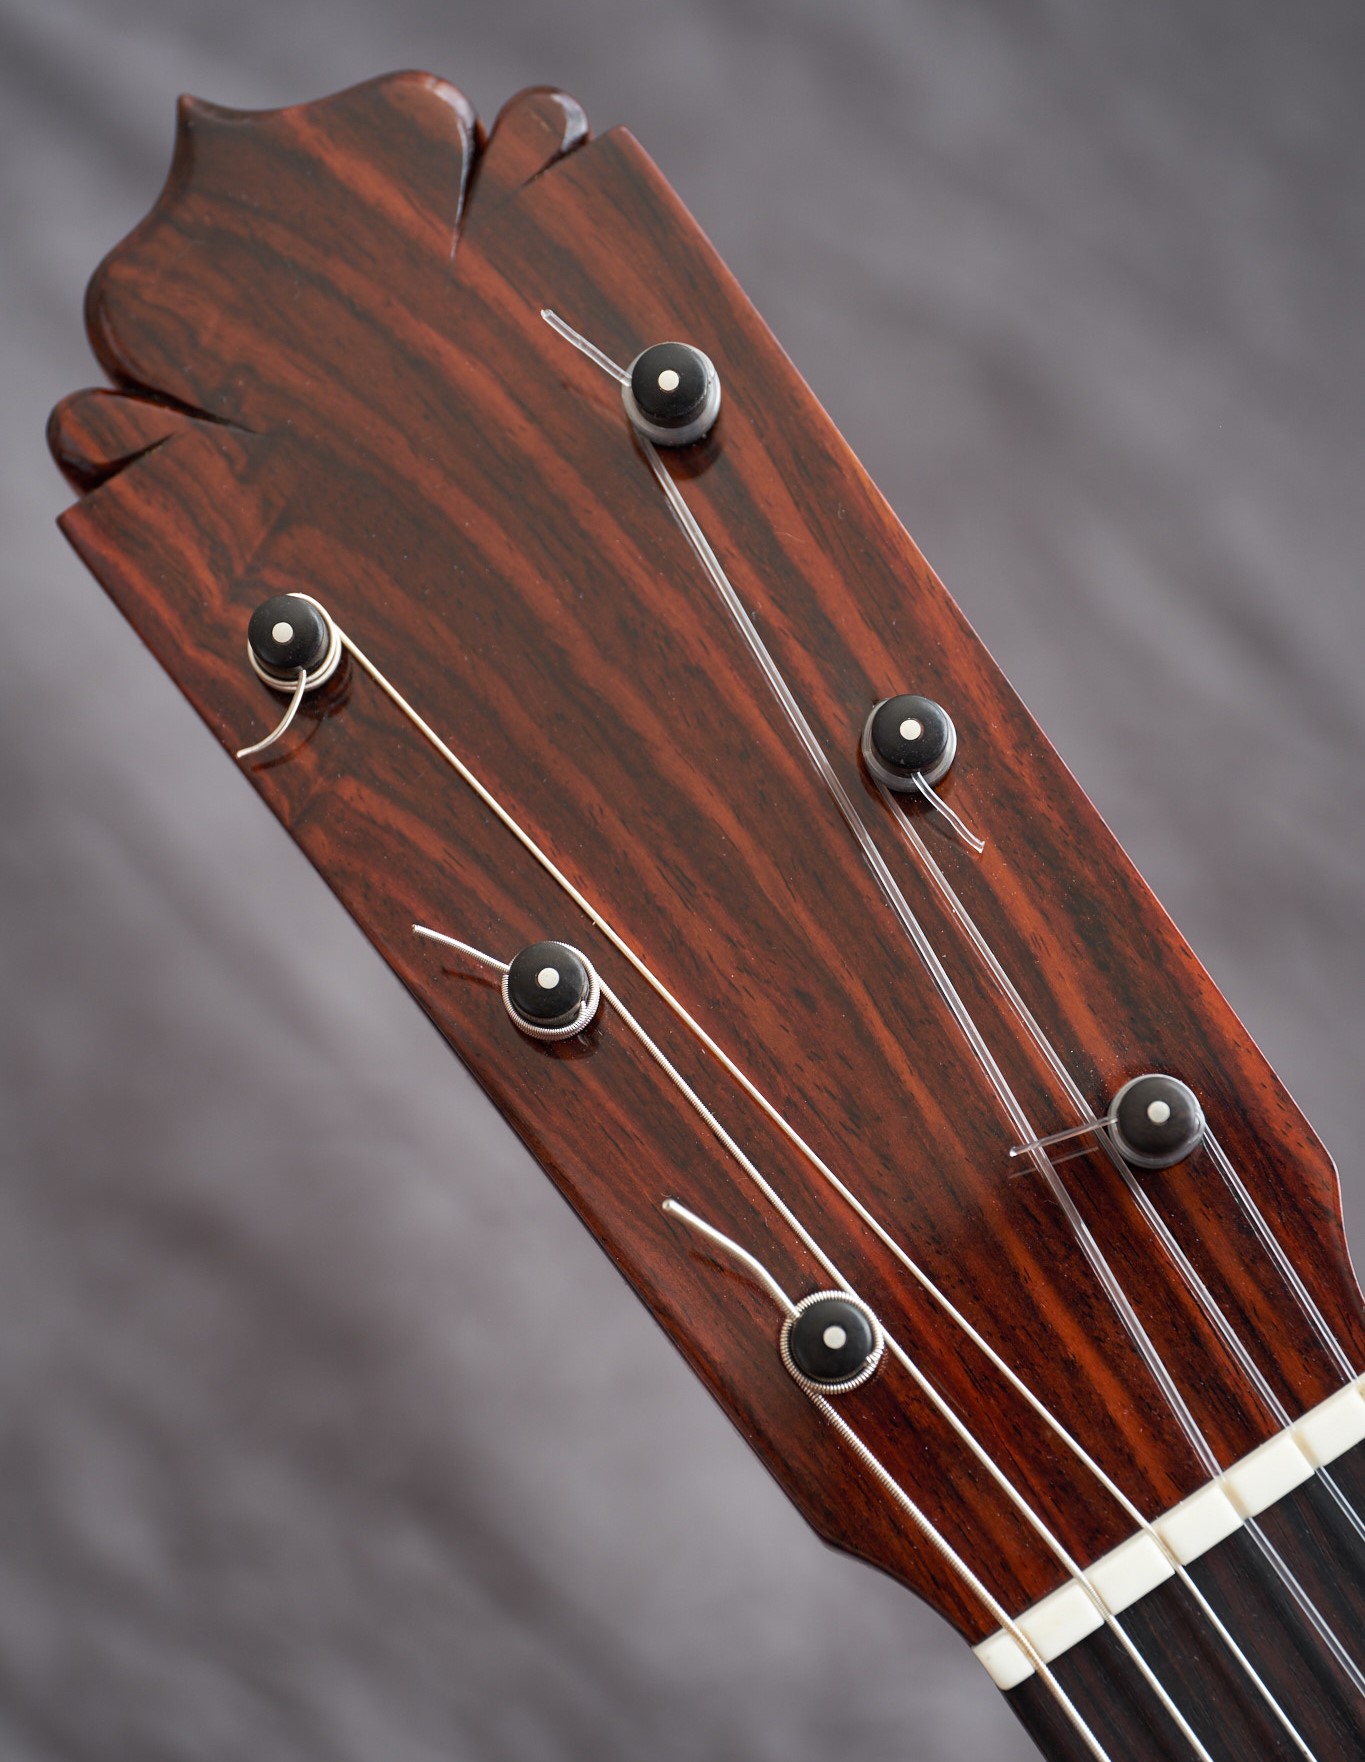
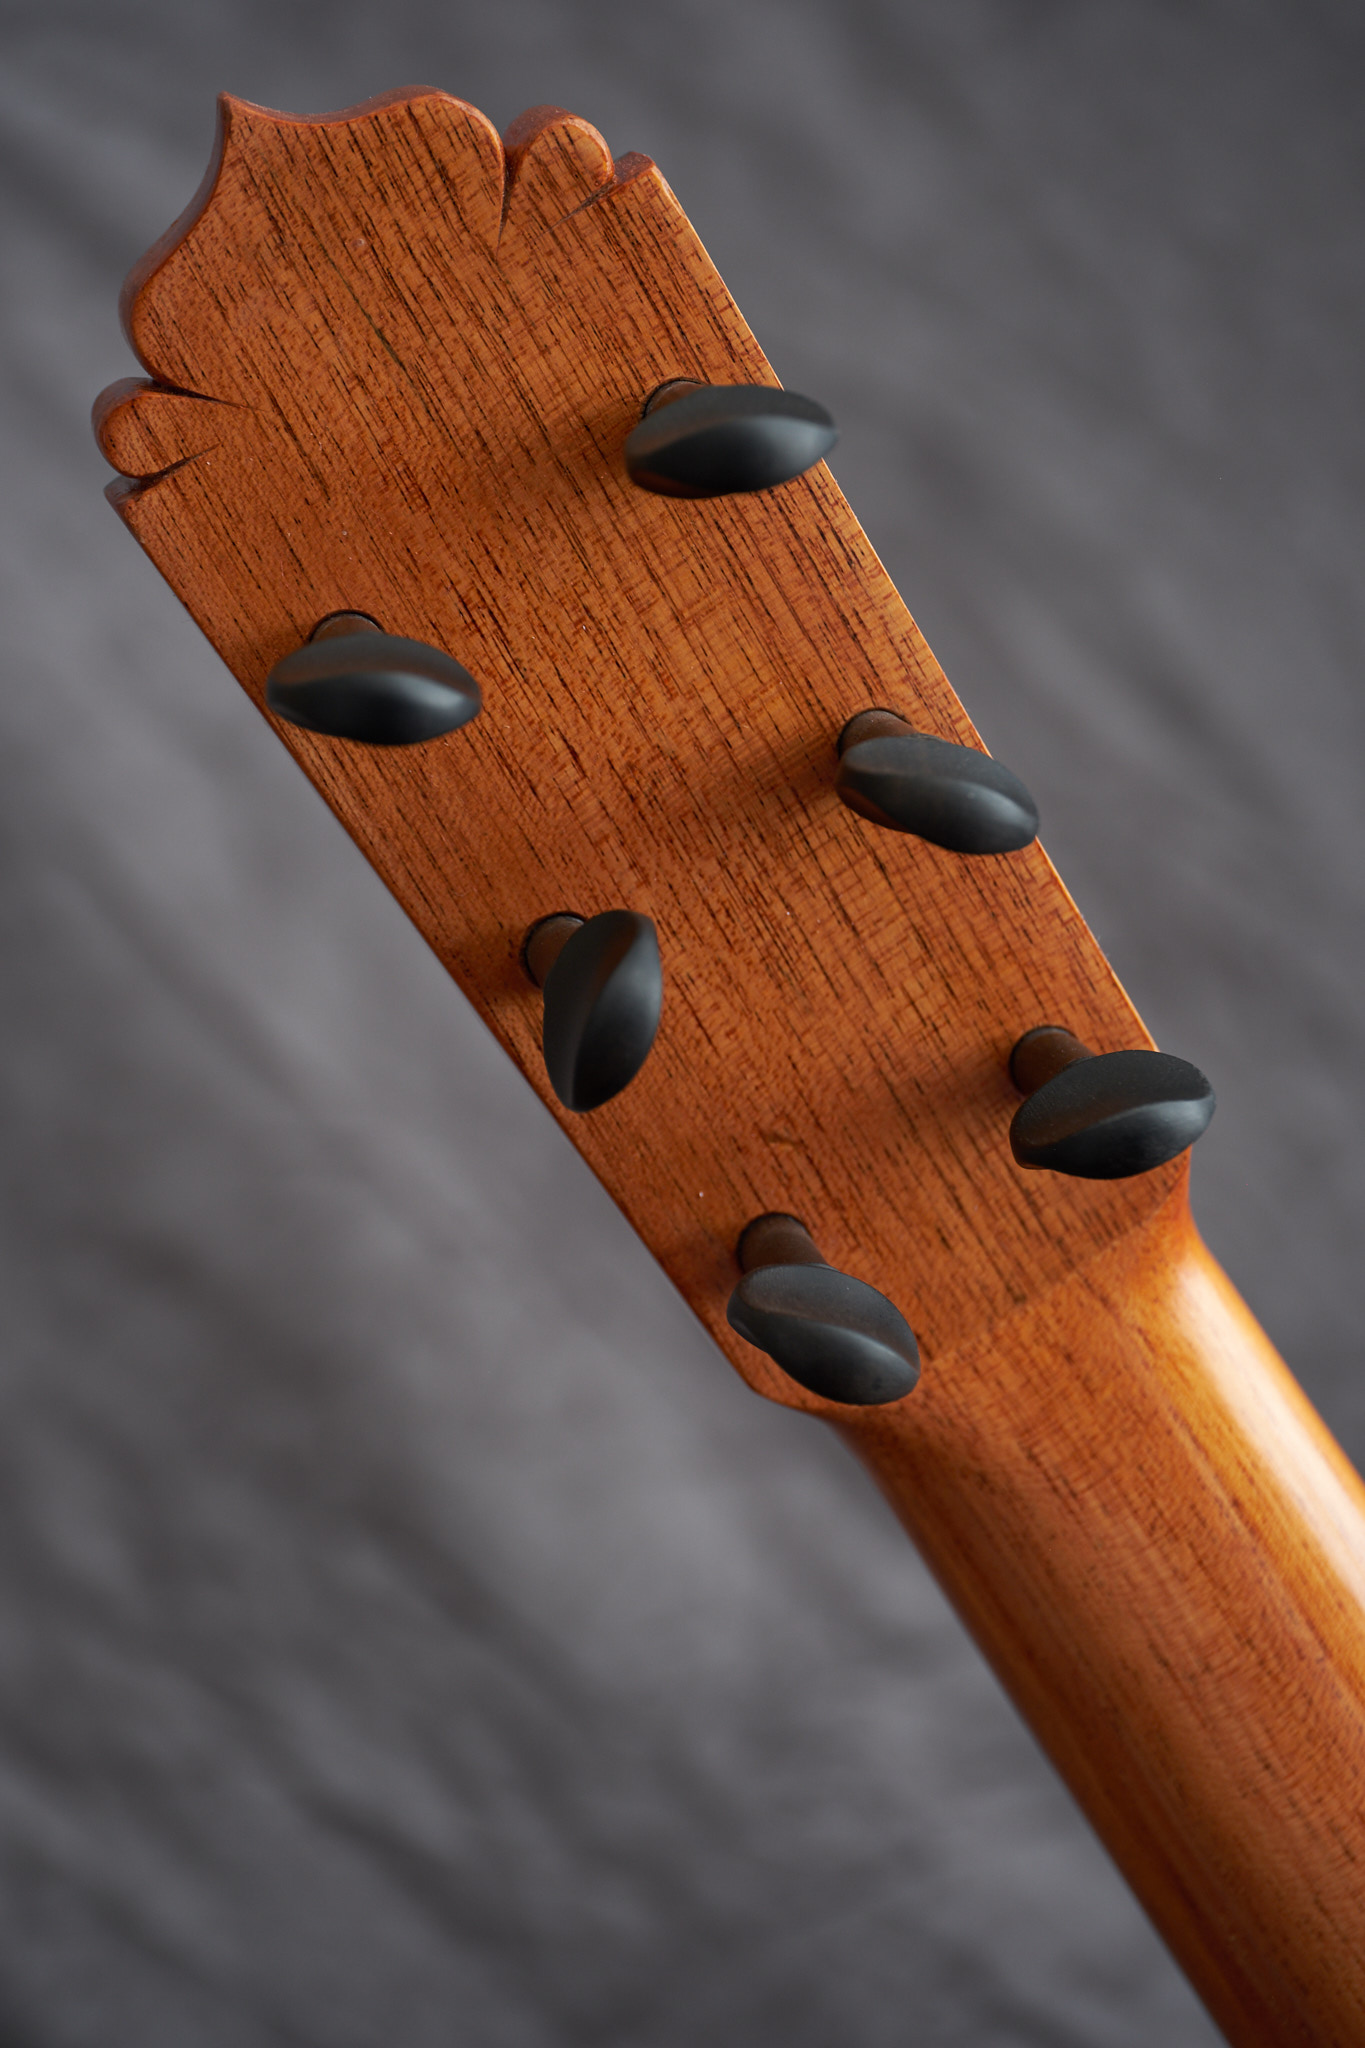
Aaron does two things that are important, I adopted one of them. That is to set the peg deeper on the shaft. The idea is that it reduces torque and puts less stress on the peg. Instead of leaving 26 mm of shaft behind the headstock, I'm setting the pegs at 23 mm and then using the peg compound, the pegs bed in another mm or two.
Berkov also told me he used Teak pegs with good result, so I used to use teak plugs, they work great as teak is hard and slippery. The other thing Aaron does is 'pin' the plug with a counter dowel set halfway into the plugs outer edge. It keeps the plug from ever getting loose and spinning inside the headstock. My solution, the chances of that happening are remote, is to set the plug in off center to the peg hole. Violin makers bush pegs by setting the bushing off center then drill the hole close to the outside of the bushing. It uses the peg itself to create the dowel pin that Aaron adds.
I think the extra hour of cutting and setting the plugs is more than worth it. For one thing if you set them Aaron's way with the dowel pin, the Forstner bit you use to cut the plug hole on the head will make a pin hole in the center of the plug on the outside of the headstock and give you a ready made center for drilling the peg holes. If you do it my way, you just measure down 5 milli from the center hole and drill, thus offsetting the peg in the plug. The part that is overkill is probably pinning the plug, as it's glued in on all surfaces.
The most important part of setting pegs is shaving the peg, and reaming the hole with skill. I use a double bevel angle plane iron set into a block of wood with a hole reamed into it. It's 16th century work, but if you massage the plane iron around and set it just right the pegs fit the reamed hole like a mechanic fit them. It's mechanic work with wood parts.
The important advantage the internal plug gives you in reaming the hole is that the reamer never passes between long grain and end grain and has a chance to chatter or change pressure against the different grain orientations. That is why reamer holes can get ovoid, even with a good reamer. The constant application of the reamer blades on the hard long grain running one direction make possible the creation of a more accurate tapered hole that is as perfectly round as you can get with hand tools.
More than anyone wanted to know, but anyone wishing to try this could read Aaron's essay.
_____________________________
https://www.stephenfaulkguitars.com
|
|
|
|
REPORT THIS POST AS INAPPROPRIATE |
Date Jul. 22 2017 0:52:52
 |
|
estebanana
Posts: 9352
Joined: Oct. 16 2009
|
|
RE: Hinoki Eye Candy - 2017 Blanca (in reply to estebanana)
|
|
|
RobJe and Sr. Cullen,
Thank you both for the comments on restraint and style. I know you both to have good judgment and taste, compliments from true aficionados of the guitar. Rather moral lifting to read.
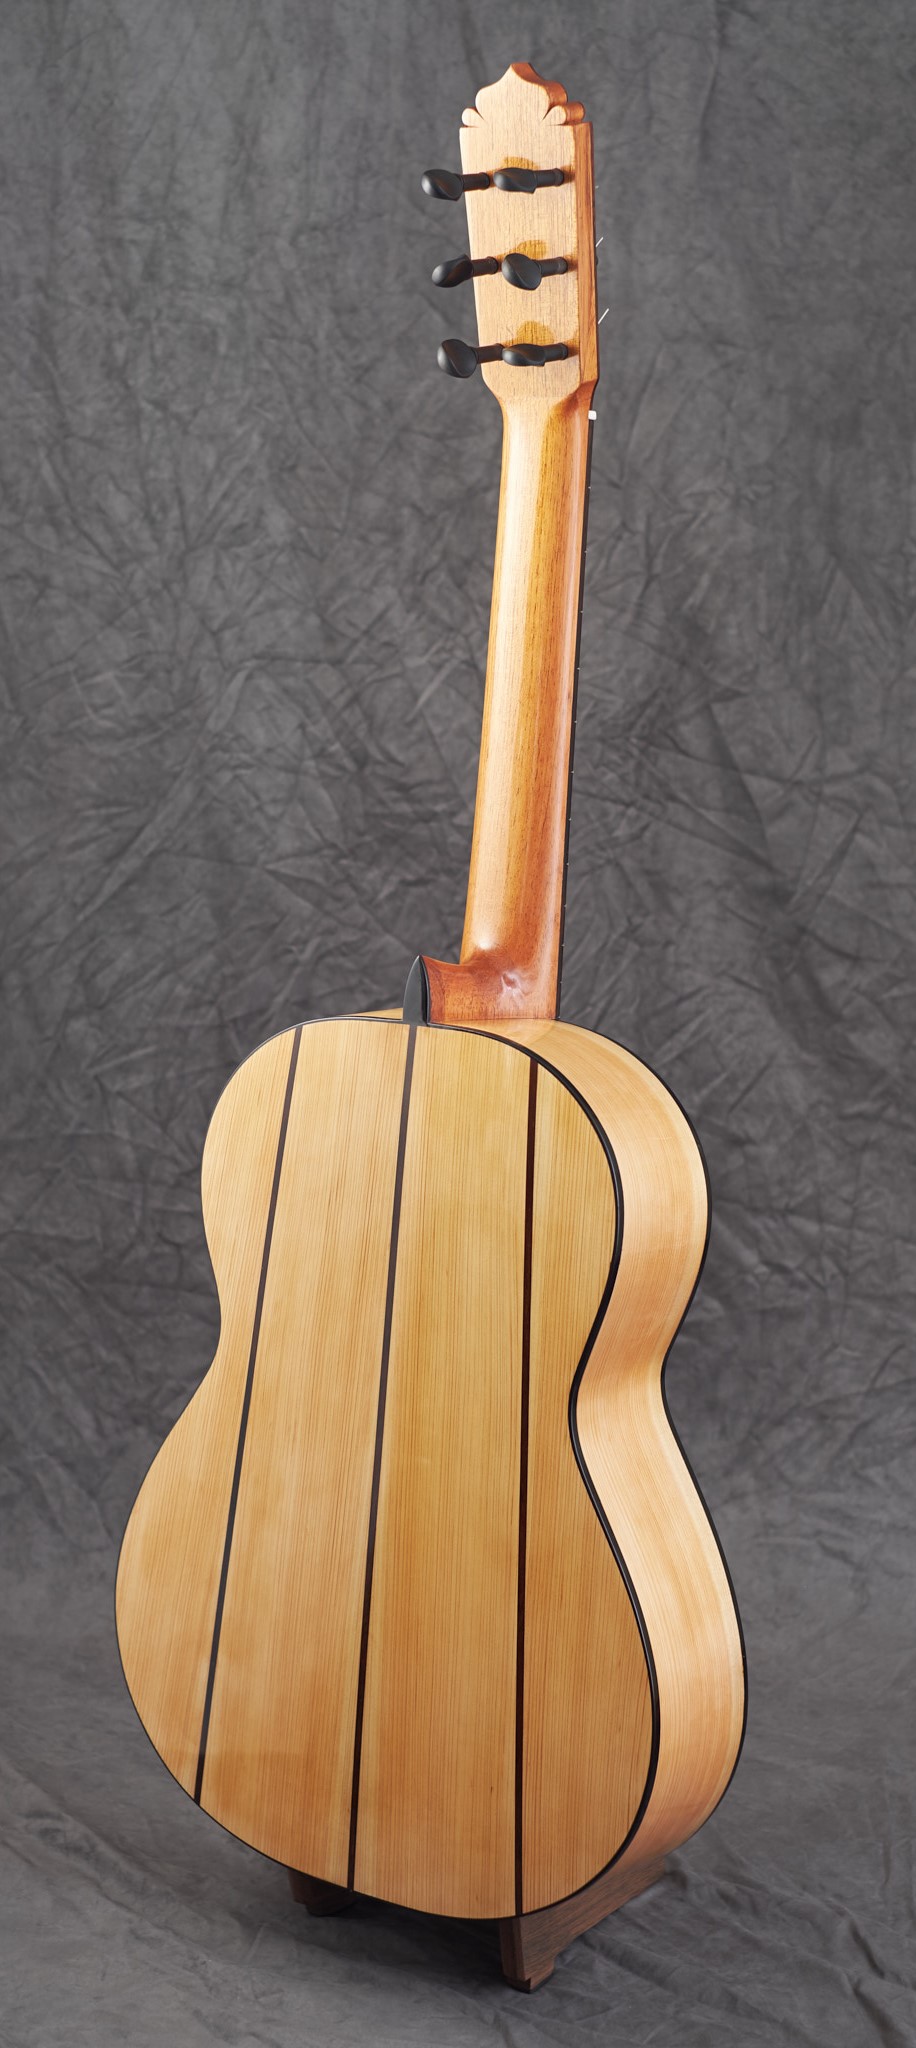
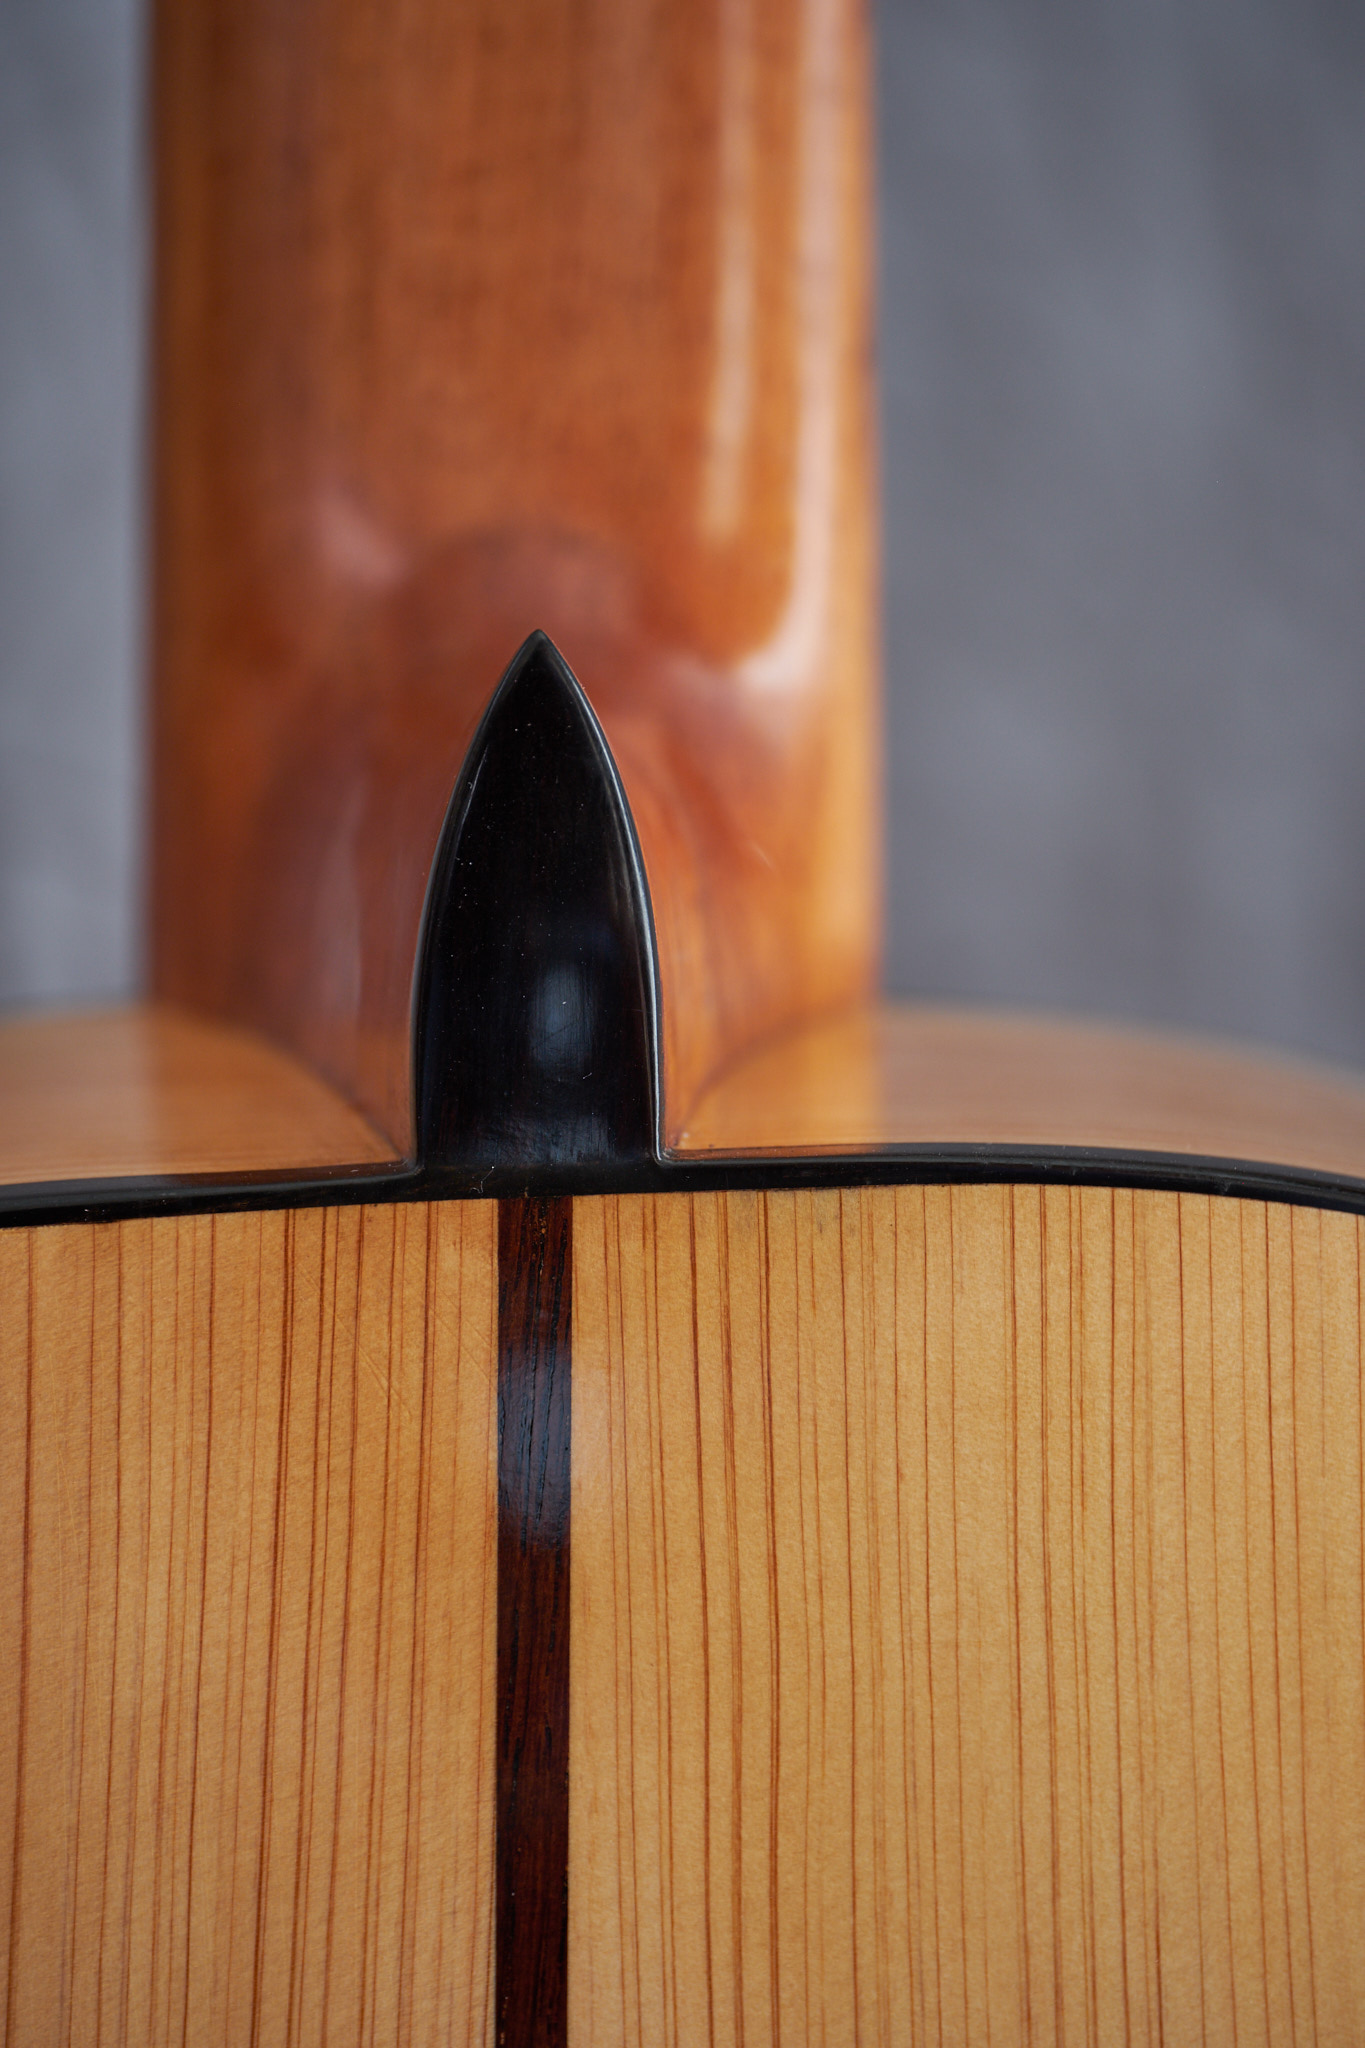
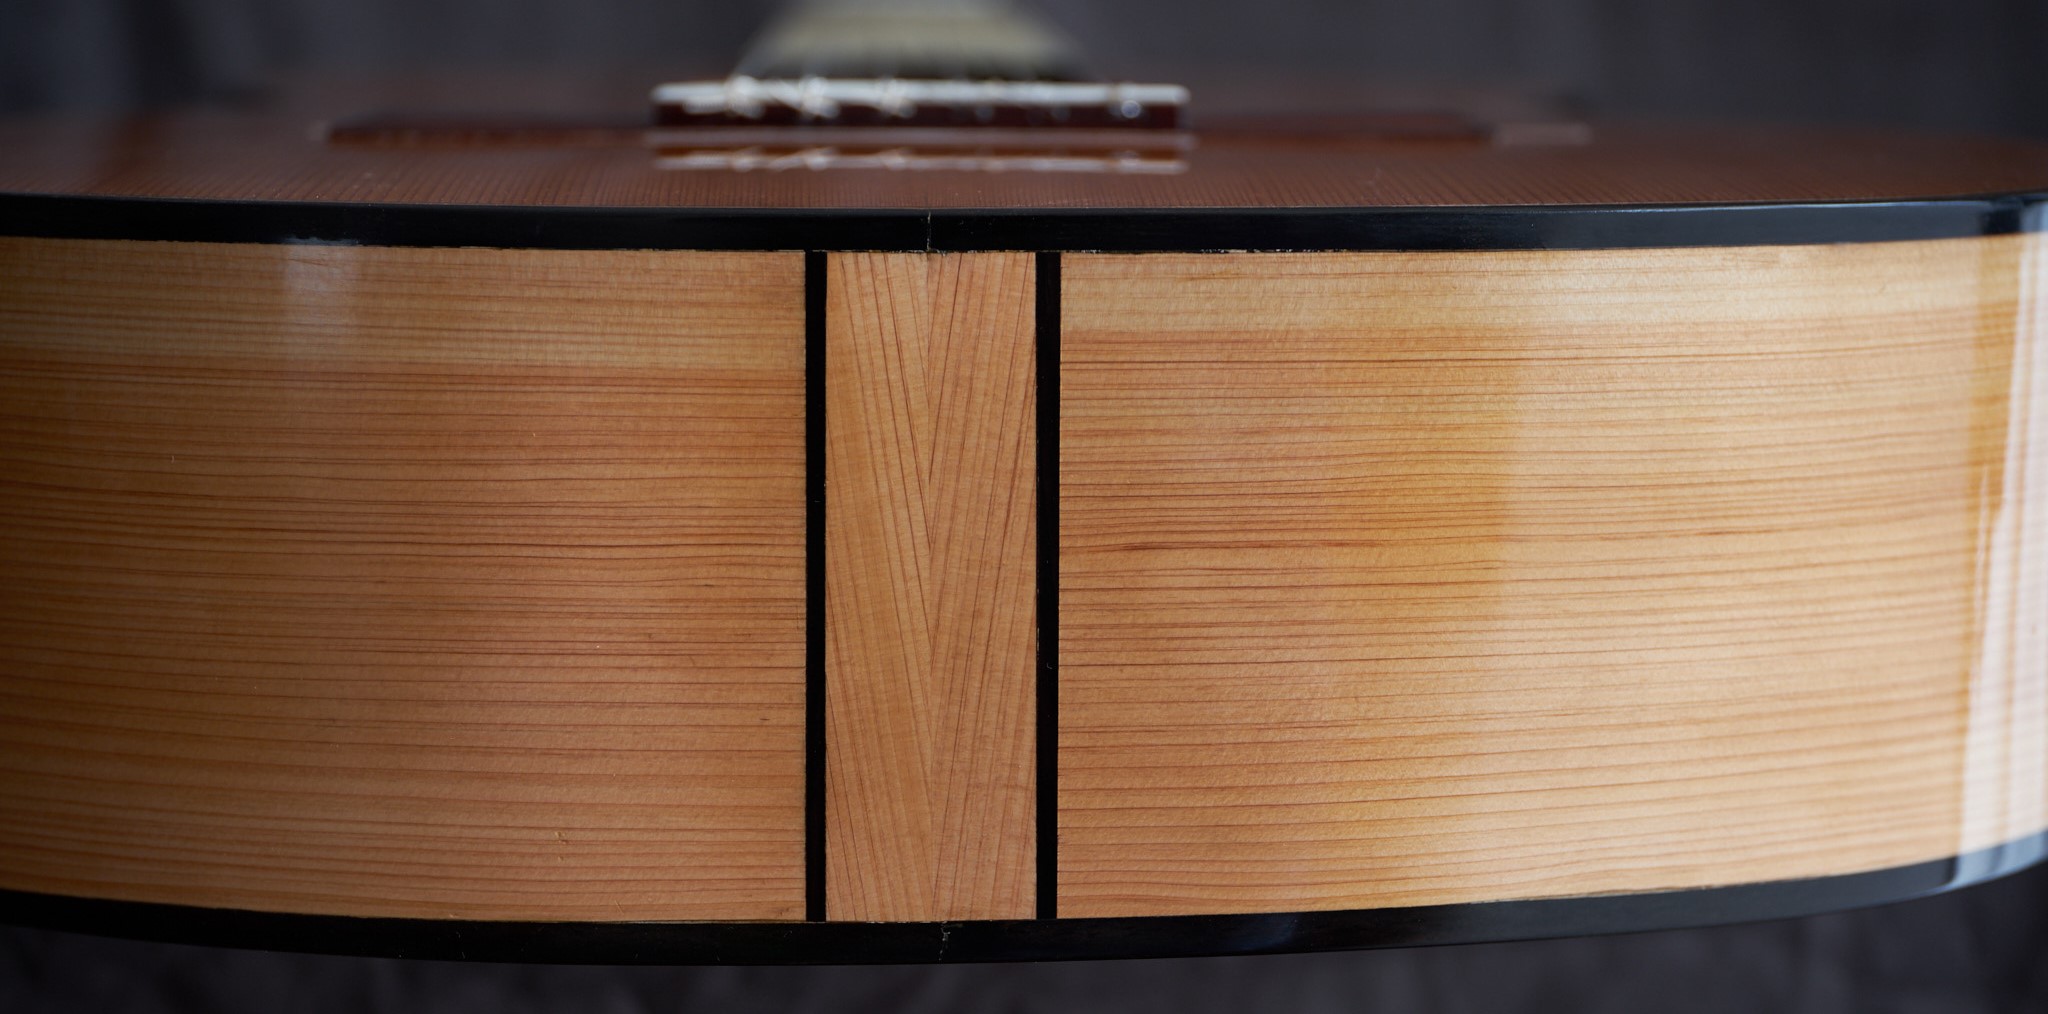
The four piece back is due to working with choice lumber that is not wide enough for a two piece back. And three piece backs are good too, but the four panel back gives you three spacers between the panels, and three bold spacers look better than two thin spacers. It's a more complete statement.
If you have a three panel back and each panel has a drift in the grain direction, well then two panels will drift the same direction and one will be opposite. Four panels ensures bilateral symmetry the three spacers is very interesting to the eye.
Intricate line work is pretty, but simple line work with a restrained over all design is more profound. I leave the pretty line work to the guys who want to make museum pieces for collectors to gawk at. I want to make beautiful monsters.
Drawing your attention to the headstock, the transition to the neck is also carefully planned. The end of the scarf joint on the back is almost under the nut as it is on most older guitars, like Madrid school 1920-30's. And the headstock is thinner than a more modern guitar with mechanical tuners. That is also in keeping with that time period for peg head blancas. I've measured many of them from that time which are 5/8 " thick. So I'm hitting it slightly thicker, but under 3/4" - There's a little trick to planing the piece you use for the headstock in order to get the scarf joint to end closer to the nut, otherwise if you plane the headstock that thin before you glue on the head plate veneer the scarf joint retreats up the back of the headstock to an unseemly place, because you plane material off the top of the headstock which pushes the nut towards the bridge. Some makers who understand the period guitars will get what I mean. It's an insignificant detail to most lookers, but for the ones to know old guitars very well it will be a delightful discovery.
_____________________________
https://www.stephenfaulkguitars.com
|
|
|
|
REPORT THIS POST AS INAPPROPRIATE |
Date Jul. 24 2017 1:03:45
|
|
 New Messages New Messages |
 No New Messages No New Messages |
 Hot Topic w/ New Messages Hot Topic w/ New Messages |
 Hot Topic w/o New Messages Hot Topic w/o New Messages |
 Locked w/ New Messages Locked w/ New Messages |
 Locked w/o New Messages Locked w/o New Messages |
|
 Post New Thread
Reply to Message
Post New Poll
Submit Vote
Delete My Own Post
Delete My Own Thread
Rate Posts
|
|
|
Forum Software powered by ASP Playground Advanced Edition 2.0.5
Copyright © 2000 - 2003 ASPPlayground.NET |
0.09375 secs.
|
 Printable Version